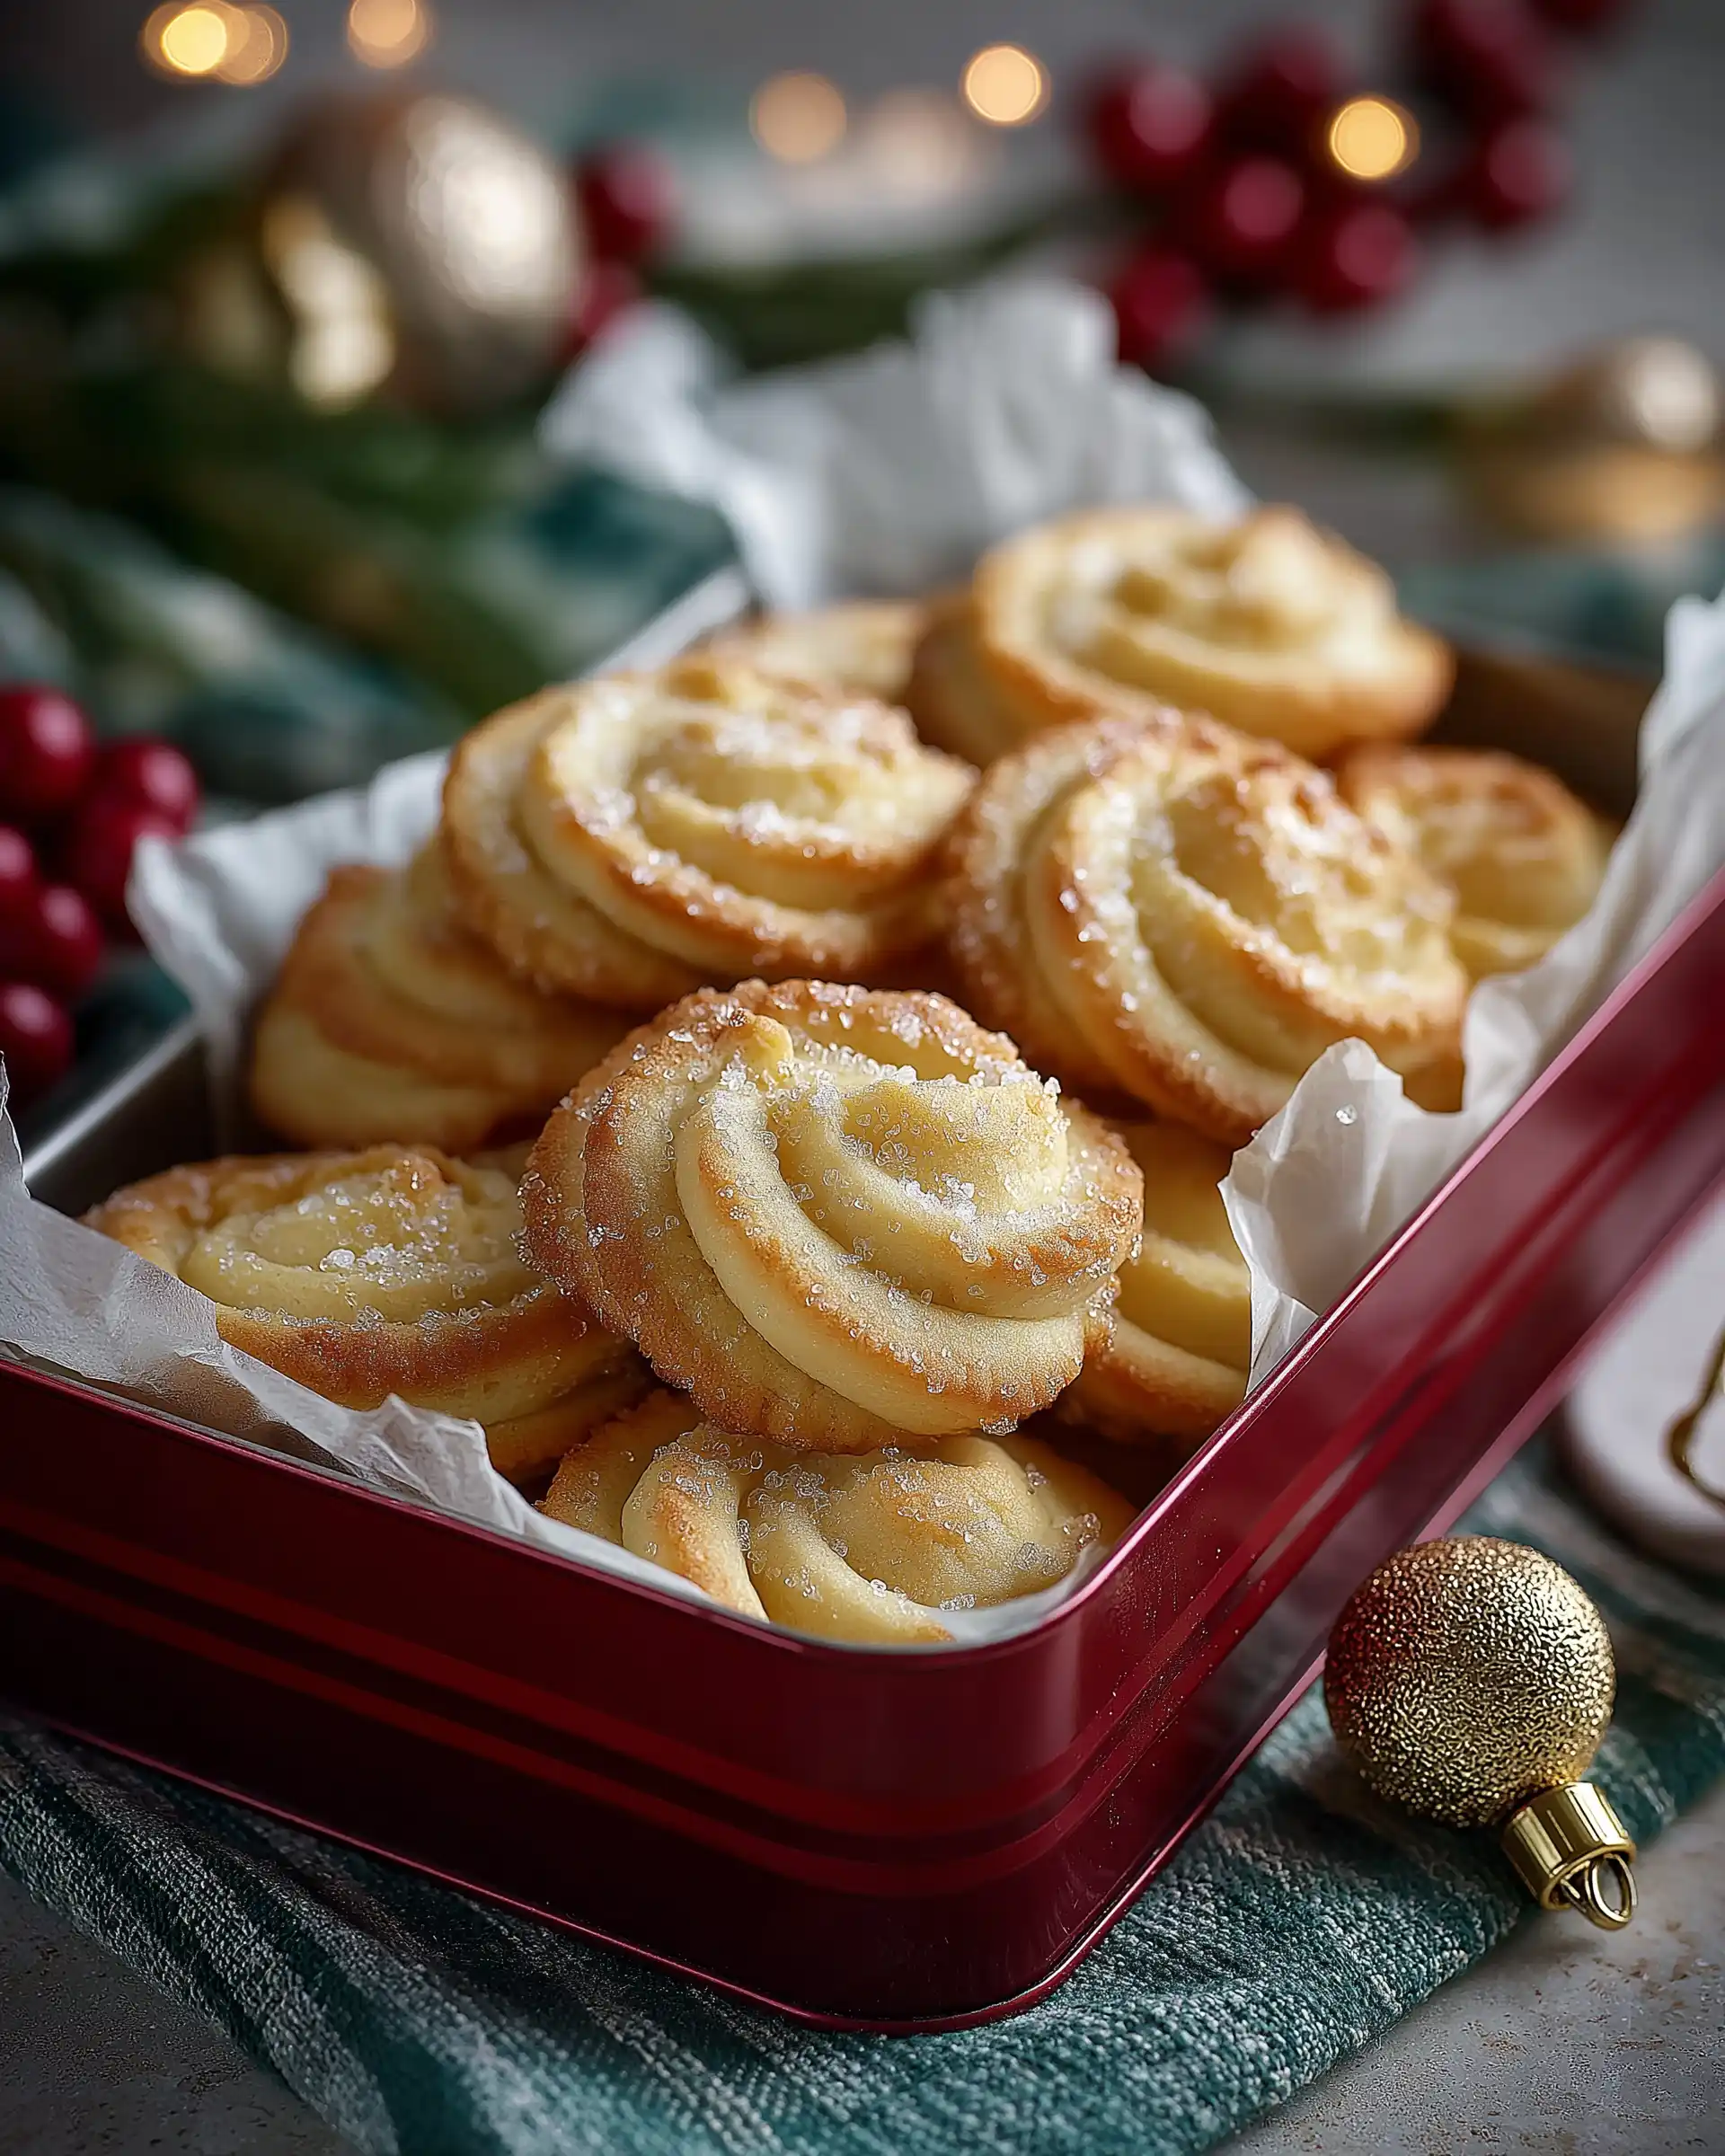
If there’s one cookie that feels like a warm hug from the kitchen, it’s the Danish butter cookie. Known for its melt-in-your-mouth texture, delicate sweetness, and rich buttery flavor, this classic treat has been a favorite for generations. From its iconic swirl shape to the satisfying crumb, these cookies aren’t just delicious, they also carry a sense of nostalgia.
Whether you’re making them for the holidays, a family gathering, or just to brighten a weekday afternoon, this recipe will help you create bakery-quality cookies right at home. Using simple pantry staples and a few essential tips, you’ll discover just how easy and rewarding it is to make these golden bites of joy.
In this article, we’ll explore the key ingredients that give Danish butter cookies their unique taste, the preparation techniques that ensure perfect texture, and step-by-step guidance to make them look as good as they taste. We’ll also touch on some variations to keep things exciting and a few expert tips for storage and presentation. Let’s start with the foundation – understanding what makes these cookies so irresistible.
Understanding Danish Butter Cookies and Their Signature Taste
The Origin of Danish Butter Cookies
Danish butter cookies have their roots in Denmark, where quality butter is a point of national pride. These cookies became popular worldwide not only for their flavor but also for their elegant appearance, often packed in decorative tins.
Their buttery richness comes from a high butter-to-flour ratio, creating a soft, crumbly texture that distinguishes them from other cookies. While similar cookies exist in other cultures, the Danish version has a particular lightness and a sweet, balanced taste that appeals to a wide range of palates.
What Makes Them Unique
What sets Danish butter cookies apart is the simplicity of their ingredients paired with precise technique. The flavor is built on just a handful of components: butter, sugar, flour, eggs, vanilla, and a pinch of salt. The magic happens when these are combined in the right way, with the butter beaten until fluffy to trap air and give the cookies their tender bite.
The dough is then piped or pressed into uniform shapes, often with a star tip, which bakes into beautifully defined ridges. This combination of texture and shape makes them not just a treat for the taste buds but also a feast for the eyes.
Essential Ingredients for Perfect Danish Butter Cookies
Choosing the Right Butter
The heart of any Danish butter cookie is, without question, the butter. For authentic flavor and texture, it’s best to use high-quality unsalted butter. Unsalted butter gives you complete control over the salt level, letting the vanilla and sweetness shine. The butter should be at room temperature, soft enough to blend easily but not so warm that it loses its structure. This ensures the dough holds its shape when piped and produces a crisp yet tender bite after baking.
Balancing Sweetness and Flavor
While these cookies aren’t overly sweet, the sugar plays more than one role. Granulated sugar not only sweetens the dough but also helps create that lightly crisp exterior. The addition of vanilla extract or vanilla bean paste enhances the flavor, adding a warm, aromatic note that pairs perfectly with the buttery base. The pinch of salt is equally important, balancing the sweetness and deepening the overall flavor profile.
Flour and Texture
All-purpose flour is the standard choice for Danish butter cookies because it provides enough structure without making the cookies tough. The flour is added gradually to prevent overmixing, which can develop too much gluten and lead to a dense texture. A gentle fold at the end ensures the dough remains soft and workable for piping or pressing into shapes.
Step-by-Step Guide to Making Danish Butter Cookies
Preparing the Dough
Start by preheating your oven to 350°F and lining two baking sheets with parchment paper or silicone baking mats. This step ensures your cookies bake evenly and release easily without sticking. In a large mixing bowl, beat the softened unsalted butter and granulated sugar on medium speed until the mixture becomes light and fluffy. This usually takes 1 to 2 minutes and is crucial for creating the tender, airy texture that defines Danish butter cookies.
Next, add the salt, vanilla extract, and egg, mixing until fully combined. Reduce the speed to low and gradually incorporate the flour. Stop mixing as soon as most of the flour is absorbed to avoid overworking the dough, then give it a final gentle stir with a spatula to make sure everything is evenly combined. The finished dough will be thick yet soft enough for piping.
Shaping the Cookies
Transfer the dough into a piping bag fitted with a large open star tip, such as Ateco #827 or Wilton 1M. Pipe 2-inch circles directly onto the prepared baking sheets, leaving enough space between them for even heat circulation. If you prefer, you can use a cookie press for uniform shapes.
Once piped, lightly sprinkle the tops with granulated sugar. This extra sugar creates a subtle crunch on the surface after baking and gives the cookies a gentle sparkle. Bake one sheet at a time for 15 to 17 minutes, or until the edges turn a light golden color. Let the cookies cool completely before handling to preserve their delicate shape and texture.
Storage, Serving, and Presentation Tips
Storing for Freshness
Danish butter cookies have a relatively long shelf life if stored properly. Once they are completely cooled, place them in an airtight container to prevent them from becoming stale. They will stay fresh at room temperature for up to one week. For longer storage, you can freeze them for up to three months. If freezing, layer the cookies between sheets of parchment paper in a freezer-safe container to protect their shape and prevent sticking. When ready to enjoy, simply let them thaw at room temperature without reheating, as warming them can change their crisp texture.
Serving Suggestions
These cookies are incredibly versatile when it comes to serving. They pair beautifully with coffee, tea, or a simple glass of milk. Because of their delicate look, they’re perfect for holiday platters, afternoon gatherings, or as a thoughtful addition to gift baskets. Their uniform shape and golden color also make them ideal for special occasions, as they add both elegance and a homemade touch.
Presentation Ideas
For an extra-special touch, place the cookies in decorative tins lined with parchment paper, mimicking the traditional Danish packaging. You can also wrap small bundles in clear cellophane and tie them with ribbon for personal gifts. If you’re preparing them for a party, arrange the cookies on a tiered dessert stand alongside other bite-sized treats. The simplicity of the cookies allows them to blend seamlessly into both casual and formal settings.
Flavor Variations and Creative Twists
Vanilla Bean Elegance
For a subtle yet luxurious upgrade, swap the vanilla extract for vanilla bean paste. This not only enhances the aroma but also adds tiny flecks of vanilla throughout the cookies, giving them a more artisanal appearance. The rich, deep flavor of real vanilla bean pairs beautifully with the buttery base and makes the cookies feel extra special without altering their classic charm.
Chocolate-Dipped Delight
Once the cookies have cooled completely, dip one side into melted chocolate and allow it to set on parchment paper. You can use dark, milk, or white chocolate depending on your taste preference. This variation adds a rich, contrasting flavor and an elegant visual detail, making them perfect for gifting or serving at more formal gatherings.
Citrus Infusion
Add finely grated lemon or orange zest to the dough before baking to give the cookies a refreshing twist. The light citrus note brightens the flavor while still complementing the buttery richness. This variation works especially well for spring and summer occasions or when you want something a little different from the traditional taste.
Festive Decorations
During the holidays or special events, you can sprinkle colored sugar or edible glitter over the piped dough before baking. This creates a vibrant, festive look while adding a touch of extra crunch. For themed gatherings, match the sugar colors to your party palette.
Conclusion
Danish butter cookies are a timeless classic, loved for their simplicity, rich flavor, and elegant presentation. With just a handful of basic ingredients and a few careful steps, you can create cookies that are crisp on the edges, tender in the center, and full of buttery goodness.
The beauty of this recipe lies in its flexibility, allowing you to enjoy the traditional version or add your own creative touches through flavor variations and decorative finishes. Whether you serve them at a family gathering, package them as gifts, or simply keep a tin at home for a quiet treat, these cookies are sure to bring comfort and smiles. Once you master this recipe, you’ll find yourself making them again and again, cherishing the tradition while adding your own personal flair.