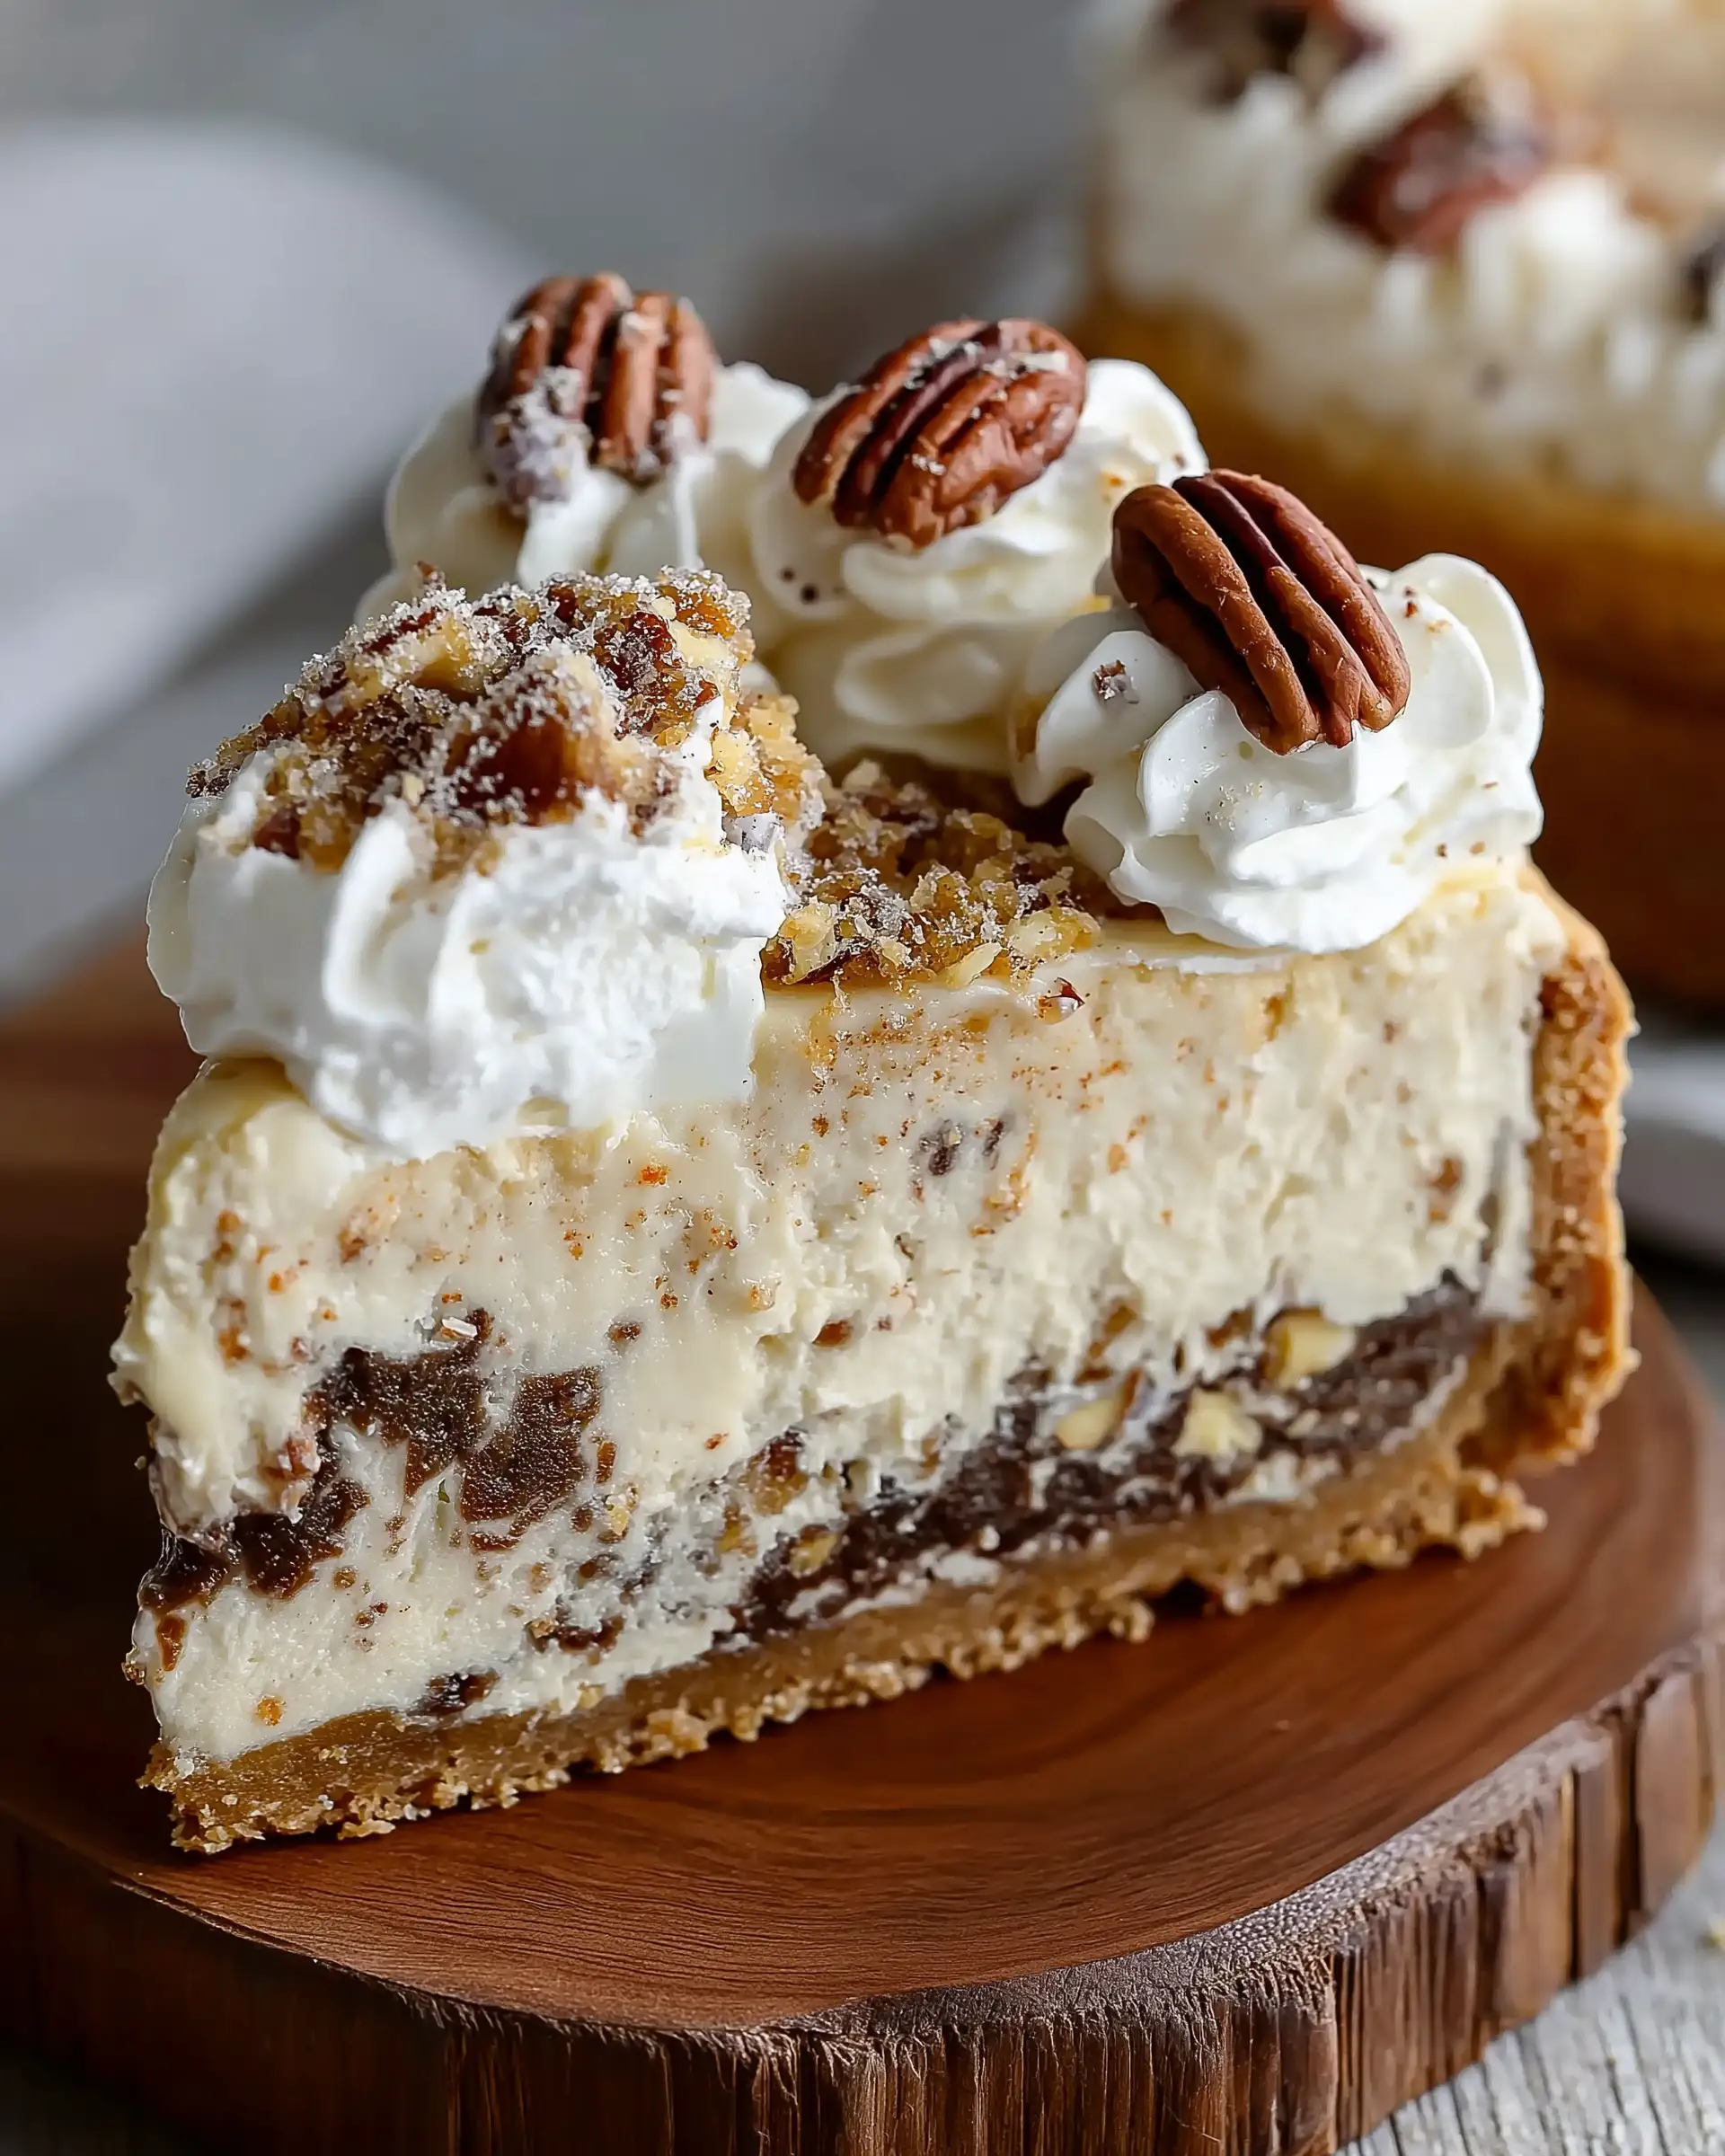
Imagine the rich, velvety goodness of cheesecake colliding with the gooey charm of a campfire s’more. That’s exactly what you get with this irresistible S’mores Cheesecake Recipe. It’s more than just a dessert-it’s an experience, combining creamy cheesecake filling, toasted marshmallows, and the classic graham cracker crust that’s loaded with chocolate morsels.
Whether you’re planning a summer get-together or simply looking to wow your family with something sweet, this recipe delivers indulgent perfection every time.
In this guide, we’ll walk you through everything you need to know to make the best s’mores cheesecake. From crafting the perfect crust to achieving that toasted marshmallow finish, we’ll cover tips for baking, cooling, and serving this decadent treat.
We’ll also explore variations, storage tips, and the science behind the baking process, so you can impress your guests with both your skills and your knowledge.
Contents
- 1 Building the Ultimate Graham Cracker Crust for S’mores Cheesecake
- 2 Crafting the Creamy Cheesecake Filling for a Perfect S’mores Cheesecake
- 3 S’mores Cheesecake Recipe
- 4 Step-by-Step: How to Mix the Cheesecake Filling
- 5 Baking S’mores Cheesecake to Silky, Creamy Perfection
- 6 Topping the S’mores Cheesecake with Fudge and Toasted Marshmallows
- 7 Serving and Storing Your S’mores Cheesecake the Right Way
- 8 Creative Variations and Pro Tips for the Ultimate S’mores Cheesecake Recipe
- 9 Conclusion
Building the Ultimate Graham Cracker Crust for S’mores Cheesecake
Why the Crust Matters in a S’mores Cheesecake Recipe
The crust in a cheesecake isn’t just a base-it’s the foundation that balances texture and flavor. For a S’mores Cheesecake, that means creating a thick, buttery graham cracker crust that echoes the classic s’more. A proper crust supports the dense cheesecake filling while adding a bit of crunch and sweetness to every bite.
In this recipe, graham cracker crumbs are mixed with melted butter, brown sugar, and vanilla extract, creating a rich base that mimics the traditional campfire dessert. What elevates it even more are the mini chocolate morsels and marshmallows folded into the base layer, giving you that authentic toasted s’more experience before you even reach the filling.
How to Make the Perfect Crust Texture and Flavor
Start by combining 1½ cups of graham cracker crumbs with ½ cup of brown sugar and 5 tablespoons of melted unsalted butter. Add 1 teaspoon of vanilla extract to enhance the flavor. Mix everything until it resembles wet sand.
Next, press the mixture firmly into the bottom of a greased 9-inch springform pan, pressing the crust halfway up the sides. This not only gives your cheesecake a beautiful edge but also holds everything together. Once your crust is packed in, sprinkle ¾ cup of mini chocolate morsels and 1 cup of marshmallows evenly over the base. These melt into gooey layers under the cheesecake filling, giving you that indulgent surprise in every slice.
Common Mistakes to Avoid When Making Cheesecake Crust
- Using cold butter: Always melt the butter completely. Cold or soft butter won’t bind the crumbs properly.
- Not pressing the crust firmly enough: Use the bottom of a measuring cup or glass to really compact the mixture.
- Skipping the marshmallows and chocolate: These ingredients are essential for capturing that true s’mores flavor.
Crafting the Creamy Cheesecake Filling for a Perfect S’mores Cheesecake
Key Ingredients for a Smooth and Velvety Texture
The heart of any cheesecake lies in its filling, and this S’mores Cheesecake Recipe delivers with a rich, indulgent texture that melts in your mouth. To create that luxurious creaminess, you’ll need:
- 32 oz of cream cheese, softened
- ½ cup sour cream for slight tang and added moisture
- ¾ cup heavy cream to smooth out the batter
- 2 large eggs for structure and richness
- ¾ cup white granulated sugar
- 2 tablespoons of corn starch for stability
- 2 teaspoons vanilla extract to enhance the flavor profile
The combination of these ingredients ensures your cheesecake is dense yet smooth, rich but not overwhelming. The sour cream and heavy cream play key roles in creating a balanced texture and flavor.
Print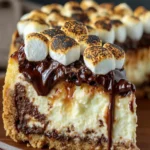
S’mores Cheesecake Recipe
- Total Time: 2 hours 10 minutes
- Yield: 12 servings
Description
Rich, creamy S’mores Cheesecake layered with a buttery graham cracker crust, toasted marshmallows, and warm fudge topping. A decadent dessert that brings campfire flavor indoors.
Ingredients
Crust:
1 ½ cups graham cracker crumbs
½ cup brown sugar
1 tsp vanilla extract
5 Tbsp melted unsalted butter
¾ cup mini chocolate morsels
1 cup marshmallows
Cheesecake:
32 oz cream cheese, softened
½ cup sour cream
2 eggs
¾ cup heavy cream
¾ cup white granulated sugar
2 Tbsp corn starch
2 tsp vanilla extract
Topping:
10 oz hot fudge topping, warmed
2 cups marshmallows
Instructions
1. Preheat oven to 325°F and grease a 9-inch springform pan.
2. Combine graham cracker crumbs, melted butter, brown sugar, and vanilla in a bowl.
3. Press mixture into the bottom and halfway up the sides of the springform pan.
4. Evenly sprinkle mini chocolate morsels and marshmallows over crust.
5. In a mixer, beat cream cheese until smooth and fluffy.
6. Add sugar and cornstarch, mix until combined.
7. Add eggs one at a time, mixing gently.
8. Add sour cream, vanilla, and heavy cream; mix until fully incorporated.
9. Pour filling over the crust and smooth the top.
10. Wrap the pan in heavy-duty foil and place it in a large roasting pan.
11. Add hot water to the roasting pan until it reaches halfway up the springform sides.
12. Bake for 90–95 minutes until the edges are set and the center is slightly jiggly.
13. Turn off oven, crack oven door, and let rest 10 minutes.
14. Remove and cool 10 minutes on counter, then run knife around edges to release.
15. Cool for 1 hour, then chill in the fridge for at least 4 hours.
16. Warm hot fudge and spread over the chilled cheesecake.
17. Top with marshmallows, broil for 30–35 seconds until toasted.
18. Cool slightly, then chill again before serving.
Notes
To avoid cracks, don’t overbake or rush cooling.
Use a water bath for best texture.
Marshmallows toast quickly—watch them closely under the broiler.
Let cheesecake sit at room temperature for 10 minutes before slicing for clean cuts.
- Prep Time: 10 minutes
- Cook Time: 2 hours
- Category: Dessert
- Method: Bake
- Cuisine: American
Step-by-Step: How to Mix the Cheesecake Filling
Start by beating the softened cream cheese on medium-high speed until it becomes smooth and fluffy. This step is critical-if your cream cheese is too cold, the batter will be lumpy.
Scrape the sides and bottom of the mixing bowl, then beat for another minute to ensure an even texture. Add corn starch and granulated sugar, mixing just until combined. This helps stabilize the filling and keeps it from cracking during baking.
Next, beat in the eggs one at a time, mixing gently to incorporate without overbeating. Overmixing eggs introduces air into the batter, which can cause cracks during baking.
Finally, add sour cream, vanilla extract, and heavy cream, and mix until everything is fully incorporated. Your batter should be thick, creamy, and lump-free.
Expert Tips for Perfect Cheesecake Batter
- Use room temperature ingredients to help everything mix smoothly.
- Don’t overbeat once eggs are added, or the cheesecake may rise and fall unevenly.
- Scrape the bowl often during mixing to prevent lumps.
Once your batter is ready, it’s time to transfer it into the crust-lined springform pan. Spread the filling evenly over the base, being careful not to disturb the chocolate morsels and marshmallows underneath.
Baking S’mores Cheesecake to Silky, Creamy Perfection
Why the Water Bath Method is Crucial
For the ultimate S’mores Cheesecake Recipe, texture is everything. A water bath, also known as a bain-marie, is the secret to achieving that ultra-smooth, crack-free surface with a luxuriously creamy interior. It creates gentle, even heat around the cheesecake, preventing it from overcooking or drying out along the edges.
To prepare your water bath:
- Wrap the outside of your springform pan tightly with heavy-duty aluminum foil. This prevents water from seeping into the pan during baking.
- Place the cheesecake-filled springform into a large roasting pan.
- Add hot water to the roasting pan, filling it halfway up the side of the springform pan.
This moisture barrier keeps the oven environment humid and ensures that your cheesecake bakes evenly, with a consistent, tender texture all the way through.
Time and Temperature: Getting It Just Right
Preheat your oven to 325°F before you begin assembling the water bath. Once everything is in place, carefully slide the roasting pan into the oven’s center rack. Bake the cheesecake for 90–95 minutes. You’ll know it’s ready when:
- The edges are set and slightly puffed.
- The center still has a slight jiggle when gently shaken.
Avoid the temptation to test doneness with a knife or toothpick-it can lead to cracks in the surface. Cheesecakes finish setting as they cool.
Cooling in Three Crucial Stages
This step is often overlooked, but it makes a massive difference in final quality. After baking:
- Turn off the oven and open the door halfway. Let the cheesecake sit inside for 10 minutes. This helps it begin cooling slowly, reducing the risk of sudden temperature changes that cause cracking.
- Remove the cheesecake from the oven and allow it to rest on the counter for another 10 minutes.
- Finally, gently run a butter knife around the edge to separate the cake from the springform pan. This keeps the top from tearing as it shrinks during cooling.
Let it cool on the counter for about an hour, then transfer to the fridge and chill for at least 4 hours, though overnight is best. The cheesecake will continue to firm up and develop deeper flavor during this time.
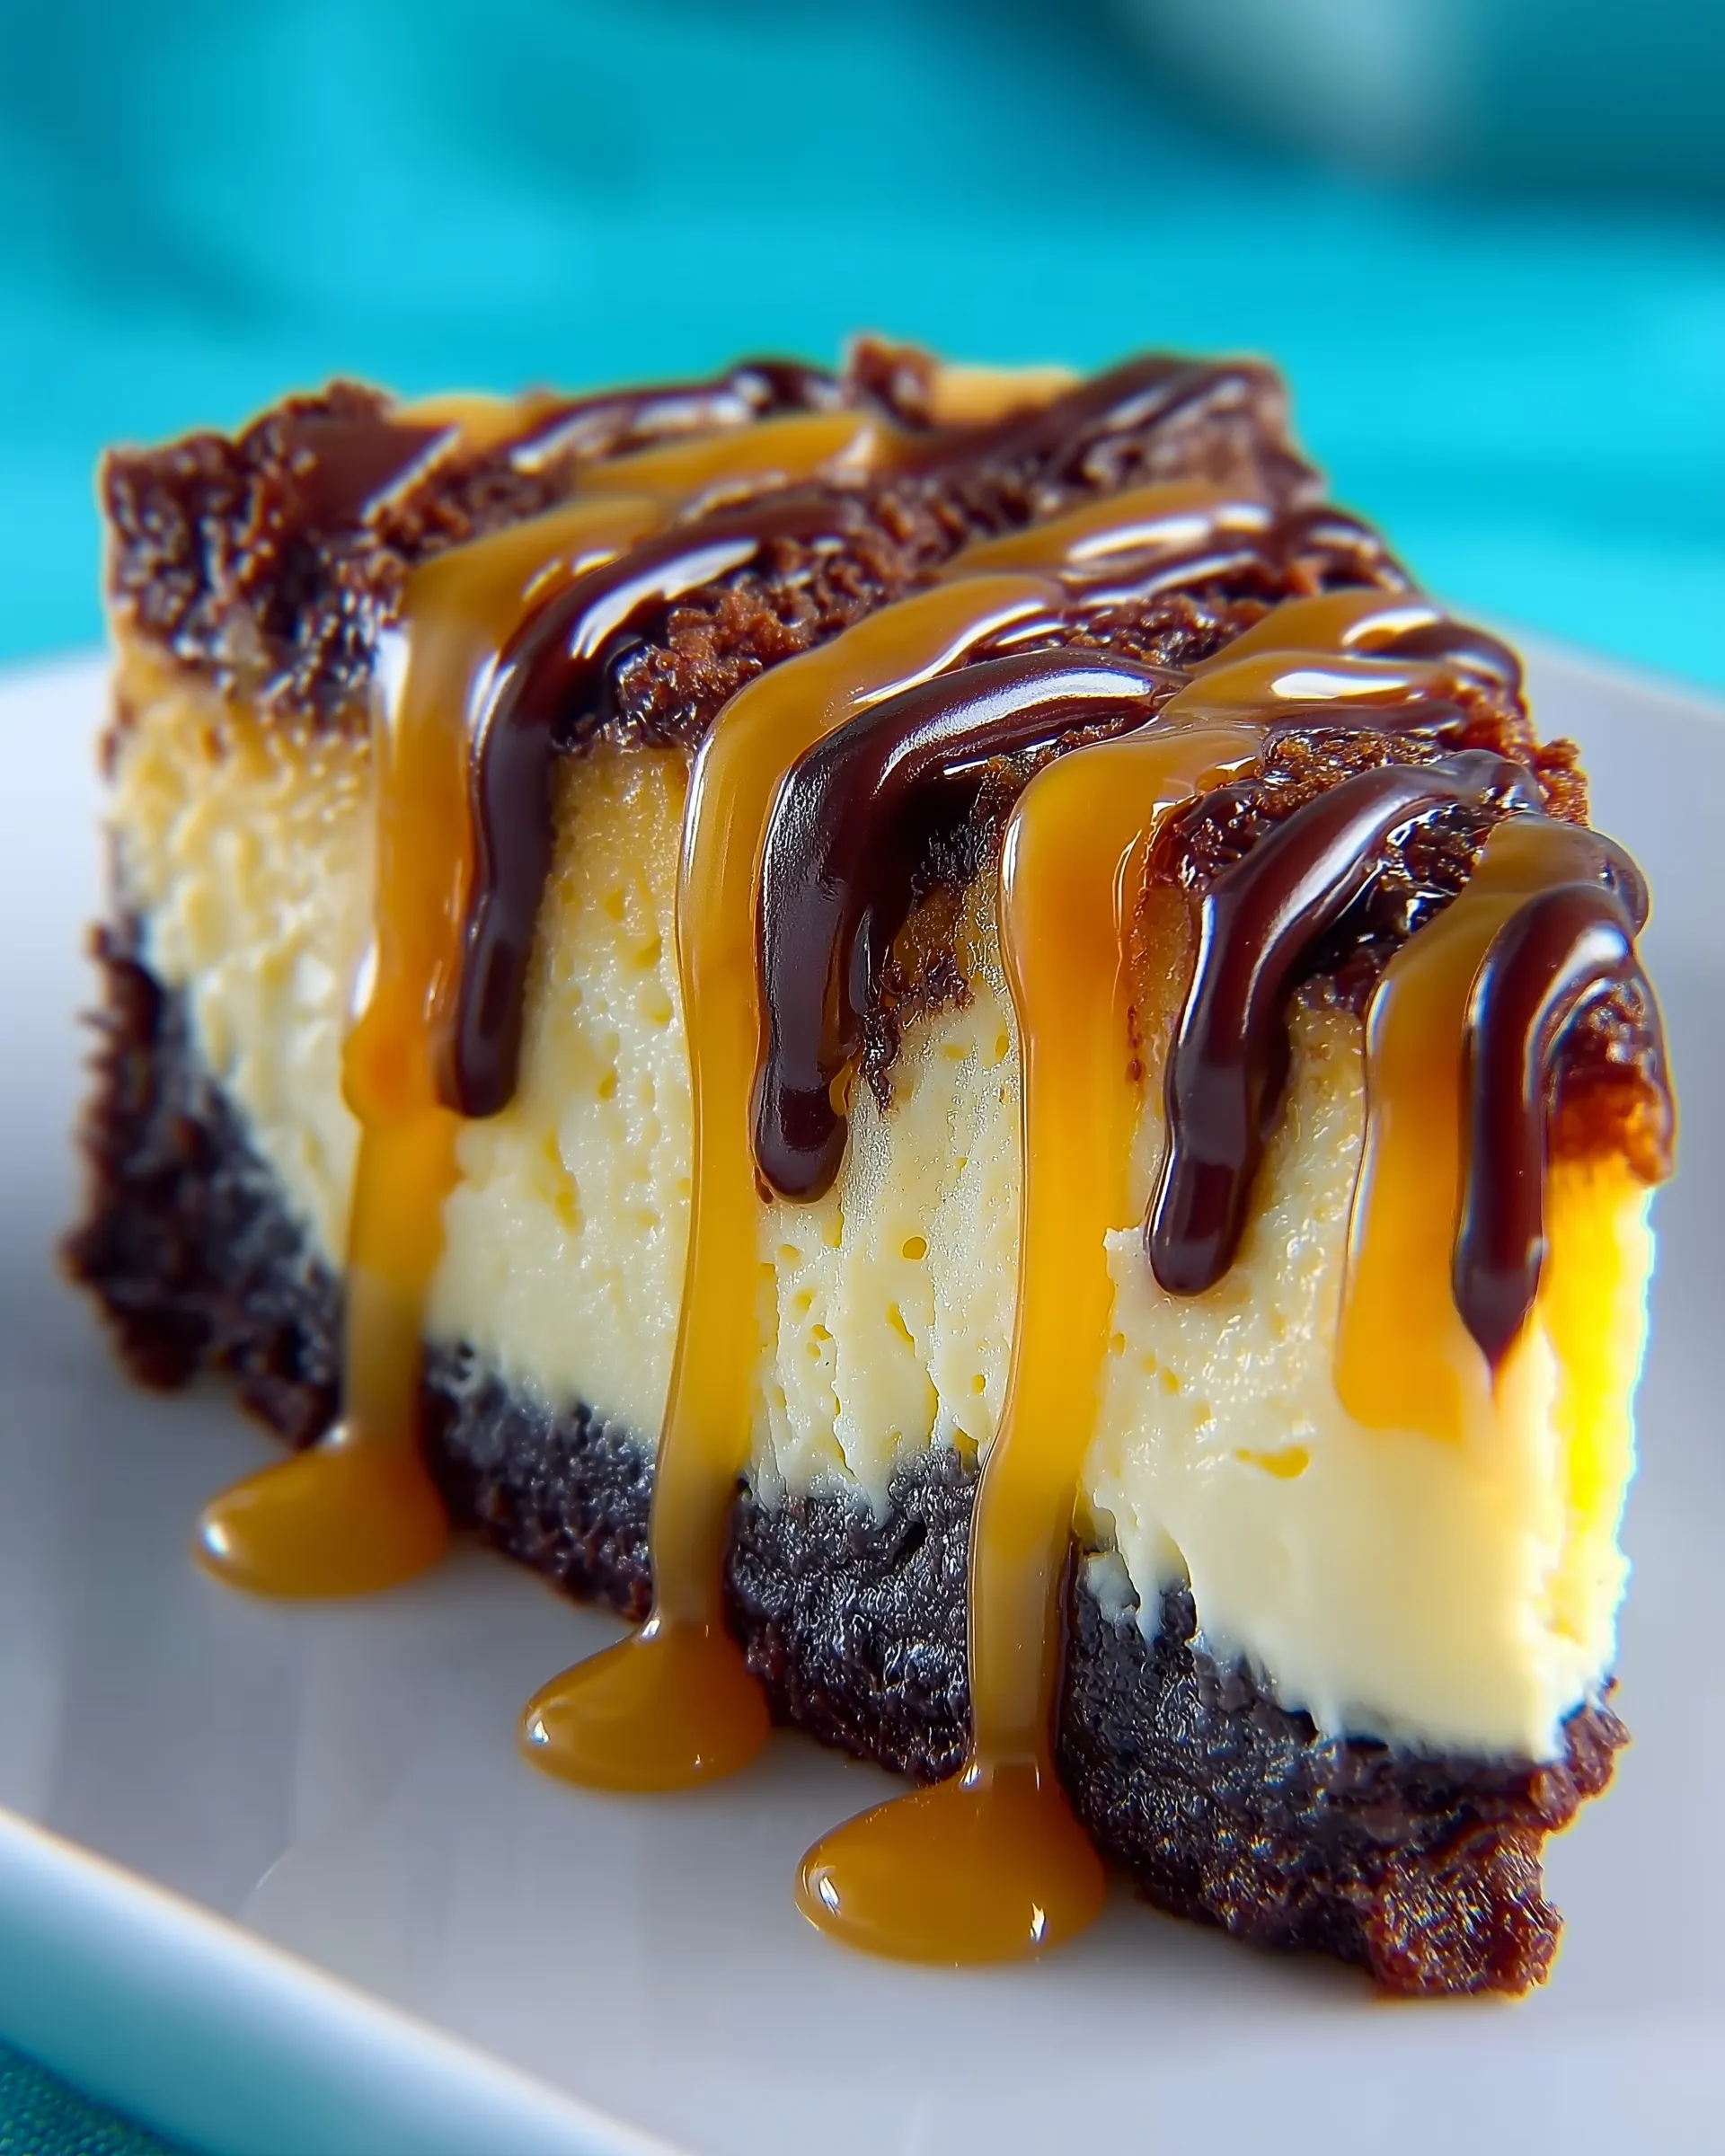
Topping the S’mores Cheesecake with Fudge and Toasted Marshmallows
Why the Topping Makes This S’mores Cheesecake Irresistible
The rich filling and buttery graham cracker crust are amazing on their own, but the topping is where the real magic happens in this S’mores Cheesecake Recipe. This part mimics that warm, gooey campfire s’mores experience-with a luscious layer of warm hot fudge and a pile of perfectly toasted marshmallows crowning the cheesecake.
Not only does it enhance the flavor and texture, but it also makes the dessert visually stunning. The warm chocolate melts slightly into the cooled cheesecake, while the marshmallows caramelize on top to form a golden, slightly crispy layer. It’s that combination of creamy, chocolatey, and toasty sweet that takes this cheesecake over the top.
Applying the Fudge and Marshmallow Topping Like a Pro
Once the cheesecake has cooled completely and chilled for a few hours, it’s ready for its final dressing. Here’s how to do it:
- Warm the hot fudge topping—about 10 oz—in the microwave or on the stove until it’s smooth and pourable, but not piping hot.
- Spread the fudge gently over the top of the chilled cheesecake using a spoon or offset spatula. Aim for an even layer, going all the way to the edges.
- Sprinkle 2 cups of marshmallows evenly on top of the fudge layer. Make sure they’re spread out enough to allow for even toasting.
Now comes the exciting part—broiling.
How to Toast Marshmallows Under the Broiler Without Burning Them
To get that perfect golden finish:
- Preheat the broiler in your oven.
- Place the cheesecake back in the oven, directly under the broiler on the center rack.
- Watch very closely—this step only takes 30 to 35 seconds. The marshmallows will toast quickly, turning golden brown and slightly puffed.
Remove the cheesecake as soon as the tops are toasted. Leave it to cool completely again at room temperature before returning it to the refrigerator. This short cooling period prevents steam from forming under the marshmallows, which could make the top soggy.
Serving and Storing Your S’mores Cheesecake the Right Way
How to Slice Cheesecake for Clean, Instagram-Worthy Pieces
You’ve followed every step of this S’mores Cheesecake Recipe perfectly-now it’s time to serve it up. But cutting cheesecake can get messy fast if you don’t use the right technique. To get clean, neat slices, here’s what you should do:
- Use a sharp, thin-bladed knife, and dip it in hot water before each cut. Wipe it dry immediately before slicing.
- Cut through the cheesecake in one motion rather than sawing back and forth.
- Clean the blade and dip it back in hot water before every single slice to keep your presentation flawless.
Letting the cheesecake sit at room temperature for 10 to 15 minutes before serving will soften the layers slightly, making it easier to cut while maintaining structure.
Perfect Serving Ideas for Every Occasion
This cheesecake is show-stopping enough to stand on its own, but if you want to dress up the presentation:
- Garnish each slice with mini chocolate chips or a few crushed graham crackers on the side.
- Add a small dollop of whipped cream or a single toasted marshmallow as a decorative topper.
- Serve on contrasting dark plates to make the toasted top pop visually.
Whether it’s a birthday party, weekend gathering, or casual dessert for the family, this cheesecake will steal the show.
Storing Leftovers to Keep Your Cheesecake Fresh
Proper storage is key to maintaining the texture and flavor of your cheesecake. Here’s how:
- Refrigerator: Keep it tightly covered with plastic wrap or in an airtight cake container. It will stay fresh for up to 5 days.
- Freezer: For longer storage, freeze slices individually. Wrap each one tightly in plastic, then place in a zip-top freezer bag. Cheesecake can be frozen for up to 2 months.
- To thaw: Move slices to the fridge and let them thaw overnight. Never microwave the cheesecake—it’ll alter the texture and melt the marshmallows.
Creative Variations and Pro Tips for the Ultimate S’mores Cheesecake Recipe
Fun Variations to Customize Your S’mores Cheesecake
While the classic S’mores Cheesecake Recipe is incredibly satisfying, sometimes it’s fun to put your own spin on things. These easy variations allow you to customize the dessert to match any event or preference:
- Peanut Butter S’mores Cheesecake: Swirl ½ cup of creamy peanut butter into the cheesecake batter just before pouring it into the crust. Peanut butter blends beautifully with the chocolate and marshmallow layers.
- Mini S’mores Cheesecakes: Use a muffin tin with paper liners to create bite-sized cheesecakes. Press a smaller amount of crust into each liner and bake for 25–30 minutes. Great for parties and easy serving!
- Dark Chocolate Twist: Replace the mini chocolate morsels with dark chocolate chunks for a deeper cocoa flavor. You can also drizzle dark chocolate on top before adding marshmallows.
- Cookie Crust Option: Swap graham crackers for crushed chocolate sandwich cookies or chocolate graham crackers to intensify the flavor profile.
These small tweaks allow you to make the dessert more exciting without changing the heart of the recipe.
Pro Tips for Perfect Cheesecake Every Time
Here are some key tips that elevate your baking game and ensure that your cheesecake turns out bakery-level every single time:
- Don’t skip the water bath: It may seem like an extra step, but it’s crucial for achieving that ultra-smooth texture with no cracks.
- Let ingredients come to room temperature: Cold ingredients won’t blend smoothly, and that can lead to lumpy batter and uneven baking.
- Use quality cream cheese: The flavor and texture of the cheesecake heavily rely on cream cheese. Choose a full-fat variety for best results.
- Avoid overbaking: The center should still be a bit jiggly when you turn off the oven. It will continue to set as it cools.
- Be patient with cooling: Rushing the cooling process can lead to cracks or soggy crust. Follow the three-step cooling method: oven, counter, then fridge.
These best practices combined with our foolproof recipe will help you master this decadent dessert from start to finish.
Conclusion
This S’mores Cheesecake Recipe takes everything you love about campfire s’mores and transforms it into a decadent, unforgettable dessert. From the buttery graham cracker crust loaded with chocolate and marshmallows to the rich, velvety cheesecake filling, and the golden toasted topping, every layer offers a burst of flavor and texture.
Whether you’re making it for a party, family dinner, or just to treat yourself, this cheesecake delivers indulgence in every bite. With step-by-step instructions, expert tips, and creative variations, you now have everything you need to bake like a pro. Follow the cooling process, nail the topping, and don’t be afraid to make it your own. One thing’s for sure-once you serve this, your dessert game will never be the same.