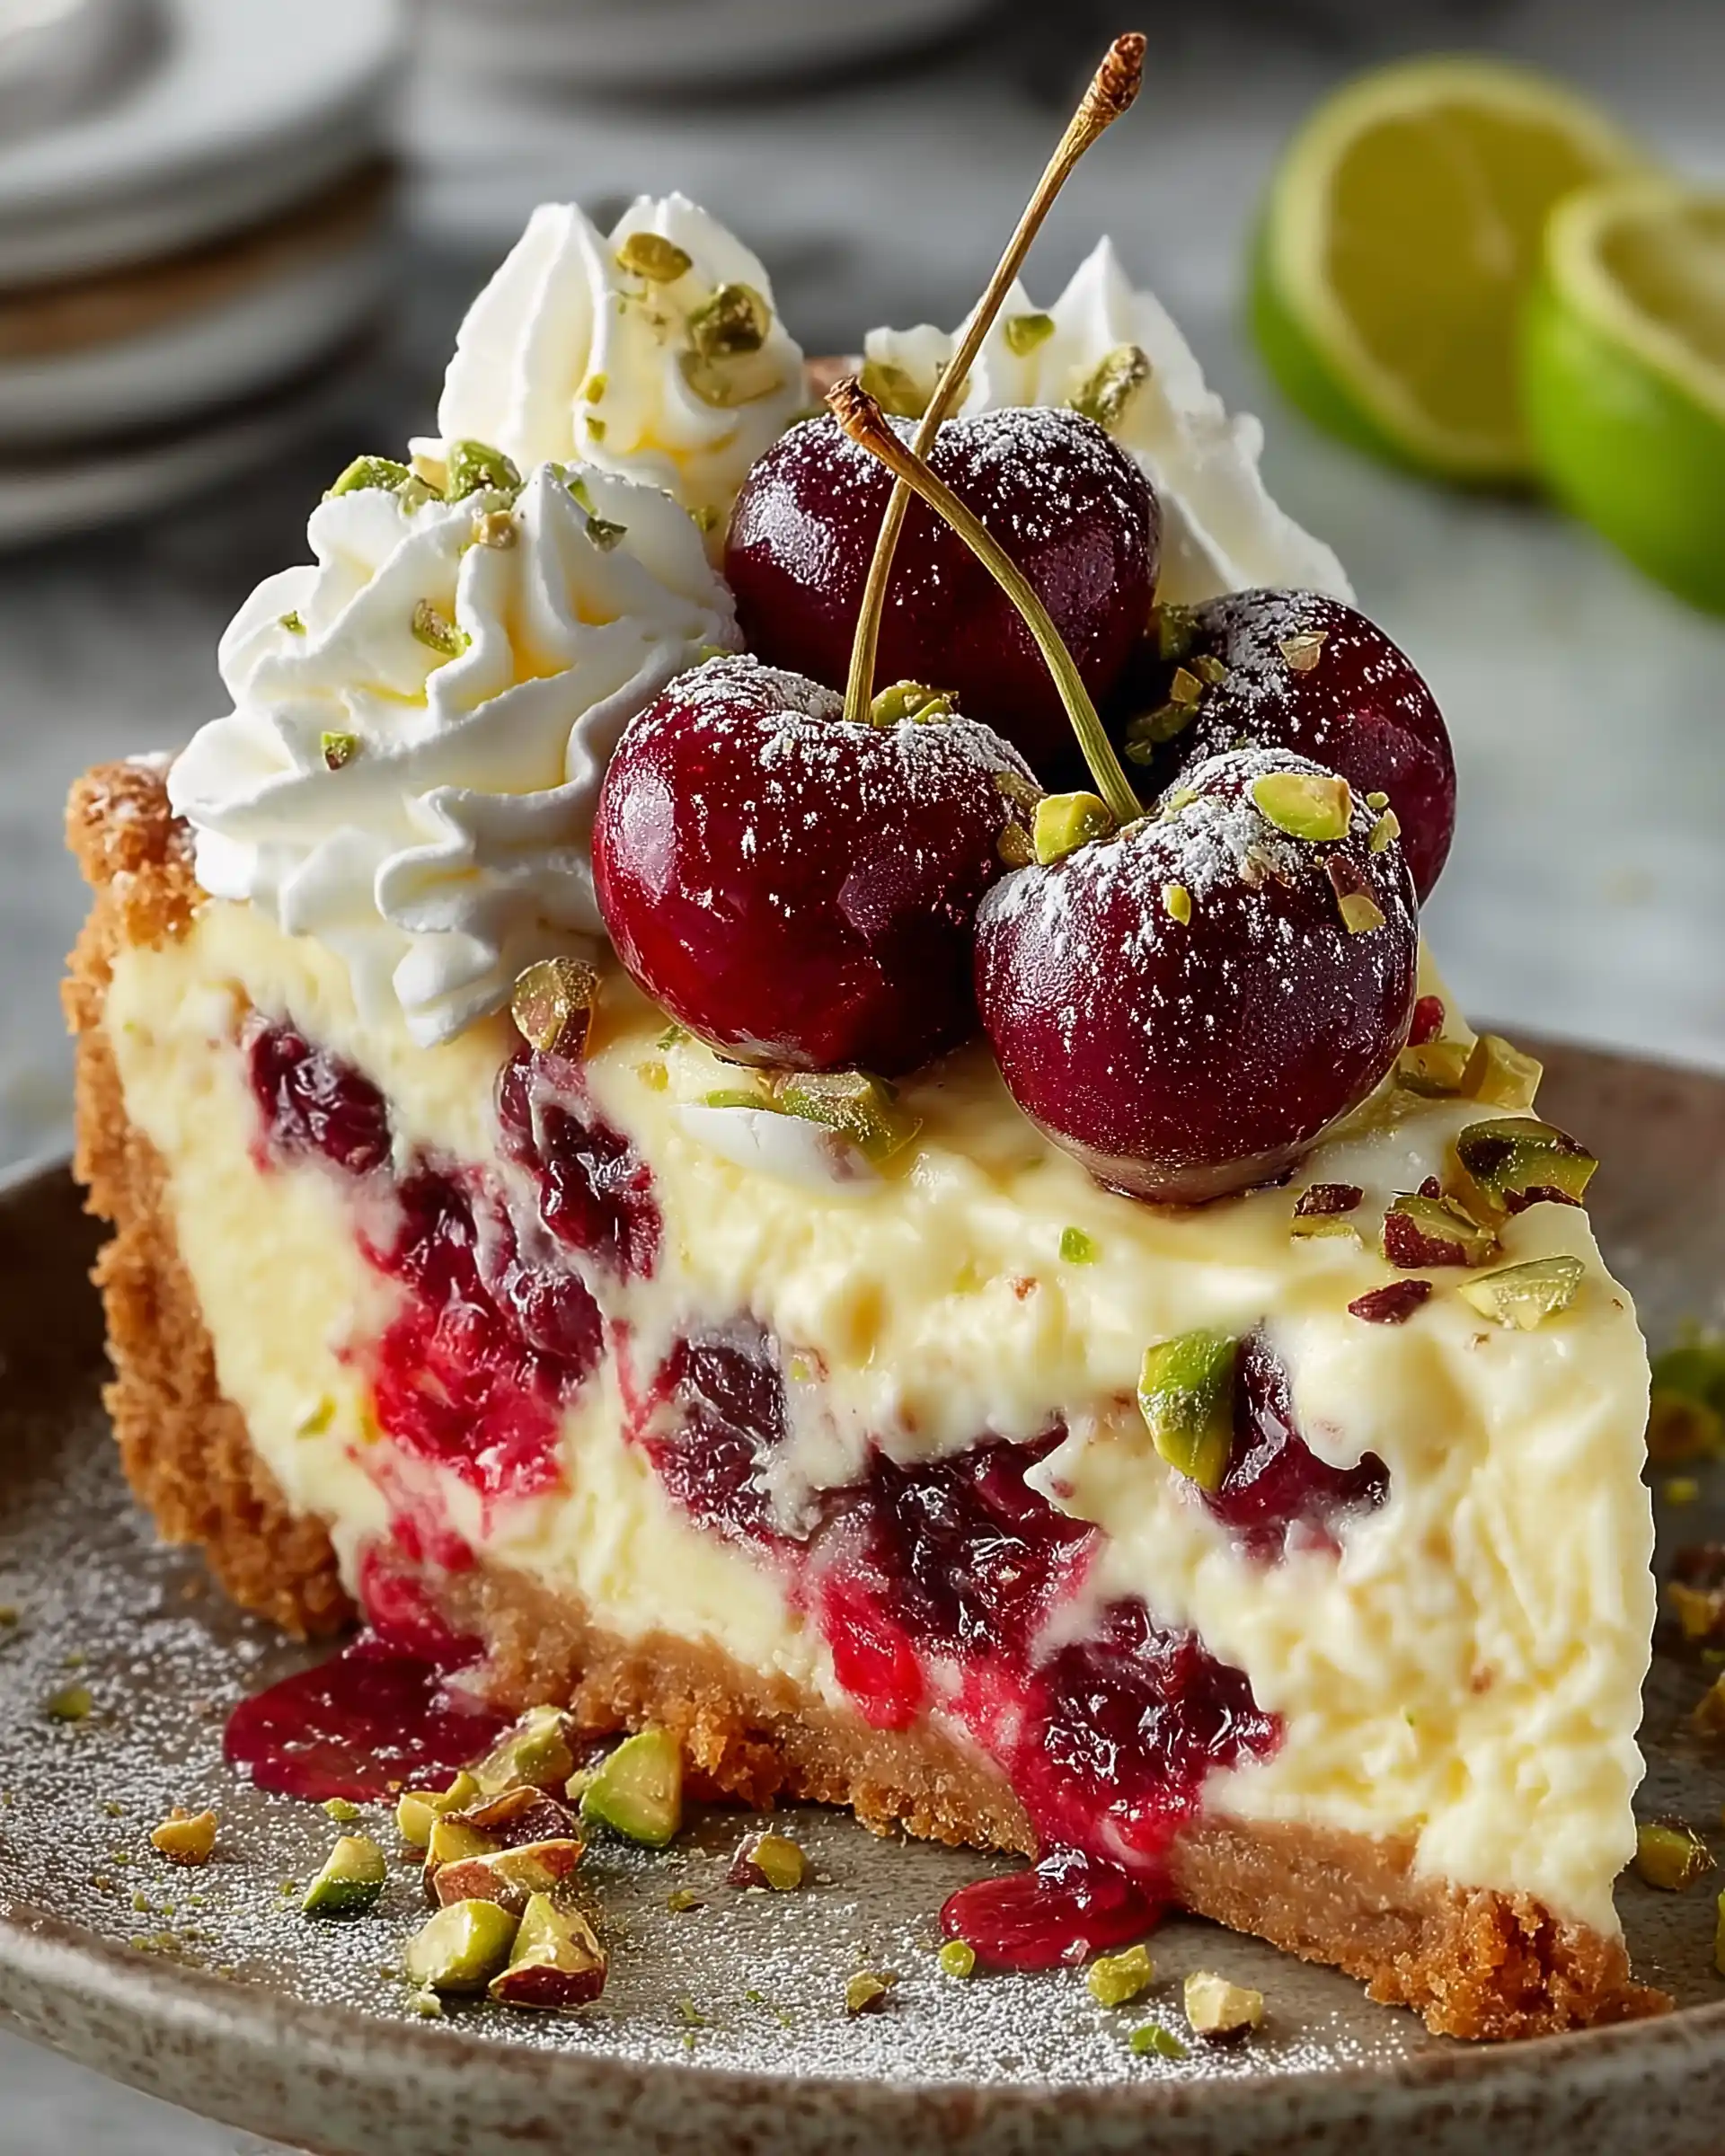
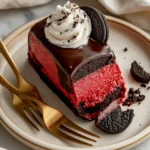
If you’re a dessert lover who swoons at the thought of rich, creamy cheesecake fused with the flavors of chocolate, vanilla, and tangy cream cheese, this Red Velvet Oreo Cheesecake Recipe is your dream come true.
It combines the velvety texture and iconic red hue of red velvet cake with the bold, crunchy character of Oreos and the smooth richness of a traditional cheesecake. Whether you’re preparing for a birthday celebration, holiday feast, or just want to indulge in something spectacular, this recipe will impress anyone who takes a bite.
In this guide, we’ll walk through every step of making this showstopping dessert – from the buttery Oreo crust to the silky red velvet filling, the luxurious chocolate ganache topping, and the fluffy whipped cream decoration.
You’ll learn what ingredients to use, how to prepare each layer properly, tips for baking with a water bath, and how to assemble your final masterpiece. Let’s dive into Part 1 and start with the foundation: the crust.
Contents
- 1 Crafting the Perfect Oreo Crust for Red Velvet Cheesecake
- 2 Red Velvet Oreo Cheesecake Recipe
- 3 Making the Creamy Red Velvet Cheesecake Filling
- 4 Creating the Smooth Chocolate Ganache Topping
- 5 Making Fluffy Whipped Cream for the Perfect Finish
- 6 Assembling and Chilling the Red Velvet Oreo Cheesecake
- 7 Storing and Serving Your Red Velvet Oreo Cheesecake
- 8 Conclusion
Crafting the Perfect Oreo Crust for Red Velvet Cheesecake
Why the Crust Matters
The crust is more than just a base – it provides texture and contrast to the smooth filling. In this recipe, Oreo cookies bring both crunch and a deep chocolate flavor that complements the red velvet filling beautifully. A good crust must be firm enough to hold the filling yet tender when sliced.
Ingredients for the Crust
To make the Oreo crust, you’ll need:
- 3 cups Oreo cookie crumbs (about 36 Oreos, finely crushed)
- 4 tablespoons unsalted butter, melted
- ¼ teaspoon sea salt
These three simple ingredients come together to form a rich, buttery, and slightly salty base that balances out the sweetness of the filling.
How to Prepare the Crust
- Preheat your oven to 355°F (180°C). Grease a 9-inch springform pan with cold butter, ensuring the bottom and sides are well-coated.
- Mix the ingredients. In a large bowl, combine the Oreo crumbs, melted butter, and salt. Stir until the crumbs are fully coated with the butter.
- Form the crust. Pour the mixture into the prepared pan. Use the bottom of a glass to press the crumbs into an even layer across the base and about 1 inch up the sides. Firm packing ensures the crust won’t crumble later.
- Bake. Place the crust in the oven and bake for 12 minutes. Once done, remove it and let it cool while you prepare the filling.
Pro Tips for a Strong Crust
- Use a glass or measuring cup to press down the crust for a tight, even layer.
- Don’t skip baking the crust before adding the filling. This helps it set and prevents sogginess.
- Finely crush the Oreos with a food processor for a uniform texture.
Red Velvet Oreo Cheesecake Recipe
- Total Time: 80 mins + 8 hrs chill
- Yield: 12 servings
- Diet: Vegetarian
Description
This rich Red Velvet Oreo Cheesecake is a showstopping dessert that combines a crunchy Oreo crust, creamy red velvet filling, smooth chocolate ganache, and fluffy whipped cream topping.
Ingredients
Crust:
3 cups Oreo cookie crumbs (36 Oreos, finely crushed)
4 tbsp unsalted butter, melted
¼ tsp sea salt
Filling:
32 oz cream cheese, softened
1 cup granulated sugar
¼ tsp sea salt
¾ cup sour cream, room temperature
½ cup heavy cream
1 tbsp white vinegar
1 tbsp pure vanilla extract
4 tbsp cocoa powder
3 large eggs, room temperature
Red gel food coloring
Ganache:
1 cup semisweet chocolate chips
¾ cup heavy whipping cream
Whipped Cream:
1 cup heavy whipping cream, cold
¼ cup powdered sugar
½ tsp pure vanilla extract
Topping:
12 Oreos (8 whole, 4 crumbled)
Instructions
1. Preheat oven to 355°F (180°C) and grease a 9-inch springform pan.
2. Mix Oreo crumbs, melted butter, and salt. Press firmly into the pan and bake for 12 minutes. Let cool.
3. Boil water for a water bath.
4. Beat cream cheese, sugar, and salt until smooth.
5. Add sour cream and mix. Add heavy cream, vinegar, vanilla, and cocoa powder. Mix well.
6. Add eggs one at a time, mixing gently after each addition.
7. Stir in red food coloring until desired red shade is achieved.
8. Place cheesecake pan inside a larger pan. Then place both in a large rectangular baking dish.
9. Pour filling into crust. Add boiling water around the outside pan to create a water bath.
10. Bake for 70–90 minutes. Let cool in the oven with the door open for 10 minutes, then cool fully at room temperature.
11. Refrigerate for at least 8 hours or overnight.
12. To make ganache, bring cream to a simmer and pour over chocolate chips. Let sit 7 minutes, then whisk smooth.
13. Pour ganache over chilled cheesecake and freeze for 10 minutes to set.
14. Whip cream, sugar, and vanilla to stiff peaks.
15. Pipe whipped cream around the edge of cheesecake. Add 8 whole Oreos and sprinkle crumbled Oreos over the top.
16. Slice and serve chilled.
Notes
Make sure cream cheese and eggs are at room temperature for a smoother batter.
Do not skip the water bath-it prevents cracks and helps even baking.
Chill the cheesecake overnight for best texture and flavor.
- Prep Time: 25 mins
- Cook Time: 55 mins
- Category: Cheesecake
- Method: Baking
- Cuisine: American
Making the Creamy Red Velvet Cheesecake Filling
What Makes This Red Velvet Filling So Special
This red velvet Oreo cheesecake filling is where the magic happens. It’s rich, tangy, smooth, and decadent. Red velvet flavor isn’t just chocolate dyed red — it’s a balanced blend of cocoa, vanilla, a slight tang from vinegar, and of course, the luxurious texture from cream cheese and sour cream.
When combined with the Oreo crust and topped with ganache, the result is a multi-layered flavor profile that’s impossible to resist.
Ingredients You’ll Need for the Filling
To create the creamy red velvet cheesecake layer, gather these ingredients:
- 32 oz cream cheese, softened to room temperature
- 1 cup granulated sugar
- ¼ teaspoon sea salt
- ¾ cup sour cream, room temperature
- ½ cup heavy cream
- 1 tablespoon white vinegar
- 1 tablespoon pure vanilla extract
- 4 tablespoons cocoa powder
- 3 large eggs, room temperature
- Red gel food coloring (add enough for a rich red tone)
Preparing the Cheesecake Batter
- Preheat a kettle of water. You’ll need it later for the water bath method.
- Beat the cream cheese. In a stand mixer with a paddle attachment, or a large bowl with a hand mixer, beat the cream cheese, sugar, and salt until the mixture is creamy and lump-free. Scrape down the sides of the bowl to ensure everything mixes evenly.
- Add sour cream and cream. Blend in the sour cream, then the heavy cream. Scrape down the bowl in between.
- Mix in vinegar, vanilla, and cocoa. These three elements work together to bring out that distinct red velvet flavor. Stir until fully incorporated.
- Add eggs one at a time. Mix well between each addition, scraping the bowl to make sure all ingredients blend evenly.
- Add red food coloring. Carefully add the gel food coloring, starting with a small amount and increasing until you reach the desired deep red hue. Mix gently to avoid over-beating, which can cause the cheesecake to crack.
Tips for a Silky Smooth Cheesecake
- All ingredients should be at room temperature for the best texture.
- Don’t overmix after adding the eggs — just enough to blend.
- Use gel coloring instead of liquid to avoid altering the batter’s consistency.
How to Assemble Before Baking
Now it’s time to get ready for baking:
- Place your pre-baked crust inside a slightly larger round pan (1–2 inches wider). Then place that pan inside a larger rectangular baking dish.
- Pour the batter into the crust and smooth the top with a spatula.
- Carefully pour boiling water into the large rectangular dish to create a water bath. This method ensures even baking and helps prevent cracks.
- Gently transfer the entire setup into the oven.
Baking Instructions
- Bake at 355°F (180°C) for 70–90 minutes, or until the edges are set and the center jiggles slightly.
- Turn off the oven, crack the door, and let the cheesecake cool inside for 10 minutes.
- Remove it from the water bath and allow it to reach room temperature.
- Once cooled, cover and refrigerate for at least 8 hours or overnight for best results.
Creating the Smooth Chocolate Ganache Topping
Why Ganache Elevates Your Cheesecake
A rich chocolate ganache adds both elegance and indulgence to your red velvet Oreo cheesecake. It brings a glossy finish and an extra layer of flavor that perfectly balances the tanginess of the filling and the crunch of the crust. Made with just two ingredients, this ganache comes together in minutes and transforms your cheesecake into a bakery-worthy dessert.
Ingredients for the Ganache
- 1 cup semisweet chocolate chips
- ¾ cup heavy whipping cream
These ingredients create a silky, pourable topping that sets beautifully on top of a chilled cheesecake.
Step-by-Step Ganache Preparation
- Heat the cream. In a small saucepan, bring the heavy whipping cream to a simmer over medium heat. Keep an eye on it — don’t let it boil.
- Pour over chocolate. Place the chocolate chips in a heat-safe bowl. Once the cream starts to simmer, pour it directly over the chocolate.
- Let it sit. Let the mixture sit for about 7 minutes. This allows the hot cream to fully melt the chocolate.
- Whisk until smooth. After the wait, whisk the mixture gently until it becomes glossy and completely smooth. Set aside to cool while you prepare the whipped cream.
Tips for the Perfect Ganache
- Use high-quality semisweet chocolate chips for the best flavor.
- Let the ganache cool slightly before pouring it onto the cheesecake. Hot ganache can melt the top layer of the cake and create uneven texture.
- Don’t rush the whisking process. Take your time to ensure a lump-free, shiny finish.
How to Apply the Ganache
- Remove your cheesecake from the fridge. Make sure it’s fully chilled and set.
- Pour the ganache. Once the ganache has cooled to room temperature but is still pourable, slowly pour it over the center of the cheesecake.
- Spread gently. Use a small offset spatula or the back of a spoon to guide the ganache to the edges of the cake. You can let it drip slightly over the sides for a dramatic effect.
- Set in the freezer. Place the cake in the freezer for about 10 minutes to allow the ganache to firm up before adding the whipped cream border.
The ganache creates a decadent topping that ties together the flavors of chocolate, vanilla, and tangy cream cheese in every bite.
Making Fluffy Whipped Cream for the Perfect Finish
Why Whipped Cream Completes This Cheesecake
The whipped cream topping isn’t just for looks – it adds a light, airy contrast to the dense, creamy filling and rich chocolate ganache. Its subtle sweetness and vanilla flavor give the cheesecake a bakery-style finish, while also creating a base for the final Oreo decoration.
Ingredients for the Whipped Cream Topping
To make the whipped topping, you’ll need:
- 1 cup heavy whipping cream, cold
- ¼ cup powdered sugar
- ½ teaspoon pure vanilla extract
These simple ingredients create a sweet, fluffy topping that holds its shape when piped.
How to Make the Whipped Cream
- Chill your tools. For best results, place your mixing bowl and whisk attachment (or beaters) in the fridge or freezer for 10–15 minutes before whipping. Cold tools help the cream whip faster and stay stable.
- Combine ingredients. In the chilled bowl, add the cold heavy cream, powdered sugar, and vanilla extract.
- Whip to stiff peaks. Use a stand mixer with a whisk attachment or a handheld mixer. Start on low speed, then increase to medium-high. Beat until stiff peaks form — when the cream holds its shape and stands upright without collapsing.
Tips for a Stable Whipped Cream
- Don’t overwhip. Stop as soon as you see stiff peaks — overmixing can turn the cream grainy or even buttery.
- Use powdered sugar instead of granulated to help stabilize the cream.
- Add a stabilizer like gelatin if you need the whipped cream to hold for several days.
Decorating with Whipped Cream
Once your ganache layer is set and your whipped cream is ready:
- Prepare a piping bag. Fit a piping bag with a star tip (like Wilton 1M), or simply snip off the corner of a plastic bag.
- Pipe a border. Pipe decorative swirls or rosettes around the edge of the cheesecake. This not only looks beautiful but also holds the final garnish.
- Garnish with Oreos. Place 8 Oreo cookies evenly spaced around the border. Then crumble 4 more Oreos and sprinkle the crumbs over the top for texture and crunch.
This whipped topping and garnish step adds height, color contrast, and irresistible flavor to your cheesecake.
Assembling and Chilling the Red Velvet Oreo Cheesecake
Why Assembly Timing Matters
Bringing together each layer — crust, filling, ganache, and whipped cream — takes patience. Each layer must be properly cooled and set before adding the next to ensure a clean structure and beautiful presentation. Rushing any part of the assembly can lead to a runny top, cracked surface, or collapsed decoration.
Step-by-Step Assembly Process
1. Start with a Fully Chilled Cheesecake
After baking the cheesecake and cooling it in the oven with the door open, it should then be brought to room temperature. Once it’s cooled, tightly wrap it and refrigerate for at least 8 hours, or ideally overnight. This allows the structure to firm up and the flavors to deepen.
2. Add the Ganache Layer
Once the cheesecake is firm and chilled:
- Pour the slightly cooled ganache over the top center of the cheesecake.
- Use a spoon or offset spatula to gently spread the ganache to the edges.
- Optionally, allow some ganache to drip slightly over the edge for a rustic effect.
- Place the cheesecake in the freezer for 10 minutes to let the ganache set.
3. Pipe the Whipped Cream Topping
Once the ganache is firm:
- Fill a piping bag with your prepared whipped cream.
- Pipe a decorative border around the top edge of the cheesecake. You can use swirls, shells, or rosettes based on your design preference.
4. Decorate with Oreos
- Place 8 whole Oreo cookies around the whipped cream border. Arrange them evenly, spacing each across from the other.
- Crumble the remaining 4 Oreos and sprinkle the crumbs into the center of the cheesecake, giving a crunchy finish that matches the crust.
Presentation Tips
- Use a cake lifter or thin spatula to transfer the cheesecake onto a serving platter.
- Wipe the knife clean between each slice for sharp, clean cuts.
- Garnish each slice with an extra Oreo or a dollop of whipped cream for added flair.
This final assembly step transforms your red velvet Oreo cheesecake into a true centerpiece dessert – perfect for holidays, celebrations, or anytime indulgence.
Storing and Serving Your Red Velvet Oreo Cheesecake
How to Store for Maximum Freshness
Proper storage is key to maintaining the rich texture, creamy filling, and firm crust of your cheesecake. Whether you’re making it ahead for a party or saving leftovers, here’s how to keep it tasting fresh for days.
Short-Term Storage (Up to 5 Days)
- Refrigerate Covered: Place the cheesecake in an airtight container or cover it with plastic wrap or foil to prevent it from absorbing fridge odors.
- Avoid Crushing the Toppings: Use a cake dome or tented foil to protect the whipped cream and Oreo toppings.
- Chill Before Serving: Always serve the cheesecake cold for the best texture and flavor. Remove it from the fridge just 5–10 minutes before slicing.
Freezing for Later
- Freeze Without the Toppings: If you plan to freeze the cheesecake, do it before adding whipped cream and Oreos. Ganache freezes well, but whipped cream does not.
- Wrap Tightly: Wrap the cheesecake (or individual slices) in plastic wrap, then again in foil.
- Freeze for Up to 2 Months: Label with the freeze date.
- Thaw Properly: Move to the refrigerator and let it thaw overnight before adding the whipped cream and Oreo garnish.
Best Way to Serve
- Clean Slices: For bakery-style slices, dip your knife into hot water, wipe it dry, and slice. Repeat between each cut.
- Room Temperature Isn’t Ideal: Unlike traditional cakes, cheesecake should be served cold. Letting it sit out too long can make it soft and unstable.
- Pair It Well: Serve with a cold glass of milk or a warm cup of coffee to balance the richness.
Portioning Tips
This cheesecake serves 12 generous slices. But for parties with other desserts, you can easily cut it into 16 smaller slices without compromising the experience. It’s rich, so smaller portions still satisfy.
With proper storage and presentation, your red velvet Oreo cheesecake will stay picture-perfect and taste just as delicious on day three as it did when you first sliced it.
Conclusion
This Red Velvet Oreo Cheesecake Recipe is the ultimate dessert fusion — a rich red velvet cheesecake with the creamy tang of cream cheese, the smooth luxury of semisweet ganache, and the beloved crunch of classic Oreos.
Every bite layers together velvety smooth filling, buttery chocolate crust, silky ganache, and soft peaks of vanilla whipped cream topped with more Oreos. It’s indulgent, impressive, and totally worth the effort.
From preparing the crust to mastering the water bath, whipping up the ganache, and decorating with flair, you now have all the tools and tips to create this showstopper right at home. Whether you’re planning a birthday, holiday dinner, or a surprise treat, this cheesecake promises to deliver both flavor and wow factor.