There’s something magical about fruit desserts, especially when the ingredients are orchard-fresh and the result is a velvety, creamy delight. The Orchard Fresh Cheesecake Recipe is a show-stopping dessert that brings together juicy peaches, tart raspberries, and rich cream cheese for a perfect fusion of textures and flavors.
This cheesecake isn’t just another baked dessert, it’s a seasonal celebration on a plate. Whether you’re planning a summer get-together, a picnic dessert, or simply craving something indulgent, this recipe delivers a bakery-quality experience right from your kitchen.
In this article, we’ll walk you through the entire process, from creating the buttery graham cracker crust to adding the final whipped cream topping. We’ll also explore how to choose the best fruit, master the baking process without cracks, and serve it like a pro. Let’s begin with the very base of the masterpiece, the crust.
Contents
Crafting the Perfect Graham Cracker Crust
Understanding the Role of the Crust
Every great cheesecake starts with a solid base. In this Orchard Fresh Cheesecake Recipe, the graham cracker crust adds a toasty, buttery crunch that contrasts beautifully with the creamy filling. A well-balanced crust holds the shape, enhances the flavor, and ensures each bite has that signature cheesecake texture.
How to Make a Stable, Buttery Crust
To make this crust, you’ll need 1 1/2 cups of crushed graham crackers, 1/3 cup of white sugar, and 6 tablespoons of melted butter. The sugar adds sweetness, while the butter binds everything together. Here’s how you do it:
- Crush the Crackers
Use a food processor or place them in a sealed bag and crush with a rolling pin until finely ground. - Combine Ingredients
Mix the crushed graham crackers with sugar in a medium bowl. Pour in the melted butter and stir until the mixture resembles wet sand. - Press and Chill
Firmly press the mixture into the bottom of a springform pan using the bottom of a glass. It should be evenly distributed and compact. Refrigerate for at least 30 minutes to firm up before adding the filling.
Tips for a No-Soggy Bottom
- Don’t skip chilling. It helps the butter solidify and prevents a mushy base.
- Use a springform pan for easy release and a neater presentation.
- Pre-baking isn’t necessary here, as the crust will firm up during the cheesecake’s baking time.

Orchard Fresh Cheesecake Recipe
- Total Time: 6 hours
- Yield: 1 cheesecake (8–10 servings)
- Diet: Vegetarian
Description
A creamy and fruity Orchard Fresh Cheesecake made with peaches, raspberries, and a buttery graham cracker crust—perfect for summer celebrations or elegant desserts.
Ingredients
For the Crust:
1 1/2 cups crushed graham crackers
1/3 cup white sugar
6 tbsp melted butter
For the Filling:
16 oz cream cheese, softened
3/4 cup white sugar
2 eggs
1 tsp vanilla extract
1/2 cup sour cream
1 cup diced peaches
1/2 cup raspberries
For the Topping:
1 cup whipping cream
2 tbsp powdered sugar
1/2 tsp vanilla extract
Sliced peaches and raspberries for garnish
Instructions
1. Combine crushed graham crackers, sugar, and melted butter. Press into the bottom of a springform pan. Refrigerate to chill.
2. Preheat oven to 325°F (163°C).
3. In a large bowl, beat cream cheese and sugar until smooth.
4. Add eggs one at a time, mixing gently after each.
5. Mix in vanilla and sour cream until well combined.
6. Fold in diced peaches and raspberries.
7. Pour mixture over the chilled crust.
8. Bake for 55 minutes or until edges are set and center is slightly jiggly.
9. Turn off oven, crack the door, and cool for 1 hour.
10. Remove and cool to room temperature, then refrigerate for at least 4 hours.
11. Whip cream, powdered sugar, and vanilla until stiff peaks form.
12. Spread whipped topping over chilled cheesecake.
13. Garnish with sliced peaches and raspberries before serving.
Notes
Ingredient Tips:
Use ripe peaches and firm raspberries for the best flavor.
Make Ahead:
The cheesecake can be made a day in advance and stored in the fridge.
Serving:
For clean slices, dip your knife in hot water and wipe it between each cut.
Storage:
Refrigerate and consume within 3 days.
- Prep Time: 20 minutes
- Cook Time: 55 minutes
- Category: Cheesecake
- Method: Baking
- Cuisine: American
The Silky Cream Cheese Filling
Choosing the Right Cream Cheese for Maximum Creaminess
The heart of this Orchard Fresh Cheesecake Recipe lies in the smooth, rich cream cheese filling. To get that luxurious, bakery-style texture, quality cream cheese is essential. Use full-fat, brick-style cream cheese at room temperature. Avoid using whipped or spreadable types, as they introduce too much air and compromise the density of your cheesecake.
Preparing the Filling Step by Step
Here’s a closer look at the ingredients and how to transform them into a flawless cheesecake batter:
Ingredients Needed:
- 16 oz cream cheese, softened
- 3/4 cup white sugar
- 2 eggs
- 1 tsp vanilla extract
- 1/2 cup sour cream
- 1 cup diced peaches
- 1/2 cup raspberries
Mixing Instructions:
- Cream the Base
In a large bowl, beat the cream cheese and sugar on medium speed until smooth and lump-free. This usually takes about 2–3 minutes. Scrape down the sides frequently to avoid uneven texture. - Add the Eggs One at a Time
Beat in the eggs individually, mixing just until incorporated. Overmixing at this stage can introduce excess air and cause cracks later. - Add Vanilla and Sour Cream
Stir in vanilla extract and sour cream. The sour cream adds a subtle tang and smooth consistency to the filling, giving your cheesecake its signature richness. - Fold in the Fruit
Carefully fold in the diced peaches and raspberries with a rubber spatula. Be gentle to avoid crushing the fruit. You want them to remain whole so they create vibrant flavor pockets in every bite.
Common Mistakes to Avoid
- Cold ingredients: Always use room temperature cream cheese, eggs, and sour cream for smooth blending.
- Overmixing: Too much air can make the cheesecake rise too quickly and collapse or crack.
- Skipping the fruit prep: Drain any extra juice from peaches or raspberries to avoid excess moisture in the filling.
Once your batter is ready, pour it gently over your chilled crust. Now you’re ready to bake it to perfection, which we’ll cover in the next section.
Baking the Cheesecake Without Cracks
Setting the Right Temperature
The secret to a perfectly baked Orchard Fresh Cheesecake Recipe is low and slow heat. Preheat your oven to 325°F (163°C). This moderate temperature ensures the filling sets gently without drying out. Sudden temperature changes can shock the cheesecake, leading to cracks or sinking.
How to Bake for a Smooth Top
Here’s how to bake your cheesecake the right way, minimizing the risk of imperfections:
- Pour the Batter Evenly
Once the fruit-filled batter is ready, pour it into the springform pan over the chilled crust. Use a spatula to smooth the top lightly without pressing down. - Bake Gently
Place the pan on the center rack and bake for about 55 minutes. The edges should look set, but the center will still jiggle slightly when you tap the side of the pan. This is normal—it will continue to firm up as it cools. - Cool Inside the Oven
After baking, turn off the oven, crack the door open slightly, and let the cheesecake cool inside for 1 hour. This gentle cooling prevents the top from splitting due to sudden temperature changes.
Extra Tips for Crack-Free Results
- Use a water bath if needed: While not required, a water bath can create extra insurance against cracking by adding moisture to the oven. Wrap your springform pan in foil and place it in a larger pan filled with 1 inch of hot water.
- Avoid opening the oven door too often during baking, as this lets in cold air and disturbs the process.
- Don’t overbake: A cheesecake is done when it’s set around the edges and slightly wobbly in the center.
Once the cheesecake has cooled for an hour in the oven, remove it and continue cooling at room temperature before chilling. Up next, we’ll whip up the dreamy topping that finishes this dessert beautifully.
Whipping and Spreading the Dreamy Topping
Creating a Light, Fluffy Whipped Cream Topping
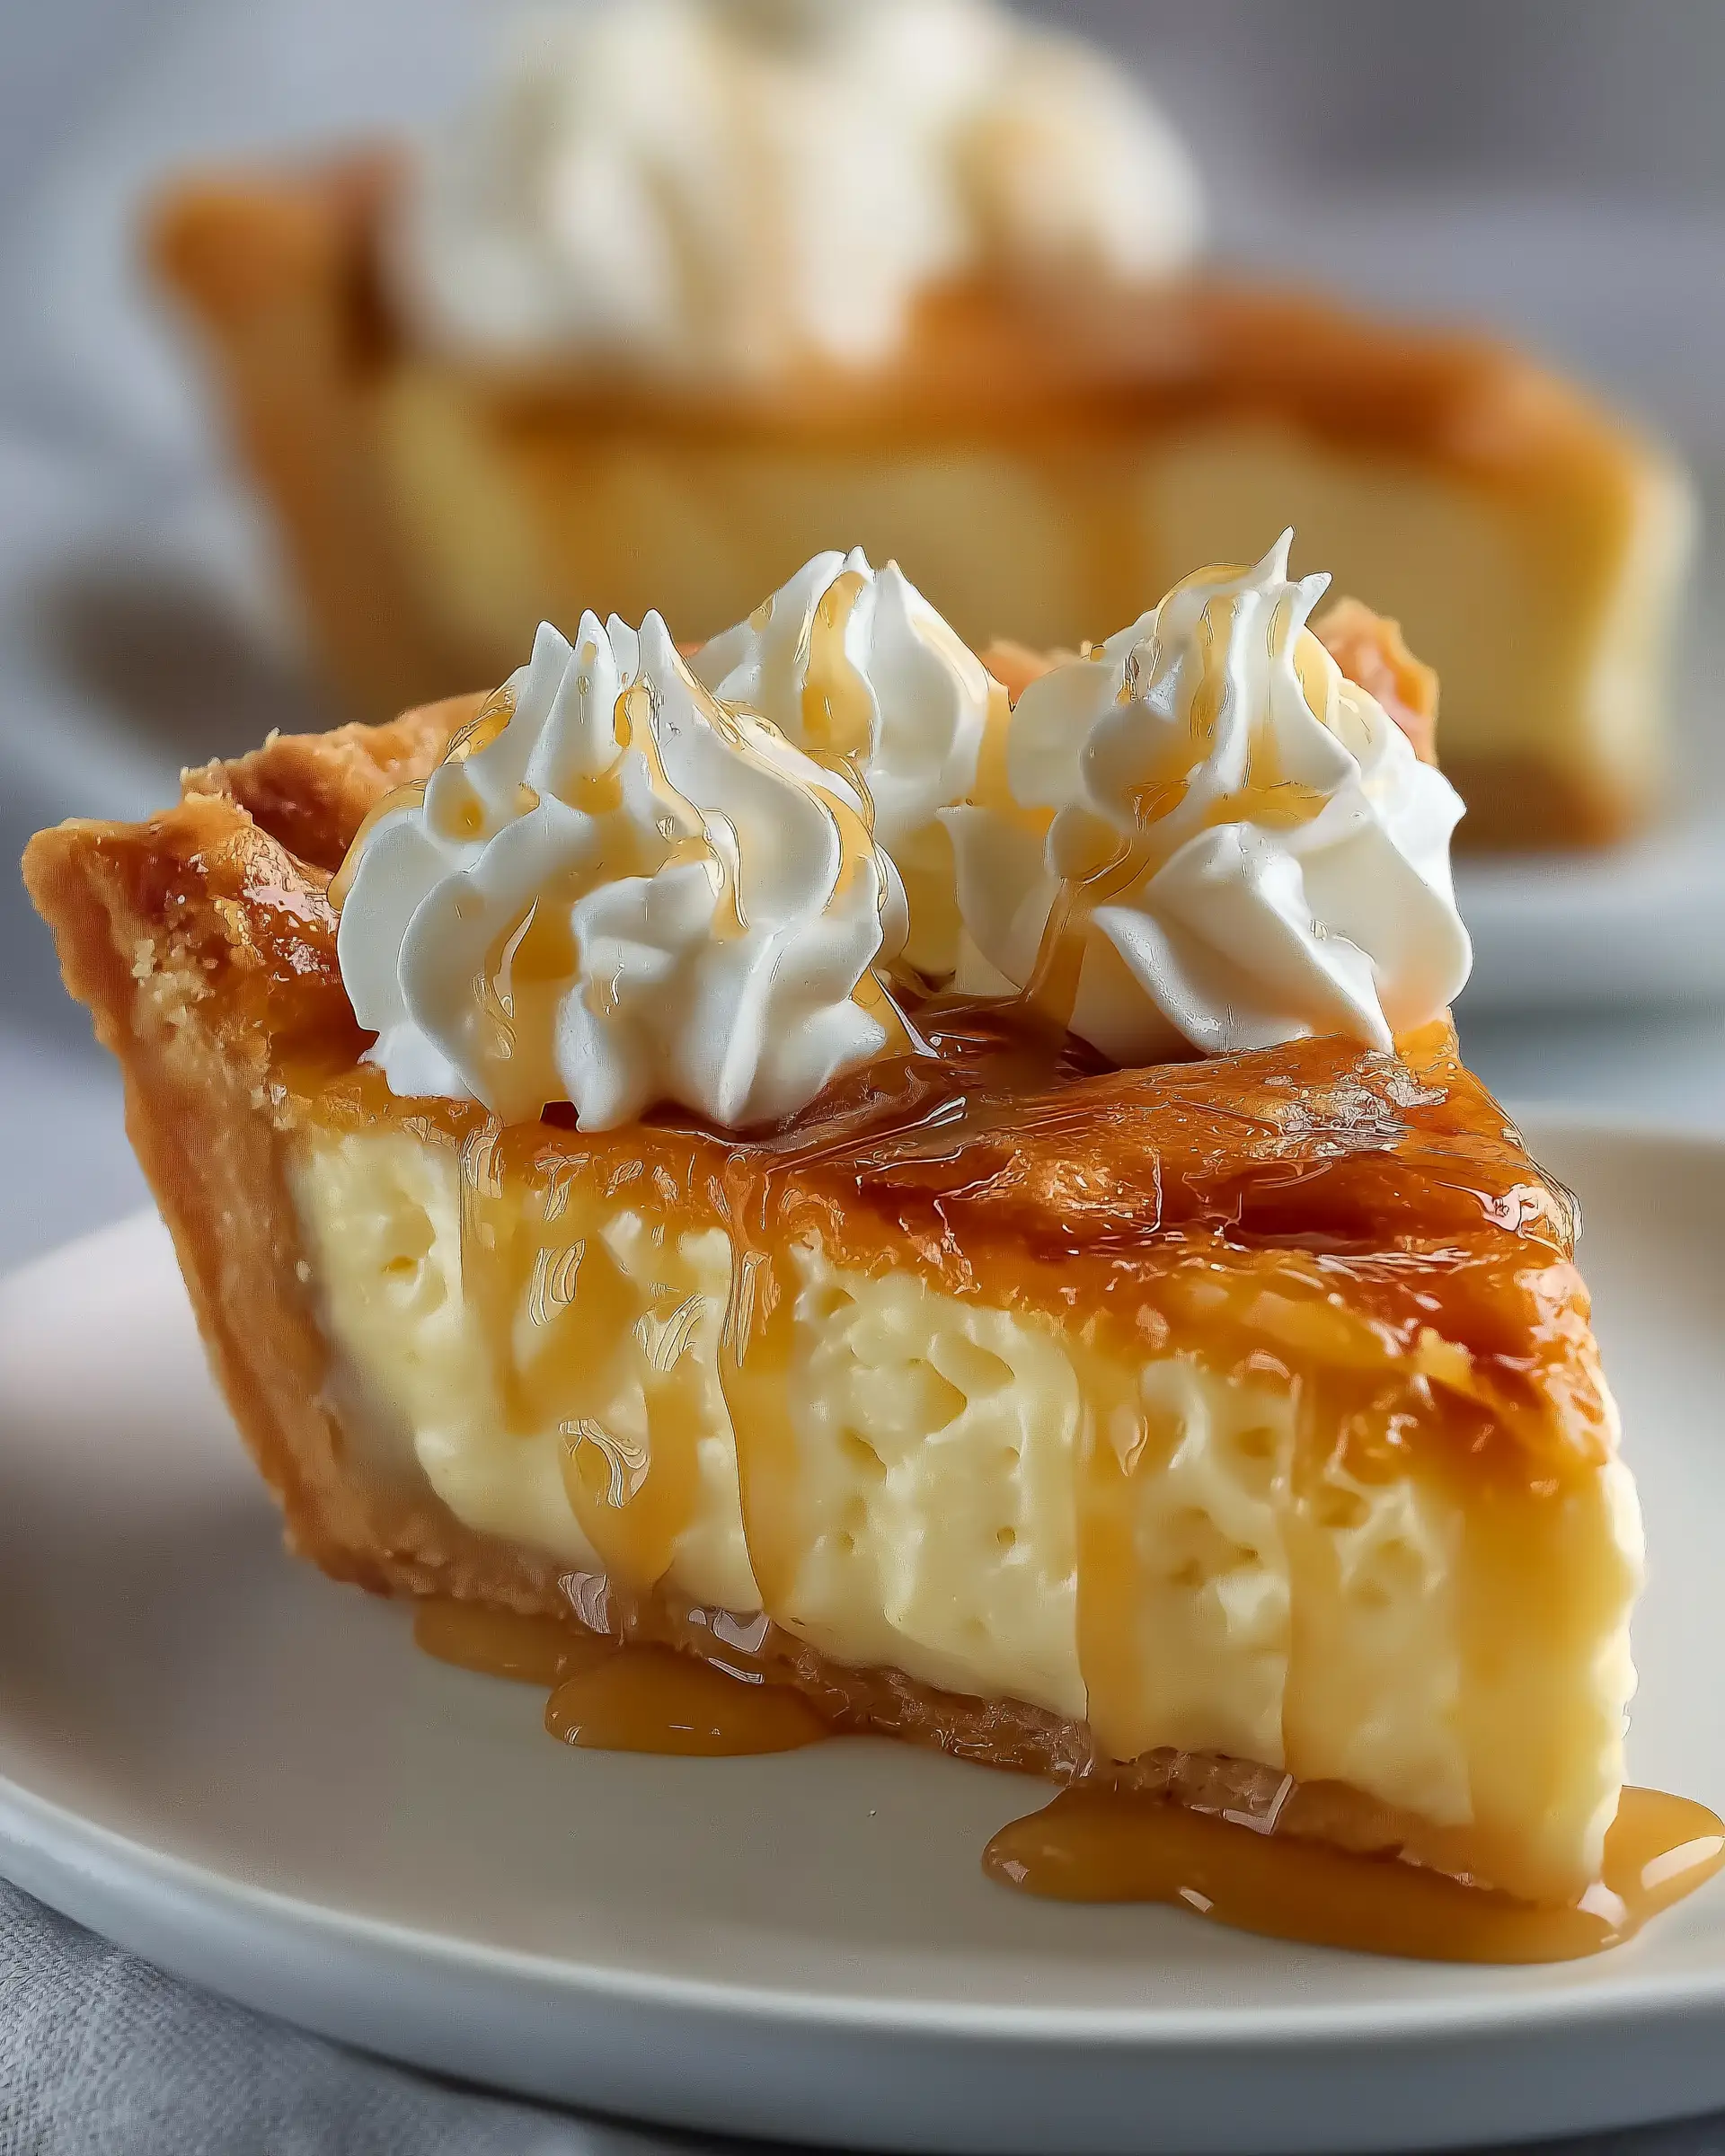
The crowning glory of this Orchard Fresh Cheesecake Recipe is the cloud-like whipped topping that adds a smooth, airy contrast to the rich filling. Making it from scratch is quick and effortless, but it makes a world of difference in taste and texture.
Ingredients for the Topping:
- 1 cup whipping cream
- 2 tablespoons powdered sugar
- 1/2 teaspoon vanilla extract
Steps to Whip It Right:
- Chill Your Tools
For best results, chill your mixing bowl and beaters in the freezer for 10–15 minutes before starting. Cold equipment helps the cream whip faster and hold its structure. - Combine and Beat
In the chilled bowl, pour in the whipping cream, powdered sugar, and vanilla extract. Start beating on low speed, gradually increasing to medium-high as the cream begins to thicken. - Whip Until Stiff Peaks Form
Continue whipping until stiff peaks form. This means the cream holds its shape firmly when you lift the beaters. Be careful not to overbeat or it will turn grainy and eventually turn into butter.
Spreading the Whipped Cream Over the Cheesecake
Once the cheesecake is fully cooled and has chilled in the fridge for at least 4 hours (overnight is even better), it’s ready for topping.
- Spread or Pipe: Use a spatula to spread the whipped cream evenly over the top, or use a piping bag for a decorative touch.
- Smooth the Surface: If using a spatula, gently sweep in circular motions to create a soft, pillowy layer.
- Keep it Cold: Whipped cream is delicate, so return the cheesecake to the fridge after topping to help it hold its shape.
This luscious whipped layer not only adds sweetness but also balances the tartness from the raspberries and the slight tang of sour cream in the filling.
Next, we’ll finish this masterpiece with a beautiful fresh fruit garnish that adds both style and flavor.
Garnishing with Orchard Fresh Fruit
Picking the Best Peaches and Raspberries
The final flourish of the Orchard Fresh Cheesecake Recipe is its vibrant, fruity garnish. This is more than just a visual element—it enhances flavor, adds texture, and highlights the orchard-fresh theme. Choosing ripe, seasonal fruit makes a big difference.
How to Select the Best Fruit:
- Peaches: Go for ripe but firm peaches that have a sweet aroma. Avoid overly soft or bruised peaches, as they may become mushy or bleed into the whipped topping.
- Raspberries: Choose bright red raspberries that are dry and plump. Avoid any that are crushed or moldy.
If you’re prepping the fruit ahead of time, pat them dry with a paper towel to remove excess moisture and store them in the fridge until ready to garnish.
How to Garnish Like a Pro
Presentation matters, especially for a dessert as elegant as this. Here’s how to top your cheesecake with style:
- Slice the Peaches Evenly
Use a sharp knife to cut the peaches into uniform thin slices. Fan them out slightly to create a layered look. - Arrange Raspberries Thoughtfully
Place whole raspberries gently across the top, filling in the spaces between the peach slices or forming a circular border. - Create a Centerpiece
For extra elegance, arrange a peach-raspberry swirl or create a small mound of fruit in the center. - Optional Shine
If you want that glossy bakery finish, brush the fruit lightly with warmed apricot jam or a simple glaze made with sugar and water. This step is optional but gives the fruit a polished, fresh-from-the-bakery look.
Storing the Garnished Cheesecake
Once decorated, return the cheesecake to the refrigerator until ready to serve. This helps keep the fruit crisp and the whipped cream stable. For best presentation, garnish within a few hours of serving.
With the garnish complete, your cheesecake is now a visual and culinary masterpiece. But let’s not forget what happens after the celebration—storing your cheesecake properly ensures every leftover slice tastes as good as the first.
Storage, Serving Tips, and Make-Ahead Ideas
Proper Storage for Freshness and Flavor
After putting care into crafting the perfect Orchard Fresh Cheesecake Recipe, storing it correctly is essential to maintain both its texture and taste. Since this dessert includes fresh fruit and dairy, refrigeration is a must.
How to Store It:
- Refrigeration: Cover the cheesecake loosely with plastic wrap or place it in an airtight cake container. Refrigerate for up to 3 days. This keeps the fruit topping fresh and the whipped cream stable.
- Avoid Freezing Garnished Cheesecake: While the cheesecake itself can be frozen before topping, freezing one that has fresh fruit and whipped cream may result in soggy fruit and separated cream once thawed.
Freezing the Base Cheesecake (Optional)
If you want to prepare in advance, bake the cheesecake and cool it completely (without the topping and garnish). Then:
- Wrap it tightly in plastic wrap and a layer of foil.
- Freeze for up to 1 month.
- Thaw overnight in the refrigerator before adding the whipped topping and fruit garnish.
Serving Tips for the Best Experience
- Chill Before Serving: Cheesecake tastes best when served cold. Let it chill for at least 4–6 hours, preferably overnight.
- Slice Cleanly: For clean, café-style slices, dip a sharp knife in hot water and wipe clean after each cut. This prevents drag and messy slices.
- Use a Cake Lifter or Wide Spatula: Especially with the soft crust and delicate filling, using a wide tool will help you serve slices without breaking them.
Make-Ahead Options for Busy Bakers
This recipe is great for preparing ahead, especially for events or entertaining.
- Day 1: Make and chill the crust and filling.
- Day 2: Top with whipped cream and decorate with fruit.
- Serve on Day 2 or Day 3 for optimal taste and texture.
This timeline not only breaks the prep into manageable steps, but also allows the flavors to meld, giving you a cheesecake that’s rich, balanced, and irresistibly good.
Before we conclude, let’s address some commonly asked questions that home bakers often have when making this delightful orchard-fresh dessert.
Conclusion
The Orchard Fresh Cheesecake Recipe is more than just a dessert—it’s a seasonal celebration of ripe fruit, creamy indulgence, and simple baking pleasure. With a buttery graham cracker crust, a silky filling speckled with peaches and raspberries, a cloud of homemade whipped topping, and a gorgeous fruit garnish, every layer is crafted to impress both the eye and the palate.
This recipe is approachable yet elegant, making it perfect for special occasions, summer picnics, or anytime you want to treat yourself or your guests to something truly memorable. By following each step carefully-from selecting quality ingredients to mastering the cooling and slicing-you can confidently serve a cheesecake that tastes as beautiful as it looks.
Whether you stick to the original fruit combination or experiment with your own orchard favorites, this cheesecake is sure to become a go-to classic in your kitchen.