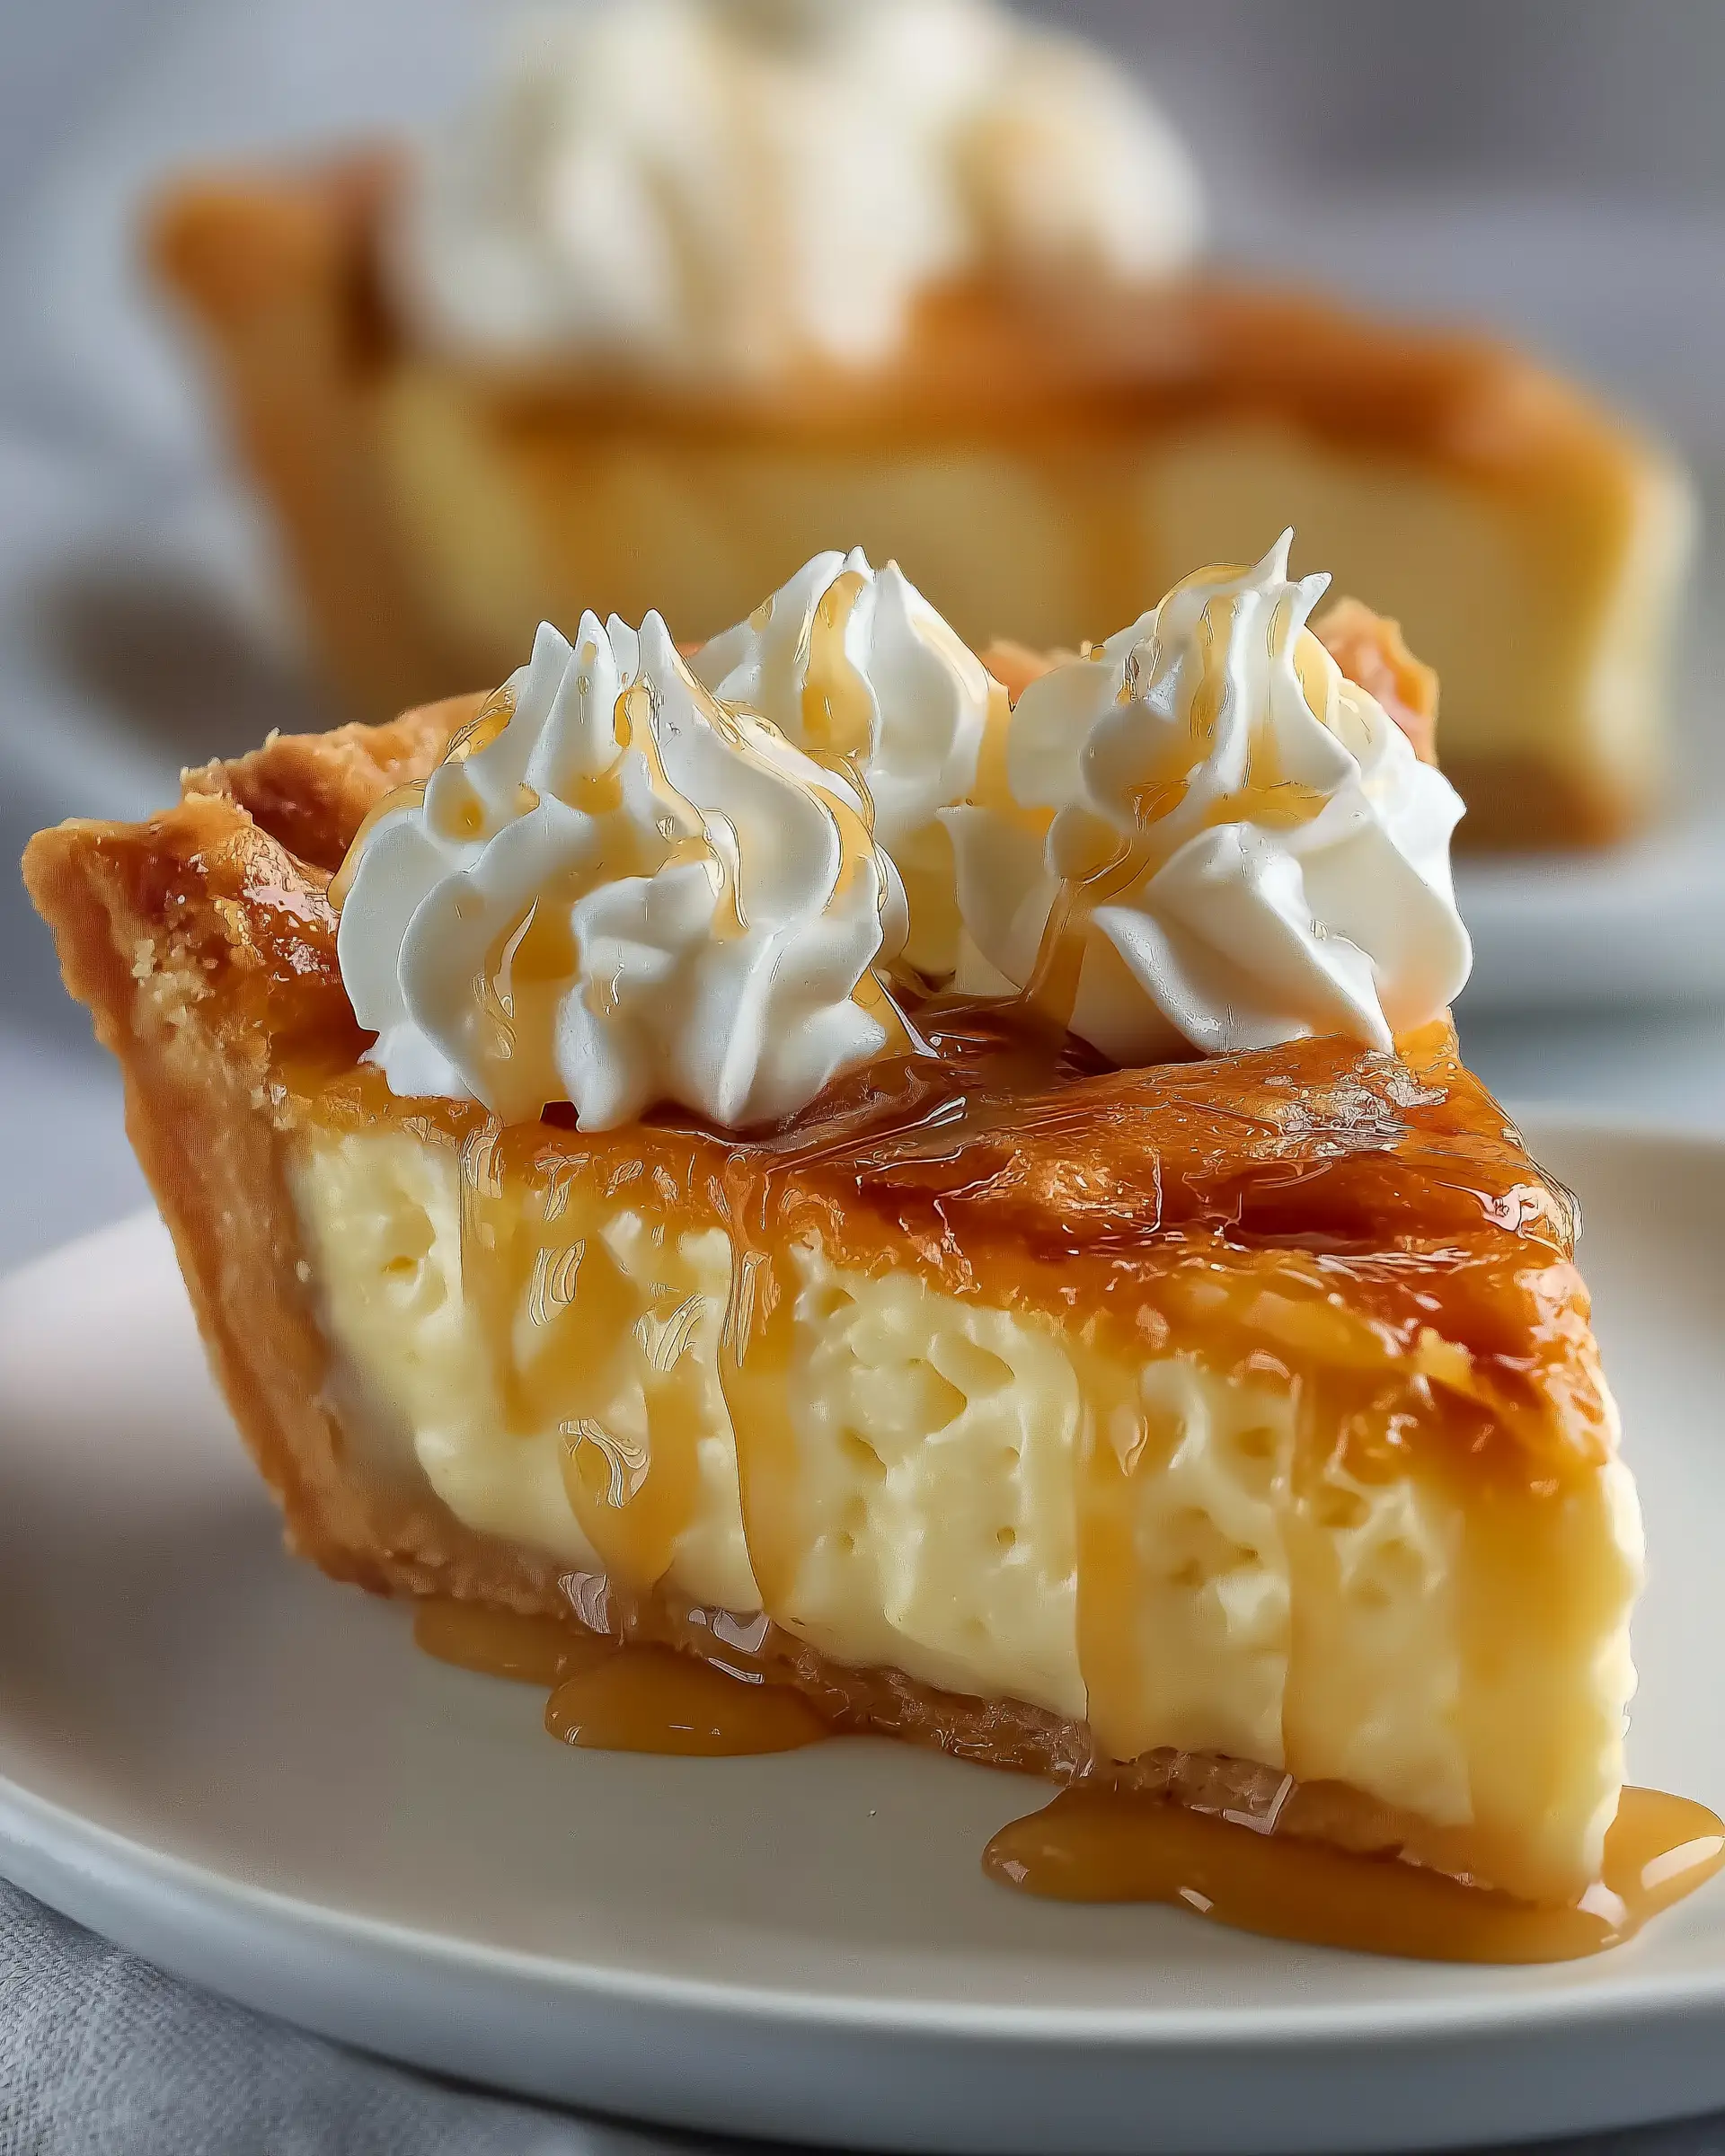
If you’ve ever wanted to combine rich maple flavor with the nutty crunch of walnuts in a creamy dessert, this Maple Walnut Cheesecake recipe is your dream come true. With layers of flavor starting from a buttery brown sugar walnut crust, a silky maple-infused cheesecake center, and a luxurious maple walnut topping, this dessert is both indulgent and unforgettable.
This article will walk you through everything you need to know to master this recipe at home. You’ll learn how to build a stable and flavorful crust, create a crack-free creamy cheesecake, and top it off with a sticky-sweet walnut topping that delivers the perfect finishing touch. We’ll also provide pro tips for a flawless water bath, essential prep techniques, and flavor secrets to bring out the best in your ingredients.
Contents
- 1 Building the Perfect Brown Sugar Walnut Crust
- 2 Maple Walnut Cheesecake Recipe
- 3 Creating the Creamiest Maple Cheesecake Filling
- 4 Crafting the Decadent Maple Walnut Topping
- 5 Mastering the Baking and Chilling Process
- 6 Make-Ahead Tips and Recipe Variations
- 7 Conclusion: The Ultimate Maple Walnut Cheesecake Experience
Building the Perfect Brown Sugar Walnut Crust
Why Crust Matters in Cheesecake
The crust isn’t just a support layer, it’s the foundation of flavor and texture. For a cheesecake like this one, the right crust adds nutty depth and buttery sweetness that complements the creamy filling. The combination of walnuts, graham cracker crumbs, and light brown sugar gives this crust a rich, caramelized edge and a sturdy base that won’t crumble apart when sliced.
Ingredients You’ll Need for the Crust
Here’s what makes this crust unique and delicious:
- 1/2 cup walnuts, lightly toasted for extra flavor
- 2 cups graham cracker crumbs, for structure and a slight honey flavor
- 1/3 cup light brown sugar, packed to add a caramel-like sweetness
- 1/4 teaspoon salt, to balance the sweetness
- 1/2 cup unsalted butter, melted for cohesion and richness
Toasting the walnuts before pulsing them into fine crumbs intensifies their flavor. The brown sugar adds moisture and depth, while the butter ensures the crust binds well and bakes to a perfect golden finish.
Steps for a Flawless Crust
- Prep Your Pan Properly
Preheat your oven to 350°F. Wrap the outside of a 9-inch springform pan with several layers of heavy-duty aluminum foil. This prevents water from leaking in during the water bath later. Lightly spray the inside of the pan with non-stick spray. - Pulse and Mix the Crust Ingredients
Use a food processor to pulse the toasted walnuts until they’re finely ground. Combine these with graham cracker crumbs, brown sugar, and salt. Stir in the melted butter using a rubber spatula until the mixture is evenly moistened. - Press and Bake
Press the crust mixture into the prepared pan. Start from the center and work outward and up the sides. Use the flat bottom of a measuring cup for an even surface. Bake the crust for 10 minutes, then remove and let it cool on a wire rack.
Why a Pre-Baked Crust Helps
Pre-baking sets the crust and prevents sogginess when the cheesecake batter is added. It also intensifies the flavors of the butter, nuts, and sugar, creating a slightly crispy contrast to the creamy filling.
This crust is hearty enough to support the dense maple cheesecake but still crumbles just enough when you take a fork to it. It’s sweet but balanced, buttery but structured, and it sets the tone for the rich layers that follow.
Print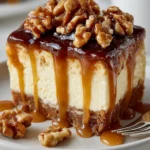
Maple Walnut Cheesecake Recipe
- Total Time: 8 hours 40 minutes
- Yield: 1 9-inch cheesecake (12 servings)
Description
This Maple Walnut Cheesecake recipe features a buttery brown sugar walnut crust, creamy maple-infused cheesecake filling, and a rich, sticky maple walnut topping. A perfect dessert for any season.
Ingredients
Brown Sugar Walnut Crust:
1/2 cup (57g) walnuts, lightly toasted and cooled
2 cups (171g) graham cracker crumbs
1/3 cup (71g) light brown sugar, packed
1/4 teaspoon salt
1/2 cup (113g) unsalted butter, melted
Maple Cheesecake Filling:
4 bricks (906g) full-fat cream cheese, room temperature
1 cup (227g) full-fat sour cream, room temperature
3/4 cup (149g) granulated sugar
2 teaspoons vanilla extract
5 large eggs, room temperature
3 large egg yolks, room temperature
2/3 cup (208ml) high-quality maple syrup
1/2 teaspoon maple extract
1/4 cup (57ml) heavy cream, room temperature
1 1/2 tablespoons (21g) all-purpose flour
Maple Walnut Topping:
6 tablespoons (84g) unsalted butter
2/3 cup (142g) light brown sugar, packed
1/4 cup (57ml) heavy cream
1/4 teaspoon salt
2 cups (227g) walnuts, whole or roughly chopped, lightly toasted
1 teaspoon vanilla extract
2 tablespoons (24ml) high-quality maple syrup
1 tablespoon (14ml) The Free Spirits Spirit of Bourbon (optional)
Instructions
1. Preheat oven to 350°F. Wrap outside of a 9-inch springform pan with heavy-duty foil. Lightly spray with non-stick spray.
2. Pulse toasted walnuts in a food processor until finely ground.
3. In a bowl, combine walnut crumbs, graham cracker crumbs, brown sugar, and salt. Stir in melted butter until evenly moistened.
4. Press mixture into the bottom and up the sides of the pan. Bake for 10 minutes. Set aside to cool. Reduce oven temperature to 325°F.
5. In a food processor, blend cream cheese and sour cream until smooth. Add sugar and vanilla. Scrape down sides and beat again.
6. On low speed, add eggs and yolks one at a time. Then mix in maple syrup, maple extract, and heavy cream until just combined.
7. Fold in flour with a spatula until just mixed. Pour filling over crust and smooth the top.
8. Place cheesecake pan in a deep roasting pan. Fill with 2.5 inches of hot water to form a water bath.
9. Bake for 1 hour and 20 minutes. Turn off oven and let sit for 30 minutes with the door closed.
10. Remove from oven. Run a knife around the edge. Cool completely, then chill for at least 6 hours before adding topping.
11. For topping, melt butter over low heat in a skillet. Stir in brown sugar and cook until bubbly, about 2 minutes.
12. Add heavy cream and salt, stir to combine. Fold in toasted walnuts until coated.
13. Remove from heat. Stir in vanilla, maple syrup, and bourbon (if using). Let cool for 10 minutes.
14. Spoon topping evenly over chilled cheesecake. Serve and enjoy.
Notes
Use full-fat cream cheese and sour cream for best texture.
Make the cheesecake 1 day ahead for richer flavor.
The maple walnut topping can be made the day of serving for optimal crunch.
Wrap tightly and store in the refrigerator for up to 5 days or freeze slices (without topping) for longer storage.
- Prep Time: 40 minutes
- Cook Time: 2 hours
- Category: Cheesecake
- Method: Baking
- Cuisine: American
Creating the Creamiest Maple Cheesecake Filling
Why Maple Flavor Shines in Cheesecake
Maple is a naturally sweet, earthy flavor that adds depth to creamy desserts like cheesecake. Unlike plain sugar, real maple syrup brings a richness that pairs beautifully with dairy-based ingredients like cream cheese and sour cream. This filling is where the maple flavor truly takes the spotlight, blended seamlessly into a luscious texture that’s smooth, velvety, and decadent with every bite.
Essential Ingredients for the Maple Cheesecake
To get that signature silky texture and robust maple flavor, you’ll need:
- 4 bricks (906g) full-fat cream cheese, room temperature
- 1 cup full-fat sour cream, for tang and softness
- 3/4 cup granulated sugar, to balance sweetness
- 2 teaspoons vanilla extract, for aromatic warmth
- 5 large eggs and 3 large egg yolks, all at room temperature
- 2/3 cup high-quality maple syrup, the hero ingredient
- 1/2 teaspoon maple extract, to boost maple notes
- 1/4 cup heavy cream, to enhance smoothness
- 1 and 1/2 tablespoons all-purpose flour, to gently stabilize the filling
Room temperature ingredients are essential. Cold dairy can cause lumps, and over-beating can trap air, which may lead to cracking.
Mixing Technique for a Silky Batter
- Start with the Cream Cheese and Sour Cream
In a large food processor, beat the cream cheese and sour cream until completely smooth. Scrape the sides and bottom of the bowl to prevent lumps from hiding in the corners. - Add Sugar and Vanilla
Mix in the sugar and vanilla until fully incorporated. This adds sweetness and flavor balance without overpowering the maple. - Incorporate the Eggs Slowly
Add the eggs and yolks one at a time on low speed. Avoid overmixing to reduce the risk of incorporating too much air into the batter. - Blend in the Maple and Cream
Pour in the maple syrup, maple extract, and heavy cream. Pulse just until combined. The maple syrup should be high quality for the best results, not pancake syrup. - Fold in the Flour
Gently stir in the flour using a rubber spatula. This helps prevent the cheesecake from cracking by providing a slight structural boost.
Pouring and Prepping for a Water Bath
Once your batter is smooth and creamy, pour it over the cooled crust in the springform pan. Use a silicone spatula to smooth the top for an even finish.
Then, place the pan inside a larger roasting pan. Pour hot water into the outer pan until it reaches halfway up the sides of the cheesecake pan. This water bath creates a gentle, moist baking environment that helps the cheesecake bake evenly and prevents cracking.
Baking and Cooling the Cheesecake
Bake at 325°F for 1 hour and 20 minutes, then turn the oven off and let it sit inside for an additional 30 minutes with the door shut. This slow cooling method allows the cheesecake to firm up without shrinking or splitting.
When it’s done, the cheesecake should be set at the edges, lightly golden on top, and slightly wobbly in the center. Run a knife around the edges to loosen it from the pan, then cool on a rack before chilling it in the fridge for at least 6 hours or overnight.
Crafting the Decadent Maple Walnut Topping
The Role of Topping in Cheesecake Flavor and Texture
A cheesecake is already a complete dessert, but a thoughtfully crafted topping can transform it from excellent to extraordinary. In this recipe, the Maple Walnut Topping isn’t just decorative. It delivers texture, depth, and a burst of maple-sweetened nuttiness that contrasts beautifully with the smooth filling beneath.
The key to a successful topping here lies in balance. The walnuts must be crisp yet coated, and the sauce must be sticky but not overly runny. The flavors of butter, brown sugar, and maple unite to create an indulgent crown for your cheesecake.
Ingredients for the Maple Walnut Topping
- 6 tablespoons unsalted butter, melted for richness
- 2/3 cup light brown sugar, packed for caramel notes
- 1/4 cup heavy cream, to add creaminess and loosen the sauce
- 1/4 teaspoon salt, to balance the sweetness
- 2 cups walnuts, whole or chopped, lightly toasted
- 1 teaspoon vanilla extract, to deepen flavor
- 2 tablespoons high-quality maple syrup, for an extra maple hit
- 1 tablespoon The Free Spirits Spirit of Bourbon, optional, for warmth
Toasting the walnuts before coating them enhances their flavor and keeps them from turning soggy once mixed into the warm topping.
Step-by-Step Topping Preparation
- Melt and Bubble the Base
In a large skillet over low heat, melt the butter. Once fully melted, stir in the brown sugar and whisk until the sugar dissolves and the mixture becomes bubbly, about 2 minutes. - Add Cream and Salt
Slowly pour in the heavy cream while whisking, then add the salt. The cream will help create a velvety, pourable sauce that clings to each nut. - Fold in the Walnuts
Add the toasted walnuts and use a rubber spatula to stir gently until all nuts are coated evenly. Turn off the heat. - Enhance the Flavor
Stir in the vanilla, maple syrup, and bourbon alternative. These ingredients not only boost complexity, but the added maple syrup enhances the topping’s sticky finish. - Cool Slightly Before Topping
Let the mixture cool for about 10 minutes, stirring occasionally. This prevents the topping from being too runny when spread on the cheesecake.
Applying the Topping Like a Pro
Once your cheesecake has chilled for at least 6 hours, gently spoon the warm topping over the surface. Spread it evenly, allowing some walnuts to spill naturally toward the edges. Let it set for a few minutes before slicing and serving.
Flavor and Texture Highlights
The result is a chewy, nutty top layer that delivers a maple-glazed crunch with every bite. The contrast between the cold, creamy cheesecake and warm, buttery walnuts creates an irresistible flavor experience. It’s the perfect finishing touch that makes this dessert memorable.
Mastering the Baking and Chilling Process
Why the Baking Method Matters
Baking a cheesecake isn’t like baking a regular cake. Cheesecakes are custard-based and require a low, gentle heat to cook through without curdling or cracking. The process also includes a moist baking environment known as a water bath, which surrounds the pan with steam and keeps the texture smooth and creamy.
Rushing this step or skipping key techniques can result in cracks, rubbery texture, or uneven baking. But if you follow the right method, you’ll achieve a perfect cheesecake every time—firm around the edges, luxuriously soft in the center, and smooth on top.
Prepping the Pan and Water Bath
- Foil Wrapping
Before anything goes into the oven, wrap the outside of your 9-inch springform pan with multiple layers of extra-wide heavy-duty aluminum foil. This creates a waterproof barrier to prevent the water from seeping in and ruining the crust. - Pouring in the Batter
Once your crust is baked and your maple cheesecake filling is prepared, pour the batter into the crust and smooth the top with a silicone spatula. A smooth surface ensures even baking and a neat appearance. - Setting Up the Water Bath
Place your foil-wrapped cheesecake pan into a large roasting pan. Carefully fill the roasting pan with hot water (not boiling), until it reaches halfway up the sides of the springform pan. The water should surround the pan but never overflow.
Baking to Perfection
- Bake the cheesecake at 325°F for 1 hour and 20 minutes. During this time, avoid opening the oven door to maintain consistent heat.
- After baking, turn the oven off, but leave the cheesecake inside for another 30 minutes. This gradual cooling prevents sudden temperature changes that could cause the surface to crack.
- The cheesecake is done when the edges are set and lightly golden, but the center still has a slight wiggle when gently shaken.
Cooling: The Crucial Final Step
- Immediate Knife Run
When you remove the cheesecake from the oven, gently run a thin knife around the edge between the cheesecake and the pan. This helps prevent cracks as it cools and contracts. - Room Temperature Cooling
Place the cheesecake on a wire rack and let it cool completely at room temperature. Rushing this step can cause condensation or texture issues. - Chilling
Once cooled, loosely cover the pan with plastic wrap and place it in the refrigerator for at least 6 hours, preferably overnight. This long chill time sets the structure and makes slicing clean and easy.
Slicing Like a Pro
To serve, use a sharp knife dipped in hot water, wiping it clean between each slice. This keeps the slices neat and prevents sticking.
Make-Ahead Tips and Recipe Variations
Making the Maple Walnut Cheesecake in Advance
One of the best things about this Maple Walnut Cheesecake recipe is how well it holds up when made in advance. It actually tastes better the next day as the flavors deepen and the texture becomes even creamier. This makes it a perfect dessert for holidays, dinner parties, or any event where you want to reduce day-of prep stress.
Here’s how to plan ahead effectively:
- Bake 1 to 2 Days in Advance
Once the cheesecake is baked and fully cooled, keep it chilled in the springform pan, covered loosely with plastic wrap. The cheesecake will firm up, and the maple flavor will become more pronounced. - Add the Topping the Day of Serving
While the cheesecake base stores beautifully, the Maple Walnut Topping is best made and added the day of serving. This keeps the nuts crunchy and the glaze perfectly sticky instead of seeping into the cheesecake. - Storing Leftovers
If you have leftovers, store individual slices in an airtight container. The cheesecake will stay fresh in the refrigerator for up to 5 days. For longer storage, freeze the slices without the topping for up to 2 months, wrapped tightly in plastic and foil.
Cheesecake Freezing Tips
- Let the cheesecake cool completely before freezing.
- Wrap tightly with plastic wrap, then a layer of foil.
- Freeze without the walnut topping to maintain texture.
- To thaw, place in the refrigerator overnight. Do not microwave.
Variations to Try
If you love this recipe but want to try some creative spins, here are a few maple cheesecake variations that still deliver incredible flavor with a twist:
1. Mini Maple Walnut Cheesecakes
Use a muffin tin lined with cupcake papers to create individual servings. Adjust the baking time to around 20 to 25 minutes, and skip the water bath. Great for parties and quick plating.
2. Gluten-Free Option
Swap the graham cracker crumbs with a gluten-free alternative or crushed gluten-free cookies. Everything else in the recipe is naturally gluten-free when the right crust base is used.
3. Maple Pecan Cheesecake
If walnuts aren’t your thing, pecans are a perfect substitute. Toast them for 5 to 7 minutes to release their oils, then use them in both the crust and topping for a Southern-inspired flavor.
4. Maple Cheesecake Bars
Turn this into a portable treat by baking the cheesecake in a 9×13-inch pan and cutting into bars. This works great for potlucks or bake sales, and the topping can be drizzled instead of spread.
5. Add a Hint of Spice
A pinch of cinnamon, nutmeg, or even clove in the cheesecake batter or the crust can add a warm fall flavor profile, making it perfect for the holiday season.
Flavor Boosters and Ingredient Tips
- Use grade A dark maple syrup for a more intense maple flavor.
- Toasting nuts is non-negotiable. It enhances crunch and adds complexity.
- Room temperature eggs and dairy are key to avoiding lumps in your batter.
Conclusion: The Ultimate Maple Walnut Cheesecake Experience
This Maple Walnut Cheesecake recipe delivers the perfect blend of creamy, crunchy, sweet, and nutty in one unforgettable dessert. From the rich brown sugar walnut crust to the smooth maple-laced filling and the indulgent maple walnut topping, every layer works together to create a stunning flavor profile that feels both rustic and luxurious.
We began by crafting the perfect crust-one that’s firm, nutty, and infused with the subtle sweetness of brown sugar. We then built a luscious maple cheesecake filling, balanced with tangy sour cream, real maple syrup, and silky cream cheese. With a slow, gentle baking process and careful chilling, the texture becomes ultra-smooth and crack-free. And finally, the crowning glory: a golden, sticky walnut topping with buttery maple caramel notes that pull everything together.
Whether you’re baking this for a fall celebration, a winter holiday, or just because you love maple and walnuts, this recipe is bound to become a staple in your dessert rotation. It’s rich enough for special occasions, yet straightforward enough for confident home bakers.