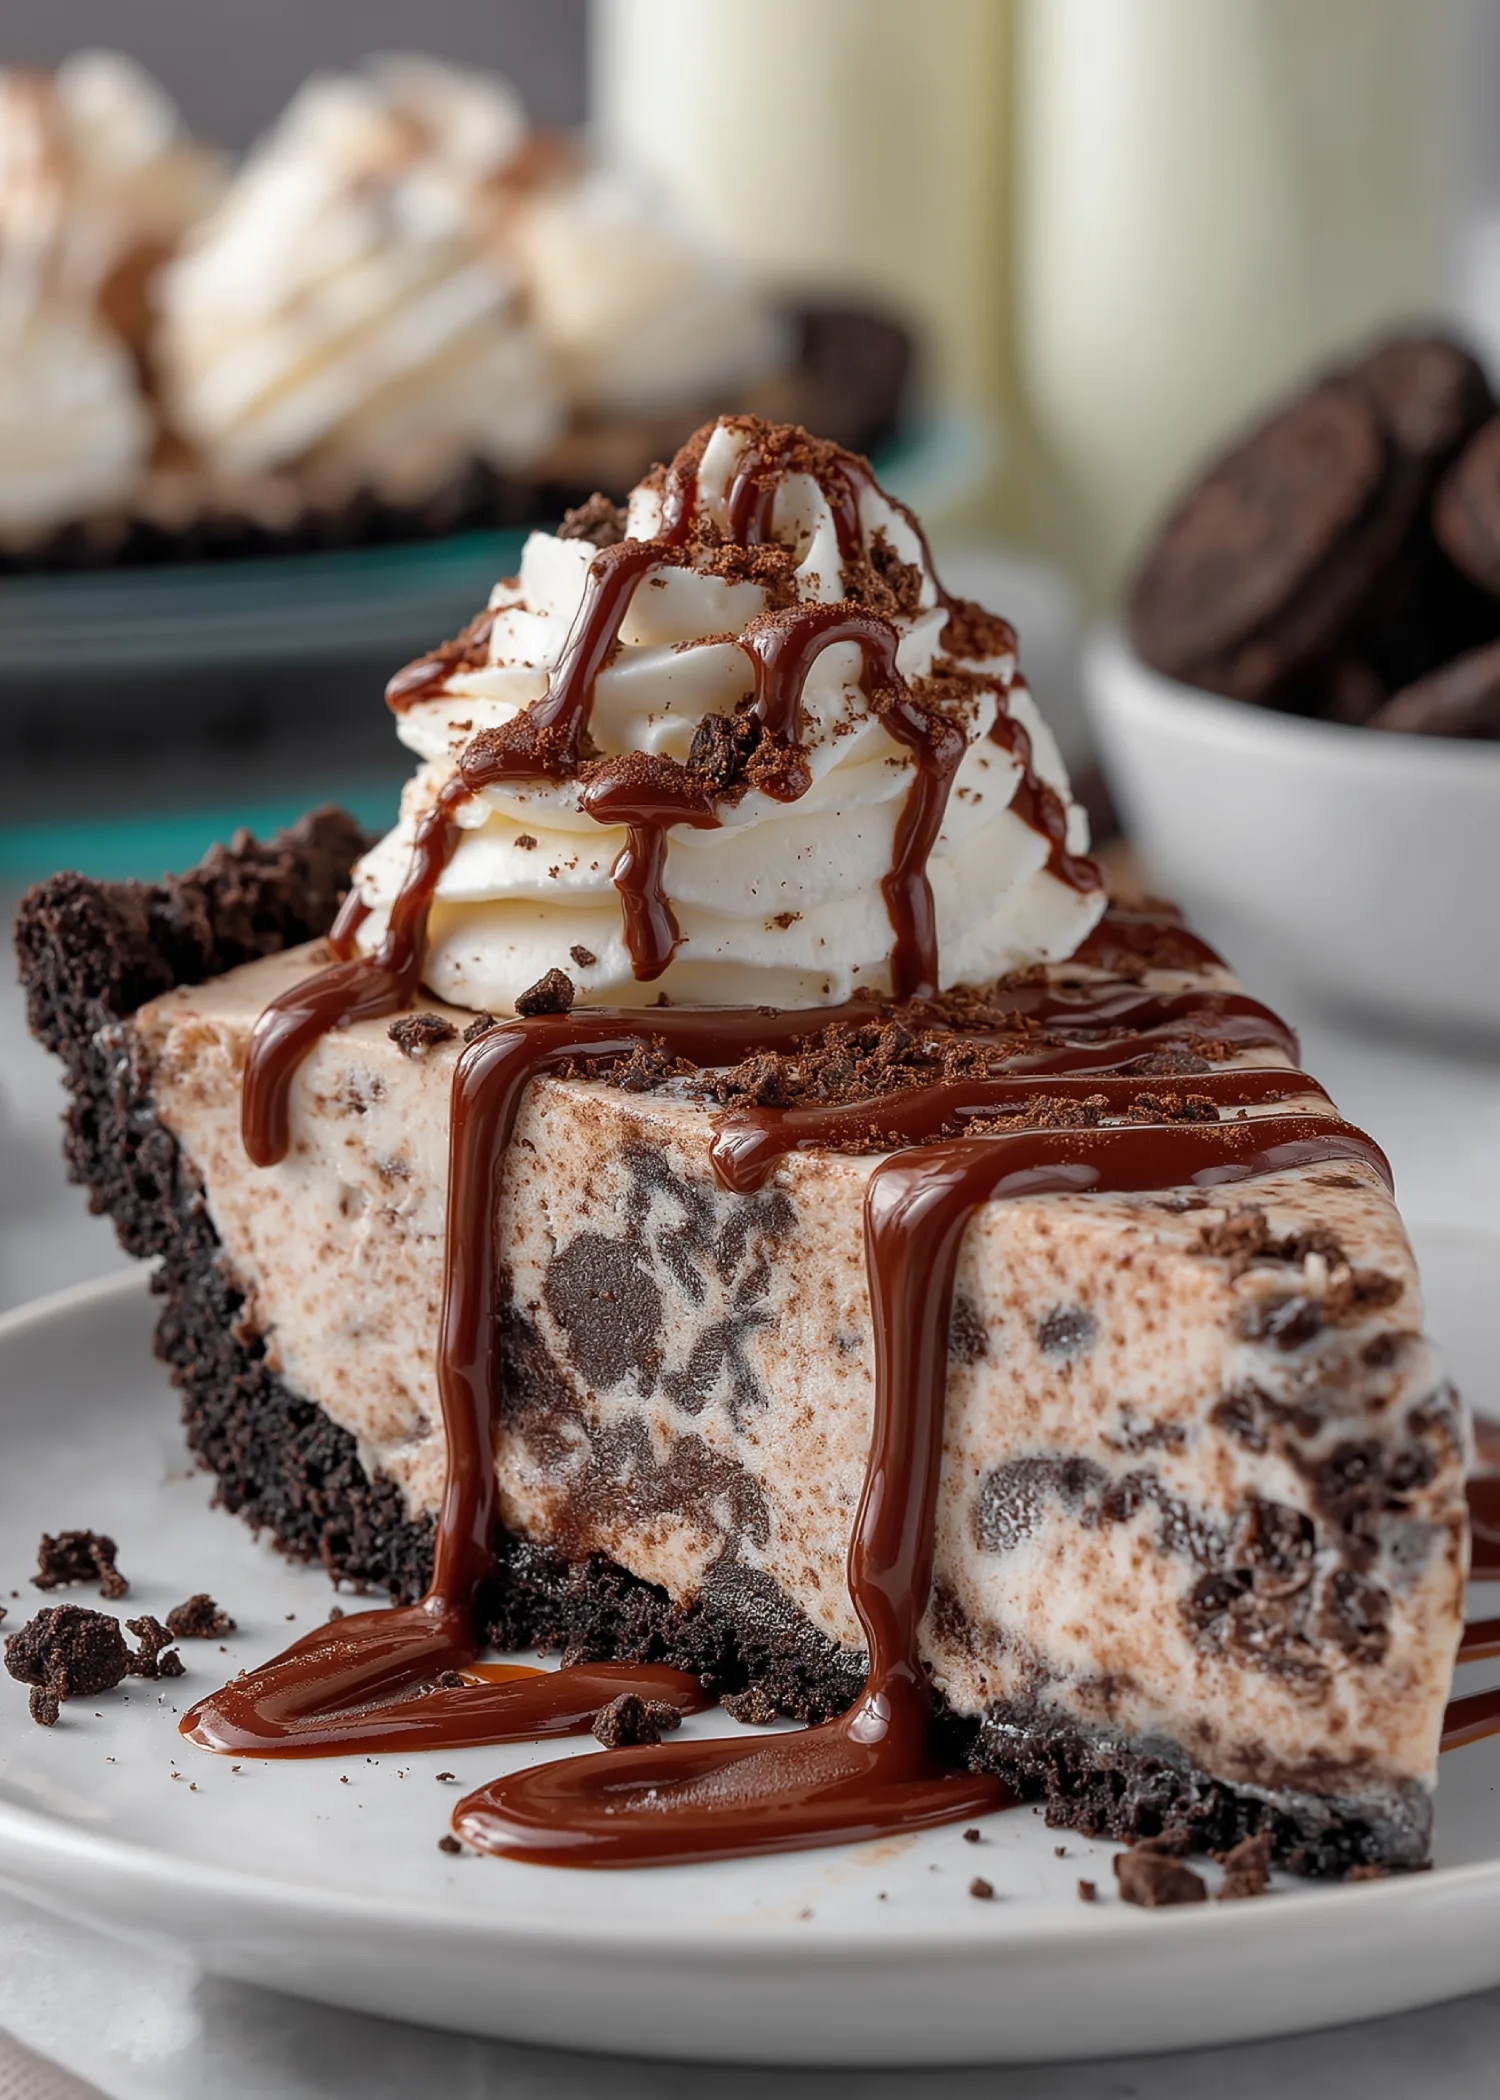
If you’re on the hunt for a show-stopping frozen dessert that’s ridiculously easy to make, look no further than this ice cream pie recipe. Whether you’re planning a birthday celebration, summer BBQ, or just want to surprise the family with a treat, this no-bake dessert hits all the right notes. With a rich Oreo crust, creamy cookies and cream ice cream filling, a touch of chocolate drizzle, and a dreamy whipped topping, it’s everything you crave in a single slice. Plus, it’s highly customizable and doesn’t require baking.
Contents
- 1 Introduction to Ice Cream Pie Recipe
- 2 Ingredients That Make the Perfect Ice Cream Pie
- 3 Ice Cream Pie Recipe
- 4 How to Make the Ultimate Ice Cream Pie Crust
- 5 Freezing and Setting the Ice Cream Pie
- 6 Topping and Garnishing Your Ice Cream Pie
- 7 Serving and Slicing Tips
- 8 Customizing Your Ice Cream Pie
- 9 Storing Leftovers and Make-Ahead Tips
- 10 Conclusion
Introduction to Ice Cream Pie Recipe
What is an Ice Cream Pie?
An ice cream pie is a frozen dessert typically made by layering softened ice cream inside a crust, most often made from crushed cookies or graham crackers. It’s then frozen until firm and garnished with toppings like whipped cream, chocolate sauce, or cookie chunks. Think of it as a delicious hybrid between a pie and an ice cream cake, but way easier to put together.
What makes this dessert stand out is its versatility. From the crust to the fillings and toppings, you can switch up nearly every component to suit your taste, dietary needs, or what’s already in your pantry.
Why You’ll Love This Easy Dessert
There are so many reasons this ice cream pie recipe deserves a permanent spot in your dessert rotation:
- No baking required: Ideal for summer days or anytime you don’t want to use the oven.
- Minimal ingredients: Only six simple items are needed, and you probably already have them at home.
- Super customizable: Change the ice cream flavor, swap out the cookies, or go wild with toppings.
- Make-ahead friendly: Prepare it ahead of time and pull it out when guests arrive.
It’s an excellent choice for beginner home cooks and seasoned dessert lovers alike. You’ll get all the flavor and flair of a gourmet frozen dessert with half the effort and no stress.
Ingredients That Make the Perfect Ice Cream Pie
Choosing the Right Cookies: Oreo vs Generic
At the heart of this ice cream pie recipe is the cookie crust. For best results, go with classic Oreo cookies with filling or a similar generic brand. You’ll need 34 in total—24 for the crust and 10 for topping. The creamy center of the cookies helps bind the crust and adds a bit more sweetness.
Here’s a quick comparison of cookie choices:
| Cookie Type | Flavor Impact | Crust Texture | Availability |
|---|---|---|---|
| Oreo (original) | Rich cocoa, sweet | Firm | Widely available |
| Generic sandwich cookies | Slightly less sweet | Slightly crumblier | Budget-friendly |
| Chocolate wafer cookies | Cocoa-heavy, no cream | Dry, crisp | Requires extra butter |
Whichever you choose, ensure they include the filling unless you’re using chocolate wafers, in which case you might need more butter to keep the crust cohesive.
Best Ice Cream Flavors for Your Ice Cream Pie Recipe Base
The recipe calls for cookies and cream ice cream, which complements the Oreo crust perfectly. However, don’t be afraid to experiment. Here are a few popular alternatives that pair well with the chocolatey crust:
- Vanilla bean – for a classic, clean flavor
- Mint chocolate chip – adds a refreshing, cool bite
- Chocolate fudge brownie – ultra decadent
- Peanut butter cup – great for salty-sweet lovers
- Coffee – perfect for adults with bold taste buds
No matter the flavor, use about 48 ounces (1.4 liters) of ice cream. Let it sit out at room temperature for around 10 minutes to soften it before spreading.
Print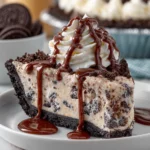
Ice Cream Pie Recipe
- Total Time: 4 hours 40 minutes
- Yield: 8 slices
- Diet: Vegetarian
Description
This creamy and crunchy cookies and cream ice cream pie recipe is a perfect no-bake dessert for summer gatherings, birthdays, or anytime you crave a frozen treat. Made with an Oreo cookie crust, layers of cookies and cream ice cream, chocolate drizzle, and whipped topping.
Ingredients
34 Oreo cookies with filling (divided into 24 and 10)
⅓ cup salted butter, melted and cooled
48 ounces cookies and cream ice cream (your favorite brand)
½ cup chocolate sauce + extra for drizzling
Whipped topping (optional for garnish)
Instructions
1. Crush 24 Oreo cookies into fine crumbs using a food processor or zip-top bag and rolling pin.
2. Mix the cookie crumbs with melted butter until fully combined.
3. Firmly press the mixture into a 9-inch pie plate to form the crust and freeze while preparing the filling.
4. Roughly chop the remaining 10 cookies.
5. Let the ice cream sit at room temperature for 10 minutes to soften.
6. Spread 3 cups of softened ice cream over the crust and smooth the top.
7. Drizzle ½ cup chocolate sauce over the ice cream layer and sprinkle with chopped cookies.
8. Spread the remaining ice cream over the cookie layer and smooth the top.
9. Cover with plastic wrap and freeze for at least 4 hours or overnight.
10. Let sit at room temperature for a few minutes before slicing.
11. Garnish with whipped topping and a drizzle of chocolate sauce before serving.
Notes
You can substitute Oreos with other sandwich cookies or graham crackers.
Feel free to use different ice cream flavors like mint chip, chocolate, or strawberry.
To make it dairy-free, choose plant-based cookies and non-dairy ice cream alternatives.
- Prep Time: 20 minutes
- Cook Time: 0 minutes
- Category: Dessert
- Method: No-Bake
- Cuisine: American
How to Make the Ultimate Ice Cream Pie Crust
Crushing Cookies Without a Food Processor
Don’t have a food processor? No problem. You can easily crush your 24 Oreo cookies using a simple household method. Place the cookies in a large zip-top bag, seal it tightly, and use a rolling pin, wine bottle, or even the smooth side of a meat mallet to crush them. Aim for fine, sand-like crumbs for the best crust texture.
Be sure to leave the cream filling in. It acts like glue when mixed with the melted butter, helping the crust stay firm after freezing.
| Crushing Method | Resulting Texture | Tools Needed |
|---|---|---|
| Food processor | Very fine | Food processor |
| Rolling pin + bag | Fine to medium | Rolling pin + zip bag |
| Mallet + bag | Chunky | Meat mallet + bag |
Want tips on other no-bake desserts? Discover great ideas like quick Oreo treats.
Mixing and Molding the Crust for Firmness
Once your cookies are crushed, pour them into a bowl and mix in ⅓ cup of salted butter, melted and slightly cooled. Stir until all the crumbs are evenly coated and the mixture resembles wet sand.
Now, grab a 9-inch pie plate. Press the mixture into the bottom and up the sides of the plate. Use the back of a spoon, measuring cup, or glass to press it down firmly. This step ensures the crust holds together when sliced.
After molding the crust, place the Ice Cream Pie plate in the freezer while you prepare the rest of the filling. Let it freeze for at least 15–20 minutes before adding any ice cream.
Pro Tip: Don’t skip chilling the crust. This locks the butter and crumbs together for a sliceable, no-crumb mess crust later on.
Freezing and Setting the Ice Cream Pie
Freezing Time and Storage Tips
Once your layered pie is assembled, it’s time to freeze it for at least 4 hours. This allows the ice cream to firm up completely and the layers to set together. For best results, loosely cover the Ice Cream Pie with plastic wrap to prevent ice crystals from forming.
Need to make it ahead? You can store the ice cream pie in the freezer for up to 3 days. Just be sure it’s tightly wrapped to lock in freshness and flavor. You can also place the entire pie in an airtight container if your freezer space allows.
Here’s a quick storage tip chart:
| Storage Method | Duration | Notes |
|---|---|---|
| Plastic wrap only | 1–2 days | Short-term, prevents freezer burn |
| Plastic wrap + container | 3 days | Best for freshness and texture |
Avoiding Common Ice Cream Pie Mistakes
To get that perfect slice and taste, avoid these common pitfalls:
- Over-softening the ice cream: This can cause a melted, soupy mess that refreezes icy. Stick to the 10-minute softening rule.
- Not pressing crust firmly: Loose crust equals crumbly slices. Use a measuring cup to compact it well.
- Rushing the freeze: Cutting it too soon results in a mess. Give it time to chill all the way through.
Once frozen solid, you’re ready for the final, most satisfying step—topping your masterpiece.
Topping and Garnishing Your Ice Cream Pie
Chocolate Sauce Drizzle Tips
Once your ice cream pie is fully frozen, it’s time to make it visually irresistible. Start with a drizzle of chocolate sauce across the top. You can use a spoon to create swirls or a squeeze bottle for more control. To prevent cracking, let the pie sit at room temperature for 5–10 minutes before drizzling so the top softens just slightly.
Want it to look like it came from a bakery? Drizzle the sauce in alternating directions to create a grid or crosshatch pattern. This gives the Ice Cream Pie a polished, professional finish.
If you’re serving guests or taking photos, add the chocolate drizzle just before serving. It keeps the texture glossy and makes the colors pop.
Creative Ways to Use Whipped Topping
A can of whipped cream works fine, but if you want your dessert to truly shine, go with a piping bag and a decorative tip to create piped rosettes or stars around the outer edge of the pie. You can also use a zip-top bag with the corner snipped for a DIY hack.
Here are three easy ideas for decorating with whipped topping:
- Classic Border: Pipe small swirls evenly around the edge of the pie.
- Center Swirl: Add a large dollop in the middle and spiral outward.
- Mini Peaks: Pipe small peaks all over the top for texture and height.
For an extra indulgent touch, sprinkle more chopped cookies or chocolate shavings over the whipped topping. These not only look great but add texture and flavor in every bite.
Serving and Slicing Tips
How to Slice a Frozen Pie Neatly
Slicing an ice cream pie may seem tricky, but with a few smart moves, you’ll get clean, photo-worthy slices every time. The key is to let the pie sit at room temperature for 5 to 10 minutes before cutting. This softens the outer layer just enough to make slicing smooth but still holds the shape.
Use a sharp knife dipped in hot water, then wiped dry. The warmth from the blade glides through the frozen layers without cracking or tearing. Repeat dipping the knife between slices to maintain clean edges.
If you’re serving a crowd, slice the Ice Cream Pie into 8 equal wedges. For smaller portions, you can go with 10–12 thinner slices, especially if you’re serving with other desserts.
Best Time to Remove from Freezer Before Serving
Timing matters with frozen desserts. Remove your ice cream pie from the freezer about 10 minutes before serving. This gives it time to soften slightly, improving both flavor and texture.
Here’s a simple serving timeline:
| Task | Timing |
|---|---|
| Remove from freezer | 10 minutes before serving |
| Drizzle with chocolate | Just before serving |
| Add whipped topping | Optional, right before slicing |
Serve immediately after slicing to keep the ice cream from melting too much. Return any leftover slices to the freezer as soon as everyone’s served.
Customizing Your Ice Cream Pie
Flavor Variations You Can Try
One of the best things about this ice cream pie recipe is how easily you can change it up to suit any mood, season, or celebration. Start with the crust—while Oreos are classic, you can swap in almost any cookie:
- Graham crackers – for a lighter, honeyed flavor
- Chocolate chip cookies – chewy and rich
- Peanut butter cookies – for a salty-sweet base
- Gluten-free cookies – to accommodate dietary needs
Now for the filling. Instead of cookies and cream, try one of these fun twists:
| Ice Cream Flavor | Complementary Topping Ideas |
|---|---|
| Mint chocolate chip | Crushed mint candies, chocolate drizzle |
| Strawberry | Fresh berries, white chocolate shavings |
| Rocky road | Mini marshmallows, almond slivers |
| Coffee | Chocolate espresso beans |
| Birthday cake | Sprinkles and rainbow candies |
Mix and match crusts, fillings, and toppings to create your own signature version. The possibilities are endless.
Making it Dairy-Free or Vegan
Got dietary restrictions? No worries—this recipe is just as tasty when made dairy-free or vegan. Here’s how to swap out the traditional ingredients:
- Use plant-based cookies: Many store-brand chocolate sandwich cookies are dairy-free. Check the label.
- Substitute with vegan butter: Brands like Earth Balance work well in place of traditional butter.
- Choose dairy-free ice cream: Opt for oat milk, almond, coconut, or soy-based ice creams.
- Top with coconut whipped cream: Available in tubs or cans, it’s light and fluffy like the real thing.
This version freezes just as beautifully and serves up creamy, delicious slices without compromise.
Storing Leftovers and Make-Ahead Tips
How Long Ice Cream Pie Lasts in the Freezer
If you’re lucky enough to have leftovers, you’ll want to store them properly to keep your ice cream pie tasting fresh. A fully assembled pie or leftover slices can last in the freezer for up to 3 days if stored well.
To preserve taste and texture, tightly wrap the Ice Cream Pie in plastic wrap, followed by a layer of aluminum foil, or place it in an airtight container if available. This protects it from freezer burn and prevents absorption of other odors.
| Storage Option | Shelf Life | Best For |
|---|---|---|
| Plastic wrap only | 1–2 days | Short-term leftovers |
| Wrap + airtight container | Up to 3 days | Whole pie or slices |
If the pie has whipped topping or added garnishes, try to store them separately or reapply fresh before serving the leftovers.
Make-Ahead Dessert Ideas for Busy Days
This recipe is perfect for planning ahead. Here’s how you can make the most of it:
- Build the crust and freeze it overnight
- Assemble the layers 1–2 days in advance
- Add toppings right before serving for best presentation
Making multiple pies? Stack them in the freezer by placing parchment paper between them and using cake boxes or shallow containers.
Ice cream pie is also a smart choice for parties, holidays, or busy weeknights when you want a stress-free dessert ready to go.
Conclusion
Whether you’re planning a birthday bash, a summer BBQ, or a last-minute family dinner, this ice cream pie recipe is the ultimate frozen dessert to wow any crowd. With only a handful of simple ingredients and no baking required, it’s beginner-friendly and endlessly customizable. From the chocolatey Oreo crust to the creamy cookies and cream layers and irresistible toppings, this Ice Cream Pie is pure frozen bliss in every bite.
The best part? You can prepare it in advance, tailor it to your taste with fun variations, and serve it stress-free from your freezer. So go ahead, grab that ice cream and get layering—you’ve just found your new go-to dessert.
For More Delicious And Easy Recipes Follow Me In Facebook And Pinterest.
