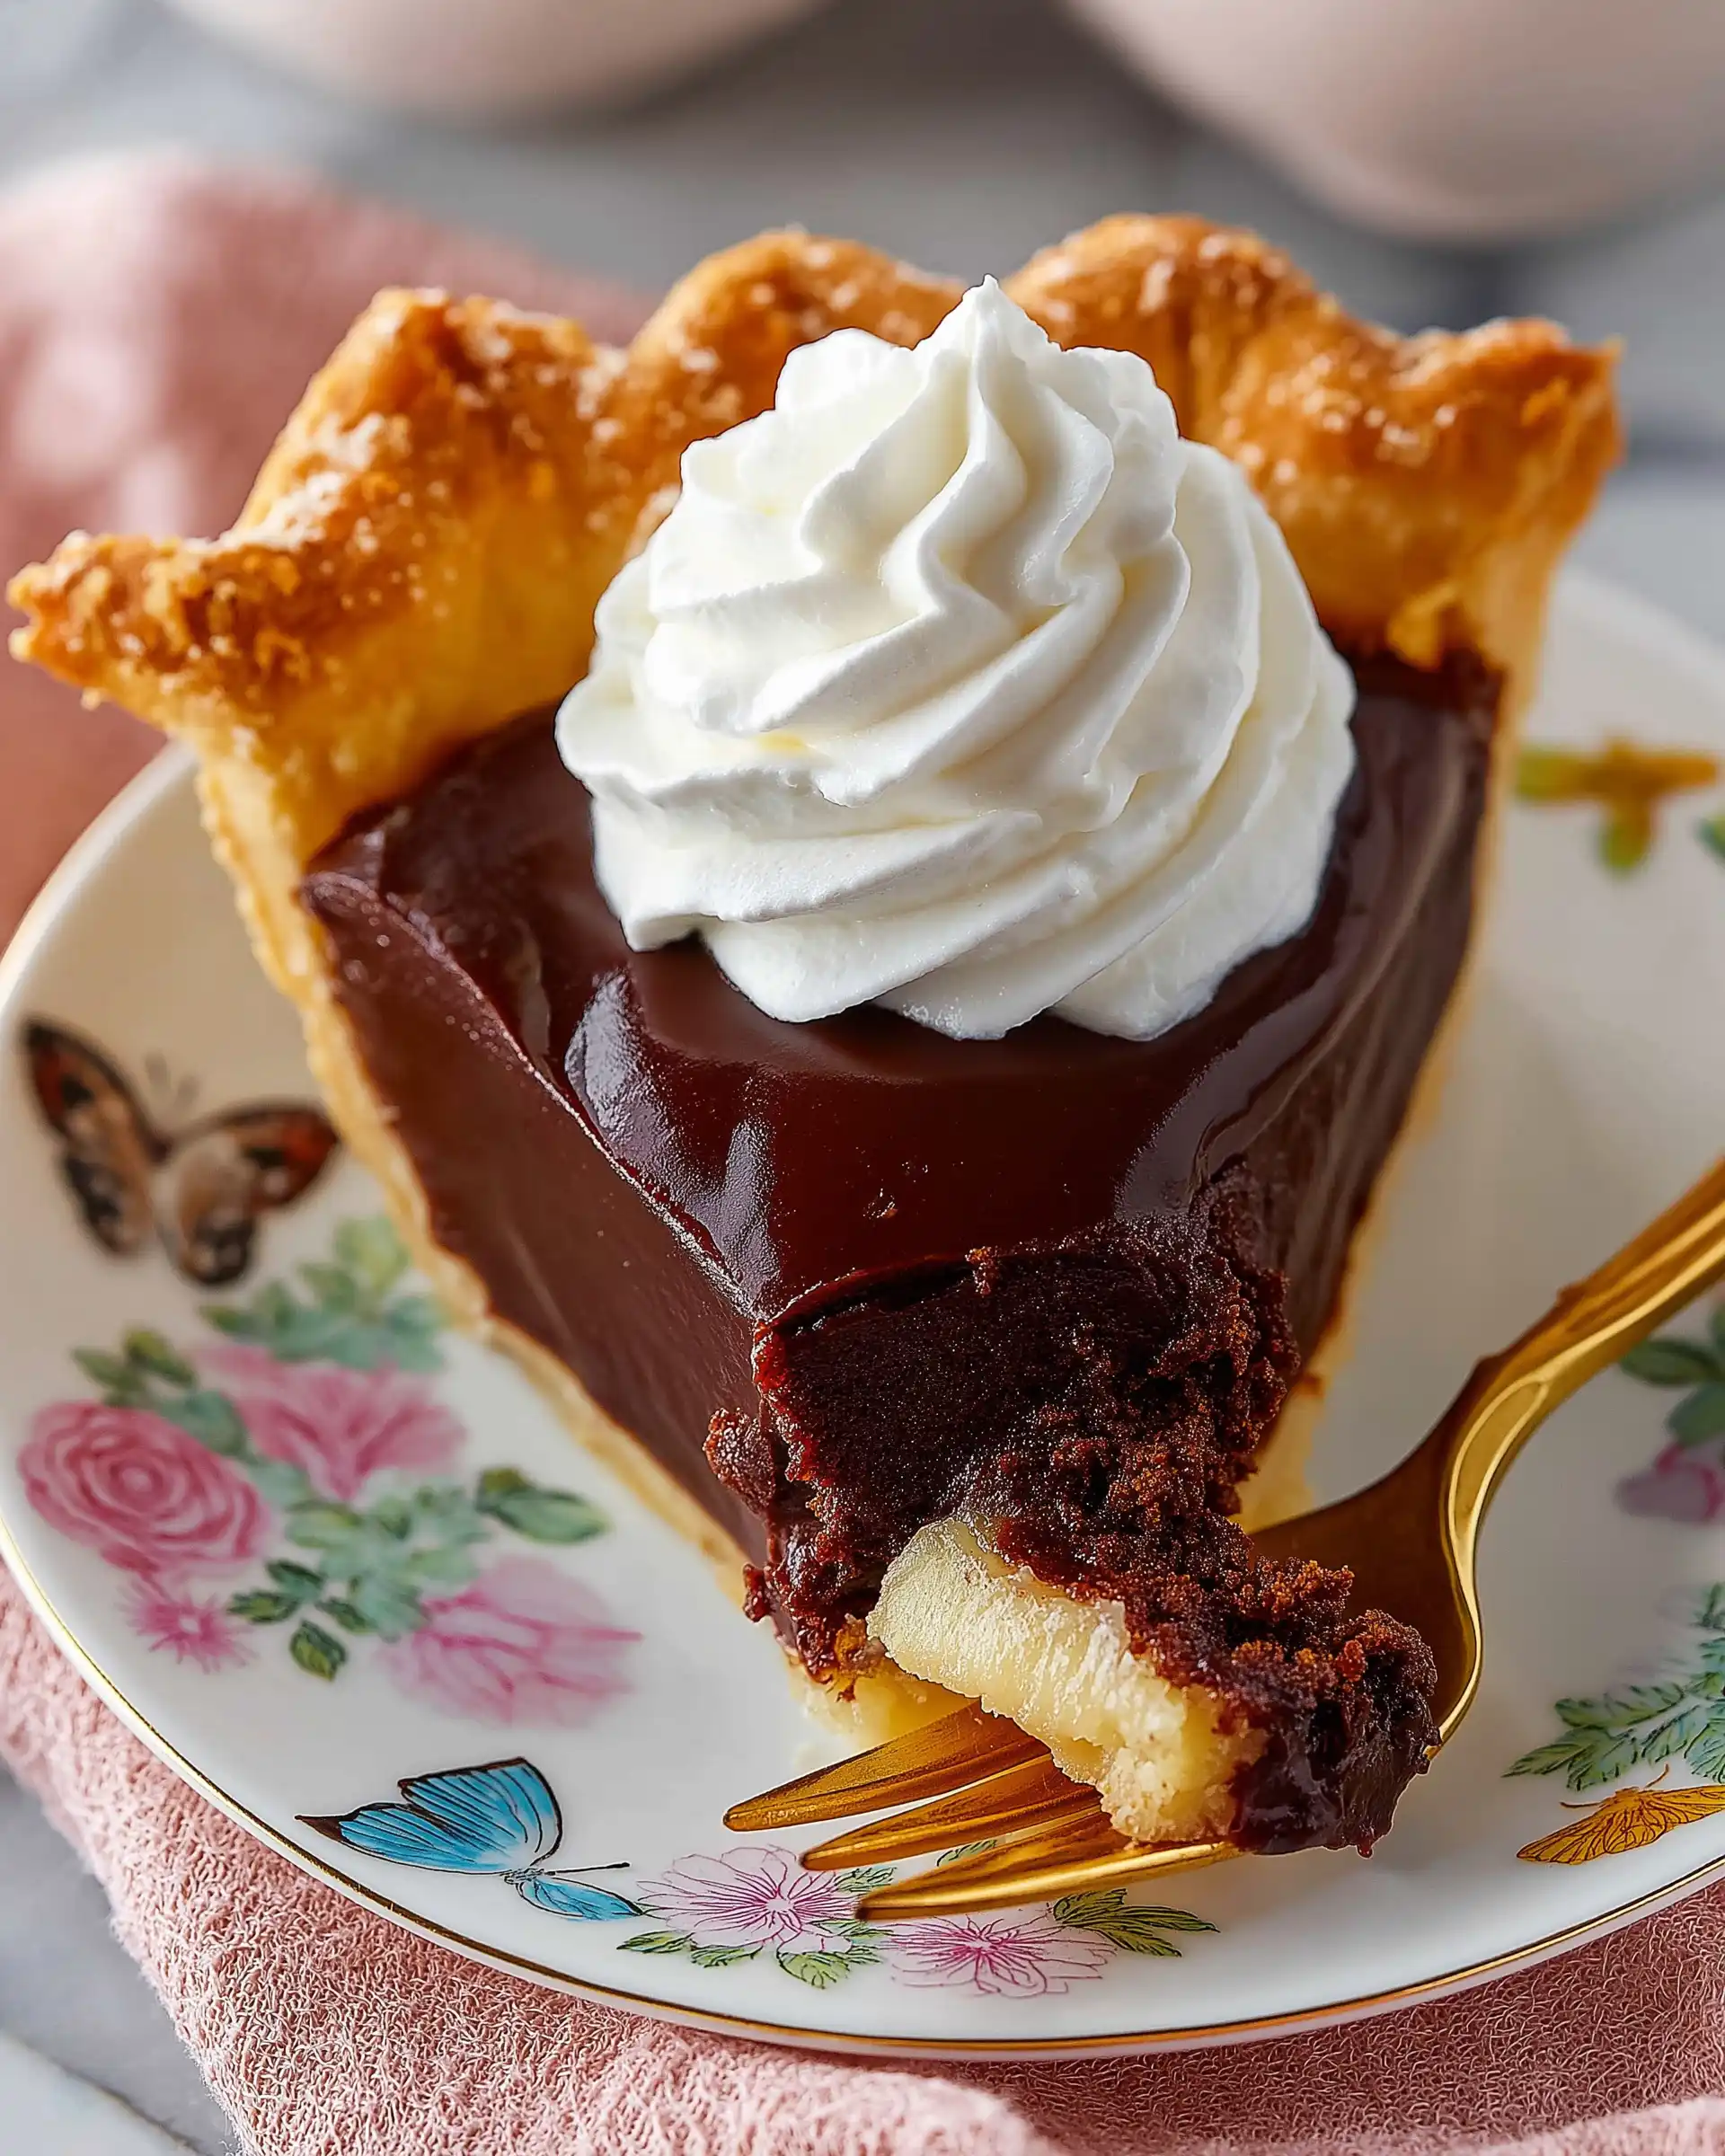
Few desserts can match the comfort and joy that come from a freshly baked cherry apple pie. The buttery, flaky crust paired with a sweet-tart fruit filling makes this pie a classic American favorite, perfect for holiday gatherings, family dinners, or weekend baking adventures. In this guide, we’ll walk through each essential step to creating the perfect cherry apple pie from scratch. From mastering the homemade pie crust to building a lattice top that’s as beautiful as it is delicious, you’ll discover just how easy it is to bring this pie to life in your own kitchen.
We’ll also cover ingredient choices, crust techniques, pie assembly, baking tips, and ways to serve your pie for maximum enjoyment. Whether you’re a seasoned baker or trying this for the first time, this detailed cherry apple pie recipe has everything you need for success.
Contents
- 1 Crafting the Perfect Pie Crust for Your Cherry Apple Pie
- 2 Making the Juicy Cherry Apple Pie Filling
- 3 Assembling and Designing the Cherry Apple Pie
- 4 Cherry Apple Pie Recipe
- 5 Baking the Cherry Apple Pie to Golden Perfection
- 6 Cooling and Serving the Cherry Apple Pie Just Right
- 7 Expert Tips and Common Mistakes to Avoid in Cherry Apple Pie Baking
- 8 Conclusion
Crafting the Perfect Pie Crust for Your Cherry Apple Pie
Why the Right Pie Crust Matters
A flaky, tender crust forms the foundation of any successful fruit pie. For our cherry apple pie, a homemade crust ensures rich flavor and texture that holds up beautifully beneath juicy fruit filling. Store-bought dough simply doesn’t compare when it comes to crispness or buttery taste.
Ingredients and Texture Secrets
The ideal pie crust only needs four ingredients: all-purpose flour, salt, unsalted butter, and ice water. The magic lies in how they come together. Cold butter is key. When you cut it into the flour and leave small chunks throughout the dough, those chunks melt in the oven and create steam pockets, leading to that flaky texture.
Use 340 grams of flour and 230 grams of cold cubed butter for the right balance. Add just 140 grams of ice water gradually, mixing until you get a shaggy dough that barely holds together. Overmixing will develop gluten and make the crust tough instead of light.
Mixing and Shaping the Dough
Use your fingers or a dough blender to rub the butter into the flour until you get a coarse meal with visible butter bits. Add ice water in the center and mix gently, folding the dough onto itself a few times on plastic wrap until it sticks together. Divide into two discs, wrap them, and refrigerate for at least 2 hours. This step prevents the butter from melting before baking, helping you achieve a crisp, structured crust.
Rolling and Fitting the Bottom Crust
After chilling, roll one disc out on a lightly floured surface until it’s about ⅛-inch thick. Roll the dough onto your pin and gently drape it over a 9-inch pie dish. Ease the dough into the corners and press gently to fit the pan. Trim excess dough, leaving a one-inch overhang for later crimping.
Prepping for the Lattice Top
Set the second disc aside in the fridge until it’s time to create the lattice topping. Keeping the dough cold throughout the process is crucial. Warm dough softens and loses structure, making it harder to work with and affecting the final bake.
Making the Juicy Cherry Apple Pie Filling
Choosing the Best Apples and Cherries
The filling is the heart of your cherry apple pie recipe. To create that perfect sweet-tart balance, begin with tart apples and ripe red cherries. Tart apples, such as Granny Smith or Honeycrisp, hold their shape well during baking and offer a nice contrast to the sweet cherries. After peeling, coring, and slicing, you’ll need around 700 grams of apples and 300 grams of pitted, halved cherries.
The apples should be sliced evenly, about ¼ inch thick, so they cook consistently. As for cherries, fresh ones are ideal when in season, but frozen cherries (thawed and well-drained) can also work if needed.
Mixing the Filling Ingredients
In a large mixing bowl, combine the sliced apples and halved cherries with:
- 50 grams of brown sugar
- 20 grams of cornstarch
- 1 tablespoon of ground cinnamon
- 2 teaspoons of vanilla extract
Toss everything until the fruit is well-coated. The brown sugar deepens the flavor while the cinnamon brings warm, comforting notes. Cornstarch thickens the filling as it bakes, preventing a runny mess when you slice into the pie. Be sure the mixture is evenly coated for even flavor throughout the filling.
Controlling Moisture in Fruit Pies
Fruit fillings release a lot of juice while baking, which can lead to soggy crusts. To help with that, cornstarch is your secret weapon. It reacts with the fruit juices as they heat up and thickens into a glossy, jam-like consistency. You can also place the prepared filling in a colander for 10-15 minutes before adding it to the pie dish. This step allows excess liquid to drain away.
Another option? Dust the bottom crust with a tiny amount of flour or crushed graham crackers before adding the filling. This absorbs extra juices and prevents sogginess while preserving the crust’s flaky texture.
Filling the Pie Shell
Now that your fruit is ready and your bottom crust is pressed into the dish, it’s time to assemble. Spoon the cherry apple filling directly into the pie crust. Don’t be afraid if the fruit forms a small dome over the crust. This is normal and expected, as the fruit will shrink slightly during baking.
Pack the filling gently but firmly, making sure there are no large air pockets. The more evenly the filling is distributed, the better the pie will bake.
Assembling and Designing the Cherry Apple Pie
Rolling Out and Cutting the Top Crust
Once your filling is in place, it’s time to complete the look with a classic lattice pie crust. Remove the second disc of dough from the fridge and place it on a lightly floured surface. Roll it out to about ⅛ inch thick, just like the bottom crust.
Using a sharp knife or pastry wheel, slice the dough into even 1-inch strips. You’ll need around 8–10 strips, depending on the design you want. If you’d like to add a decorative touch, braid three thinner strips together. This small detail adds a beautiful homemade flair to your cherry apple pie recipe and makes the pie truly stand out on any dessert table.
Creating a Lattice Pattern
To create the lattice, lay one strip horizontally across the center of the pie, then lay another vertically, forming a cross in the middle. Add strips parallel to the horizontal piece, spaced evenly, lifting alternate strips to weave new ones over and under. Repeat this process on the vertical side, interlacing each new strip through the others.
Braided strips can be used along the outer edge or woven directly into the pattern. Continue until the entire top is covered. The fruit should still be visible through the lattice, allowing steam to escape during baking and giving your pie that irresistible golden finish.
Trimming and Crimping the Crust Edges
Once your lattice is in place, trim the excess dough from the edges of the strips so that they match the bottom crust’s edge. Fold the overhang of the bottom crust up and over the edge of the lattice strips. This not only seals the pie but also strengthens the rim, helping it hold its shape in the oven.
Now crimp the edges using your thumb and forefinger on one hand and the knuckle of your opposite finger. Press gently and consistently to create that signature wavy pattern. This technique doesn’t just look great—it helps prevent leaks as the pie bakes.
Brushing with Egg Wash and Adding Crunch
In a small bowl, beat 1 egg until smooth. Use a pastry brush to gently coat the top lattice with the egg wash. This gives your pie a glossy, golden-brown finish. For extra sparkle and a sweet crunch, sprinkle 2 tablespoons of coarse sugar or sugar crystals over the brushed crust.
The sugar not only looks beautiful when baked but adds an irresistible texture to each bite.
Print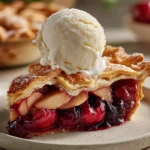
Cherry Apple Pie Recipe
- Total Time: 4 hours 10 minutes
- Yield: 1 9-inch pie
Description
A flaky, buttery cherry apple pie packed with tart apples, juicy red cherries, and a hint of cinnamon. Perfect for holiday tables or weekend baking.
Ingredients
For the Pie Crust:
340 g all-purpose flour
1 teaspoon salt
230 g unsalted butter, cold & cubed
140 g ice cold water
For the Pie Filling:
4 tart apples (about 700g after slicing)
300 g red cherries, pitted & halved
50 g brown sugar
20 g cornstarch
1 tablespoon ground cinnamon
2 teaspoons vanilla extract
For the Egg Wash:
1 egg, beaten
2 tablespoons sugar crystals or coarse sugar
Instructions
1. In a bowl, mix flour and salt. Add cold butter and work into pea-sized crumbs.
2. Add ice water slowly, mixing until a shaggy dough forms. Divide into 2 discs and chill for 2 hours.
3. Roll out one disc and place into a 9″ pie dish. Trim excess dough, leaving 1-inch overhang.
4. In a bowl, combine apples, cherries, sugar, cornstarch, cinnamon, and vanilla. Toss well.
5. Pour the fruit mixture into the crust, mounding slightly in the center.
6. Roll out second disc and cut into strips. Weave into a lattice and trim excess dough.
7. Fold edges over and crimp using your fingers.
8. Preheat oven to 425°F. Place pie on a baking sheet.
9. Brush lattice with beaten egg and sprinkle sugar crystals on top.
10. Bake at 425°F for 15 minutes, then reduce heat to 350°F and bake for 50-55 more minutes.
11. Let the pie cool for 1-2 hours before slicing and serving.
Notes
Use tart apples like Granny Smith for best flavor balance.
For a crunchier crust, freeze the pie for 15 minutes before baking.
Letting the pie cool completely helps the filling set properly.
- Prep Time: 1 hour
- Cook Time: 1 hour 10 minutes
- Category: Pies
- Method: Baking
- Cuisine: American
Baking the Cherry Apple Pie to Golden Perfection
Preheating and Setting the Right Temperature
Preheating is one of the most overlooked yet crucial steps when baking a cherry apple pie. A properly heated oven ensures that the crust sets quickly, locking in the butter and preventing it from melting too fast. Begin by preheating your oven to 425°F (218°C).
This initial high heat gives the pie a strong start, helping the crust crisp up and supporting the structure of the filling. Later, the temperature will be reduced to avoid overbrowning and to allow the fruit to cook through gently.
Using a Baking Sheet for Spill Protection
Fruit pies often bubble over during baking, especially with juicy fillings like cherries and apples. To prevent a sticky mess at the bottom of your oven, place your pie dish on top of a rimmed baking sheet. If you want easier cleanup, line the sheet with foil or parchment paper.
This step doesn’t impact the baking results but makes life easier after dessert is served.
Two-Stage Baking Method
Start by baking your cherry apple pie at 425°F for 15 minutes. This sets the crust and begins the cooking process. Then, reduce the oven temperature to 350°F (177°C) and continue baking for 50 to 55 minutes. This allows the filling to bubble and thicken slowly without burning the top crust.
The pie is done when the crust is golden brown and the filling is visibly bubbling through the lattice or edges. These bubbles are a sign that the cornstarch has activated and the fruit juices have thickened properly.
Preventing Over-Browning
Sometimes the edges of a pie crust brown too fast before the rest of the pie finishes baking. To avoid this, you can loosely tent the crust edges with strips of foil or use a silicone pie shield during the final 20 to 30 minutes of baking.
Keep a close eye during the last 15 minutes, as oven temperatures can vary slightly. The pie should be evenly golden, not too pale or too dark.
How to Tell if It’s Ready
Besides checking the crust and bubbling filling, give your pie a gentle nudge. The center should feel firm under the crust, not sloshy. The pie continues to set as it cools, so don’t worry if it still looks a bit soft inside the oven.
Cooling and Serving the Cherry Apple Pie Just Right
Why Cooling Is Essential
As tempting as it is to dig into your cherry apple pie right out of the oven, cooling is key to getting clean, picture-perfect slices. Right after baking, the filling is molten hot and extremely fluid. If you cut into it too soon, all those flavorful juices will spill out, leaving a soggy mess behind.
Let your pie cool for at least 1 to 2 hours at room temperature. This gives the cornstarch time to set the filling and allows the crust to firm up for easy slicing.
Touch the bottom of the pie dish gently—if it’s still too hot to rest your palm on, give it more time. For the best results, allow it to cool on a wire rack so the bottom crust doesn’t become steamy.
How to Slice Without Breaking the Crust
Use a sharp serrated knife to gently cut through the lattice without dragging it. Wipe the knife clean between slices to maintain clean edges. A pie server or offset spatula makes lifting slices easier without crumbling the bottom.
Start with a center slice and work outward for the best structure. The first piece is always the trickiest to remove, but the rest will come out much more smoothly.
Best Ways to Serve Cherry Apple Pie
Your freshly baked cherry apple pie is delicious on its own, but it’s even better with a scoop of vanilla ice cream or a dollop of whipped cream. The contrast between the warm pie and the cold topping adds a delightful texture and temperature balance.
If serving later, warm individual slices in the microwave for about 20 seconds to bring back that just-baked freshness. You can also reheat the entire pie in the oven at 300°F (150°C) for 15–20 minutes to maintain a crisp crust.
Storage Tips for Leftovers
If you’re lucky enough to have leftovers, store your cherry apple pie at room temperature for up to 2 days, loosely covered with foil or plastic wrap. For longer storage, refrigerate the pie and warm slices before serving.
To freeze the pie, wrap it tightly in plastic wrap and then aluminum foil. It can be frozen for up to 3 months. To serve, thaw overnight in the fridge, then warm in the oven before enjoying.
Expert Tips and Common Mistakes to Avoid in Cherry Apple Pie Baking
Common Mistakes First-Time Bakers Make
Even experienced bakers sometimes run into issues when making fruit pies. Let’s explore the most common problems with cherry apple pies and how to avoid them.
1. Overworking the Dough
One of the biggest pie crust mistakes is handling the dough too much. Over-kneading or mixing too long develops gluten, making the crust tough and chewy instead of flaky. Always mix until just combined, and don’t skip the chilling time.
2. Using Warm Butter
Warm or softened butter ruins the texture. Cold butter is essential for creating steam pockets during baking, which leads to that desirable layered crust. Always use cold, cubed butter and chill the dough before rolling.
3. Not Venting the Pie Properly
If you’re not using a lattice top, be sure to cut slits in the upper crust to allow steam to escape. Without proper ventilation, the filling can bubble over and make the crust soggy.
4. Cutting the Pie Too Soon
We get it—your kitchen smells amazing, and you want a slice. But if you cut into the pie before it’s fully set, you’ll end up with a runny filling and broken crust. Be patient and let it cool fully.
Expert Pie Tips for the Best Results
1. Freeze the Assembled Pie for 15 Minutes Before Baking
This helps the dough hold its shape in the oven. Especially with lattice tops and crimped edges, a quick freeze helps set the structure and prevents melting too early.
2. Use a Ceramic or Glass Pie Dish
These materials distribute heat more evenly than metal pans, helping the bottom crust bake thoroughly without overcooking the edges.
3. Taste Your Apples Before Baking
Apples vary in sweetness. If yours are very tart, you may want to add an extra tablespoon of sugar to the filling. If they’re sweeter than expected, scale back slightly.
4. Weigh Your Ingredients for Accuracy
Baking is science. Measuring flour by volume can lead to dense dough. Use a kitchen scale to get precise measurements and consistent results, especially for the crust.
5. Keep It Seasonal
While this cherry apple pie recipe works year-round, using fresh seasonal fruits when available gives the best flavor. During cherry season, opt for fresh pitted cherries. In the off-season, high-quality frozen cherries can still yield great results.
Conclusion
This cherry apple pie recipe combines everything you love about home baking—rich flavors, rustic textures, and that warm sense of nostalgia. From preparing a buttery, flaky crust to building the perfect lattice and filling it with juicy fruit, every step invites you to slow down and create something memorable.
The tartness of fresh apples balances perfectly with sweet red cherries, all wrapped in a crust that’s crisp and golden. With a little patience, the right ingredients, and the expert tips you’ve just learned, you’ll bake a pie that’s not just delicious, but truly unforgettable.