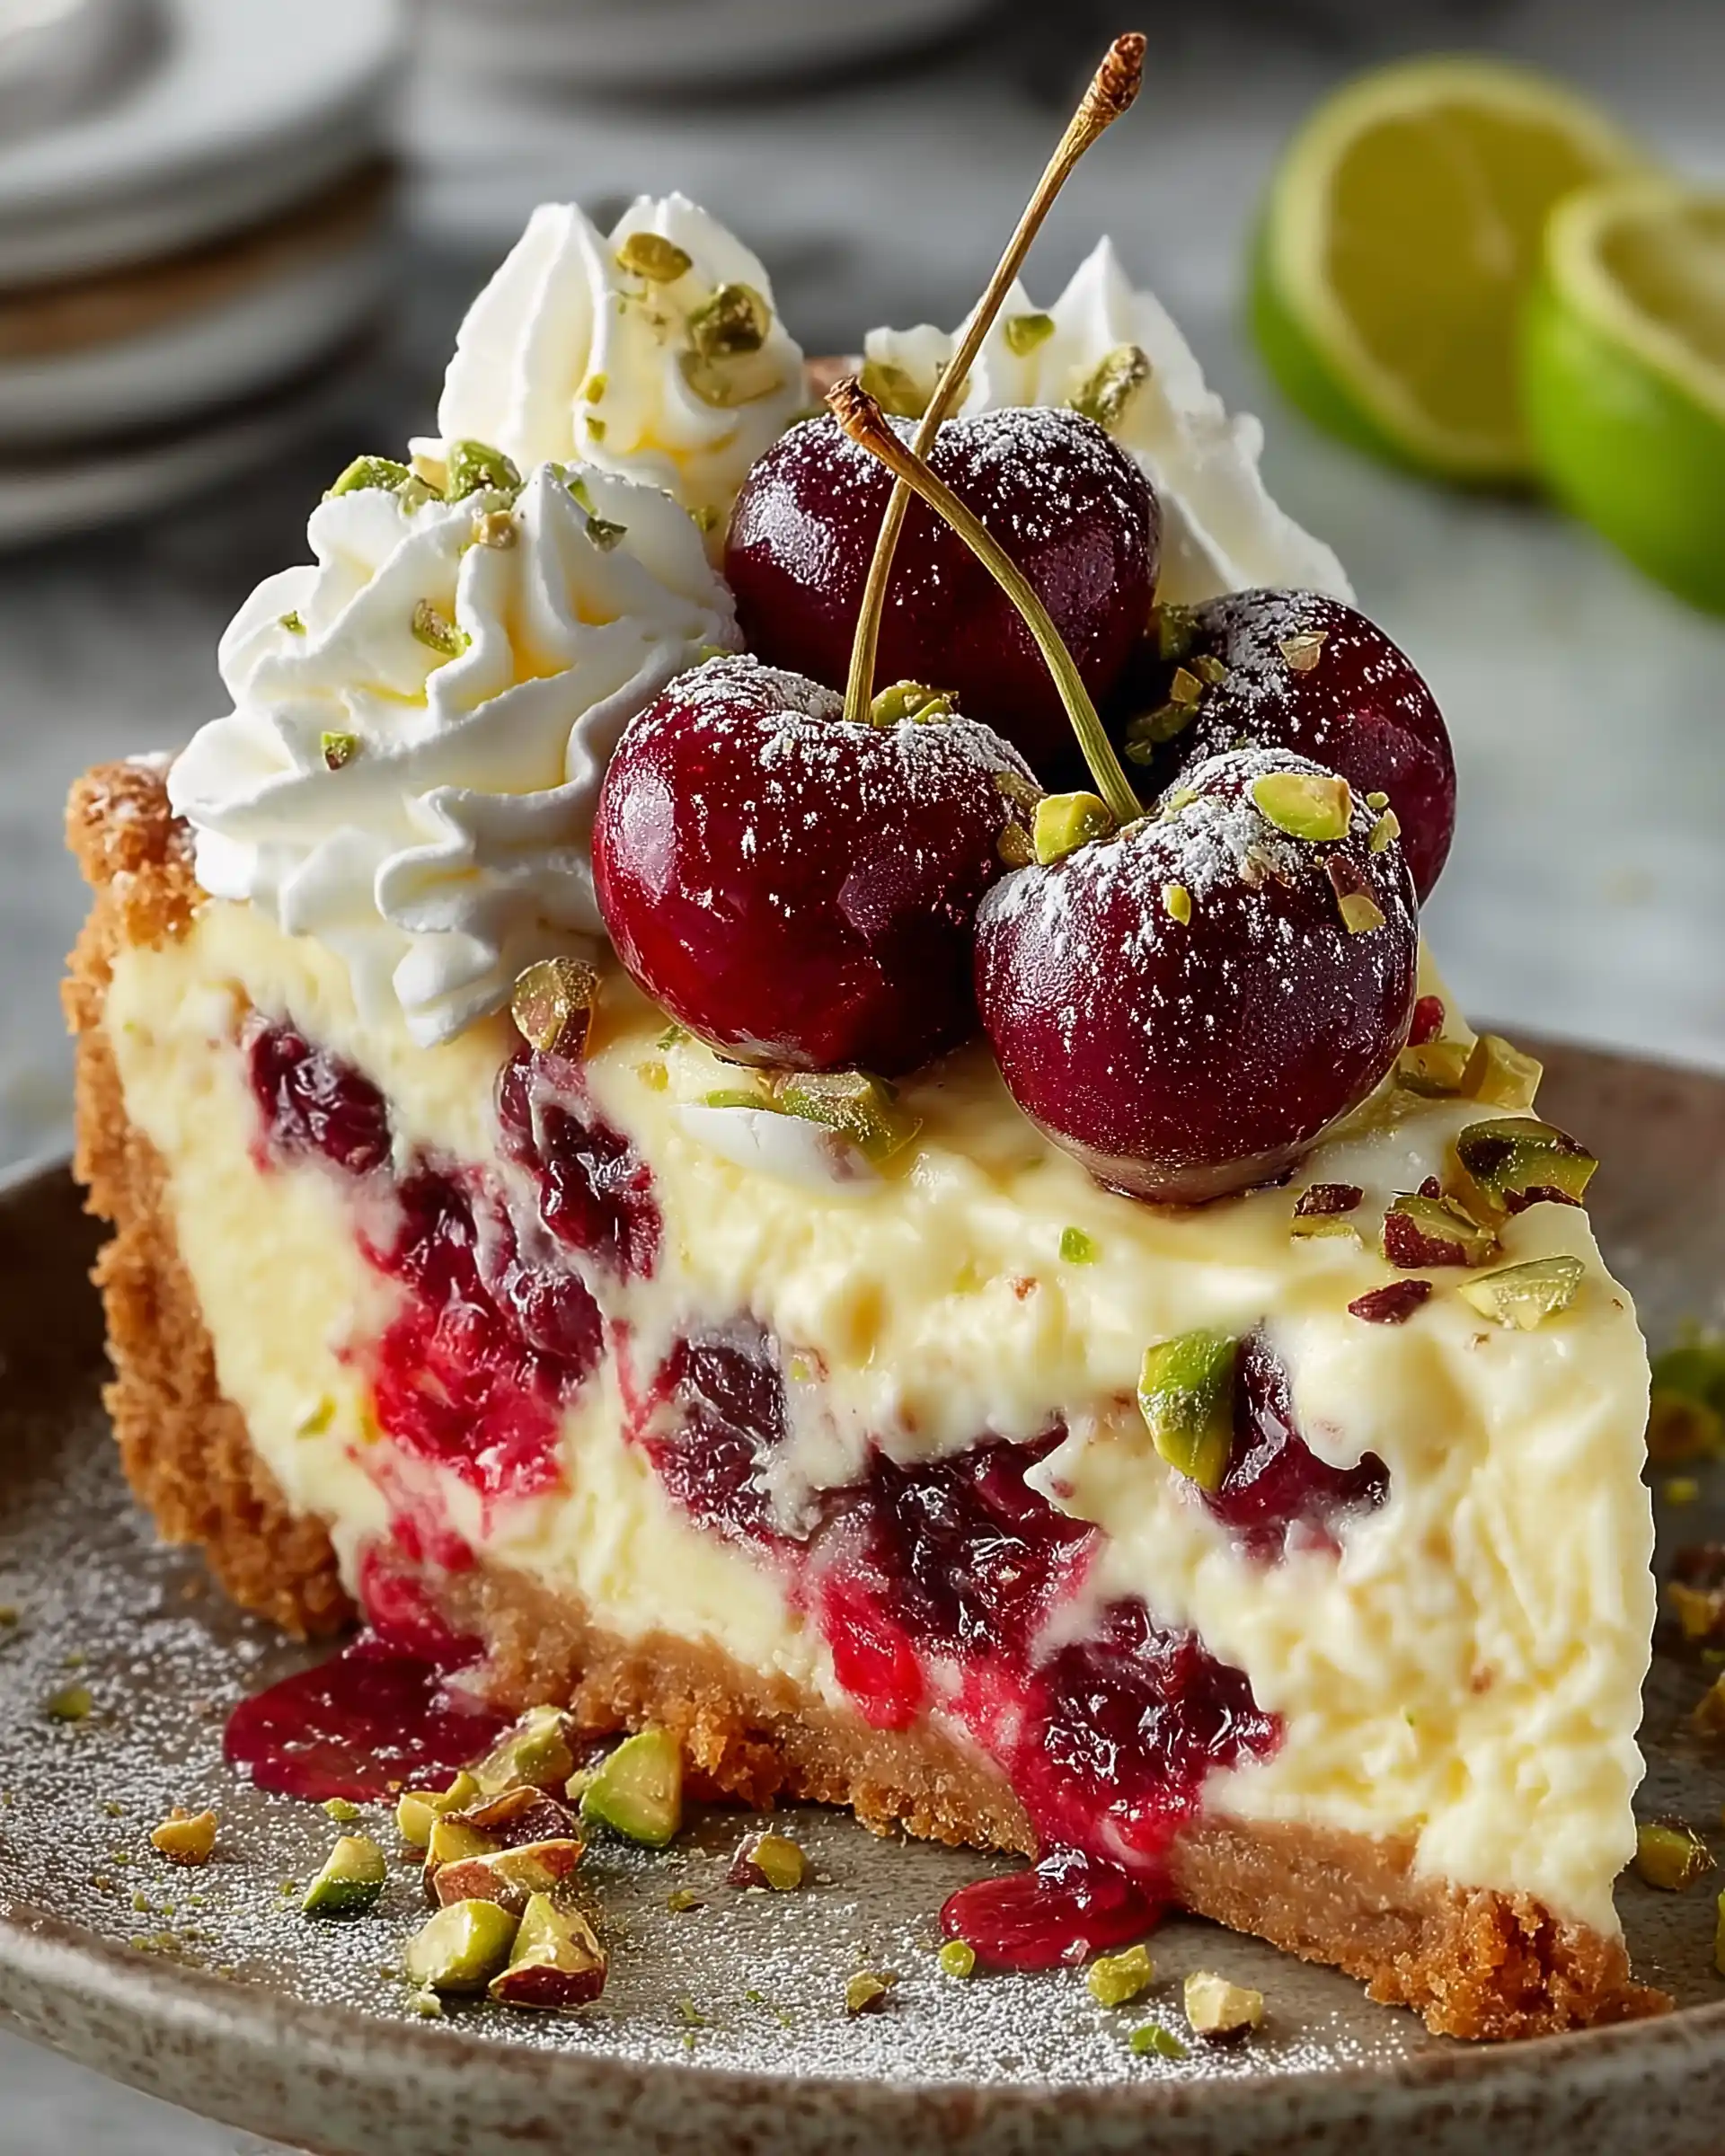
If you’re on the hunt for a dessert that’s equal parts elegant and indulgent, look no further than this Pistachio Cheesecake Recipe. With its rich, nutty flavor and silky texture, this cheesecake stands out from the crowd.
Whether you’re baking for a holiday gathering, a dinner party, or just to treat yourself, pistachio cheesecake offers a sophisticated twist on a classic dessert. This recipe combines a buttery cookie crust with a velvety pistachio-infused filling that’s both creamy and bursting with flavor.
In this article, we’ll walk through every step you need to make the perfect pistachio cheesecake at home. From selecting the best ingredients to mastering the baking process, we cover it all. We’ll also include practical tips, troubleshooting tricks, and ways to elevate the texture and flavor for professional-level results. Plus, we’ll answer some of the most common questions about making pistachio cheesecake toward the end.
Contents
- 1 Crafting the Perfect Cookie Crust for Pistachio Cheesecake
- 2 Pistachio Cheesecake Recipe
- 3 Mastering the Pistachio Filling – Rich, Creamy, and Packed with Flavor
- 4 The Art of Baking Cheesecake to Perfection
- 5 Chilling and Serving – When Patience Pays Off
- 6 Expert Tips and Variations to Elevate Your Pistachio Cheesecake
- 7 Conclusion
Crafting the Perfect Cookie Crust for Pistachio Cheesecake
The Importance of a Solid Crust
The crust is the backbone of any cheesecake. It adds structure, texture, and a contrasting flavor that balances the creamy filling. In this pistachio cheesecake recipe, a cookie-based crust made from graham crackers or digestive biscuits offers a subtle sweetness and crunch that perfectly complements the nutty richness of the filling.
Ingredients That Build Flavor and Texture
For this crust, you’ll need 300 grams of cookie crumbs. Graham crackers bring a honeyed depth, while digestive biscuits lean more buttery. Melted unsalted butter binds the crumbs together, and a pinch of fine sea salt enhances the flavor. A spoonful of powdered sugar not only sweetens the crust slightly but also improves its texture during baking.
Print
Pistachio Cheesecake Recipe
- Total Time: 9 hours
- Yield: 10 servings
Description
A creamy, nutty Pistachio Cheesecake made with a buttery cookie crust and a smooth pistachio-infused filling. Perfect for special occasions or a luxurious treat.
Ingredients
300g cookie crumbs (graham crackers or digestive cookies)
113g or 1/2 cup unsalted butter, melted
Pinch fine sea salt
1 tablespoon powdered sugar
453g cream cheese (two bricks), softened
200g or 1 cup granulated sugar
½ teaspoon fine sea salt
2 teaspoons pure vanilla extract
200g or 1 scant cup pistachio butter
240g or 1 cup sour cream
2 large eggs
Zest of 1 lemon (optional)
Instructions
1. Preheat oven to 350°F. In a food processor, blend cookie crumbs, powdered sugar, salt, and melted butter until finely ground.
2. Press crust mixture into the bottom and sides of an 8″ parchment-lined cake pan. Bake crust for 10 minutes, then set aside to cool.
3. Lower oven heat to 325°F. Blend cream cheese, sugar, and salt until completely smooth.
4. Add vanilla extract and mix. Then add pistachio butter, mix until fully incorporated. Scrape down sides and blend again.
5. Add sour cream, mix until smooth. Add eggs and pulse until just combined.
6. Pour the filling into the cooled crust. Place cake pan inside a larger 13×9″ pan filled halfway with hot water (water bath).
7. Bake for about 50 minutes or until edges are set and center jiggles slightly. Turn off oven, crack the door open with a spoon, and let sit for 30 minutes.
8. Close the oven and leave the cheesecake for another 15 minutes.
9. Remove from oven, cool on counter for 30 minutes. Refrigerate for at least 8 hours before serving.
Notes
For a citrus twist, rub lemon zest into the sugar before mixing.
Don’t overmix the batter once eggs are added.
If using a springform pan, avoid water bath contact by placing a pan of water on the rack beneath the cheesecake.
- Prep Time: 30 minutes
- Cook Time: 1 hour
- Category: Cheesecake
- Method: Baking
- Cuisine: American
Step-by-Step: Making and Baking the Crust
Start by placing the cookies, salt, and powdered sugar into a food processor. Pulse on high until the cookies are finely crushed. Then, pour in the melted butter and continue processing until the mixture turns into a wet, sandy texture that holds together when pinched.
Line an 8-inch cake pan with parchment paper, pressing the crumb mixture into the bottom and up the sides. This gives structure to the cheesecake and ensures each bite has a delightful crunch. Bake the crust at 350°F for 10 minutes, which helps set it before adding the filling. Once baked, allow it to cool while you prepare the pistachio cream filling.
Mastering the Pistachio Filling – Rich, Creamy, and Packed with Flavor
Choosing Quality Pistachio Butter for Maximum Flavor
The heart of this pistachio cheesecake recipe lies in the pistachio butter. Its flavor defines the entire filling, so using high-quality pistachio butter is key. Look for a variety made from 100% roasted pistachios, without added sugar or oils. The natural oils in the nuts bring a deep, earthy richness that blends beautifully with the cream cheese.
If you’re making pistachio butter at home, simply blend shelled, unsalted roasted pistachios in a food processor until they turn into a smooth paste. This gives you total control over freshness and flavor intensity.
The Cream Cheese Base: Smoothness is Everything
Start with two bricks (453g) of softened cream cheese. This ingredient should be at room temperature before blending, as cold cream cheese tends to form lumps. Blend it in a food processor or stand mixer with 200g (1 cup) of granulated sugar and half a teaspoon of sea salt. Blend until it’s completely smooth, lump-free, and velvety.
Smooth texture is not just about appearance, it’s essential for an even bake and that signature creamy mouthfeel.
Combining Sour Cream and Vanilla for Tang and Depth
Next, add a cup (240g) of sour cream. This ingredient contributes moisture and tang, cutting through the richness of the pistachio and cheese. Two teaspoons of pure vanilla extract round out the flavor profile, adding a sweet, fragrant undertone that elevates the whole experience.
Blend until the mixture is silky and evenly combined. If you want to add a subtle brightness, you can rub lemon zest into the sugar before adding it to the mix. This adds an aromatic citrus note that complements the pistachios beautifully.
Incorporating Eggs – The Gentle Touch
Once your filling is smooth, it’s time to add the eggs. Use two large eggs and pulse just until they’re incorporated. Over-mixing can introduce too much air into the batter, leading to cracks during baking.
Eggs act as the binder, giving the cheesecake its structure. The key is to mix gently so the texture remains dense and luxurious without becoming overly airy.
Final Prep Before Baking
Once the filling is ready, pour it carefully over your pre-baked crust. Tap the pan lightly on the counter to release any trapped air bubbles. This prevents unsightly holes in the final cheesecake and ensures a creamy, cohesive bite from top to bottom.
The Art of Baking Cheesecake to Perfection
Why a Water Bath is Essential for Cheesecake
Baking cheesecake isn’t like baking a standard cake. It requires a delicate balance of moist heat and gentle cooking. That’s where a water bath—also called a bain-marie-comes in. This technique prevents the cheesecake from drying out, cracking, or overcooking around the edges while the center is still setting.
To set this up, place your 8-inch cake pan (filled with the crust and batter) into a larger 13×9-inch roasting pan. Carefully pour hot water into the larger pan, filling it until it reaches about halfway up the sides of the cake pan. The result is a moist, even bake.
Setting the Right Temperature for a Creamy Texture
Cheesecake is best baked low and slow. Reduce the oven temperature to 325°F after baking the crust. This lower temperature allows the cheesecake to set gradually, preventing sudden temperature changes that can cause cracks or over-baking.
Place the pan in the center of the oven. Bake for approximately 50 minutes, but don’t rely strictly on time. What really matters is how the cheesecake looks. It should be set around the edges but still jiggle slightly in the center when you gently shake the pan.
Understanding Doneness: Visual Cues Over the Clock
Using a timer can help, but visual cues are your best friend. The edges should look firm and slightly puffed, while the center remains slightly jiggly. That gentle wobble is the sweet spot—it means the cheesecake is cooked through without being dry or rubbery.
If the surface begins to crack or the crust darkens too much, it’s overdone. You can loosely tent foil over the cheesecake during the final minutes to prevent over-browning.
Cooling Gradually to Prevent Cracks
Cheesecake continues to cook even after it’s out of the oven, so don’t rush the cooling process. Turn off the oven, prop the door open slightly using a wooden spoon, and let the cheesecake cool inside for 30 minutes. This slow transition helps prevent sudden temperature drops that often lead to cracks.
After 30 minutes, close the door and let it sit another 15 minutes. Then remove the cheesecake from the oven and let it cool on the counter for about 30 minutes more before refrigerating.
This gentle cooling method not only protects the surface from cracking but also gives the texture time to firm up without becoming dense.
Chilling and Serving – When Patience Pays Off
Why Chilling is Crucial for Flavor and Texture
One of the most important, yet overlooked, steps in this pistachio cheesecake recipe is the chill time. After baking, your cheesecake isn’t quite ready to eat. It needs to cool slowly and then chill thoroughly in the fridge to reach its signature creamy, sliceable texture. This isn’t just about consistency, it’s also about taste. As the cheesecake chills, the flavors settle and deepen. The pistachio, vanilla, and tang from the sour cream come together into one cohesive bite.
For best results, refrigerate your cheesecake for a full 8 hours, though overnight is ideal. This patience pays off in the form of a firm but tender texture that slices clean and holds its shape beautifully.
How to Store Pistachio Cheesecake Properly
Once fully chilled, cover your cheesecake tightly with plastic wrap or place it in an airtight container. This prevents it from absorbing other fridge odors and keeps the texture from drying out. Stored properly, your cheesecake can last up to five days in the fridge.
If you want to make it ahead, you can also freeze it. To do this, wrap the fully chilled cheesecake (or individual slices) tightly in plastic wrap and then in foil. Freeze for up to two months. When ready to serve, thaw overnight in the fridge. The texture will still be wonderfully creamy.
Serving Suggestions for Maximum Enjoyment
This pistachio cheesecake is so flavorful on its own that it needs little embellishment. However, if you’re aiming for a special presentation, consider topping it with a thin layer of whipped cream or a sprinkle of crushed pistachios just before serving. A drizzle of honey or a touch of lemon zest can also elevate the dessert without overpowering the delicate pistachio flavor.
Use a warm, sharp knife to slice the cheesecake. Wipe the knife clean between each cut for the cleanest slices. Serve chilled, straight from the fridge, for the best texture and flavor.
Expert Tips and Variations to Elevate Your Pistachio Cheesecake
Tips for a Smoother, Richer Cheesecake
Even if you’ve followed the recipe closely, a few pro-level tips can take your pistachio cheesecake from great to unforgettable:
- Use room temperature ingredients. Cold cream cheese, eggs, or sour cream can create lumps in the batter and affect how the cheesecake sets. Always let everything warm up on the counter before mixing.
- Don’t overmix the eggs. Eggs should be added last and mixed just until combined. Overmixing adds air to the batter, which causes cracks and uneven baking.
- Avoid opening the oven door during baking. It’s tempting to peek, but heat fluctuations can lead to sinking or cracking. Use the oven light instead to check progress.
- Let it cool slowly. The cooling process is just as important as baking. A rushed cool down leads to structural problems and cracking.
These subtle steps make a big difference in the final texture and presentation of your cheesecake.
Flavor Variations to Try
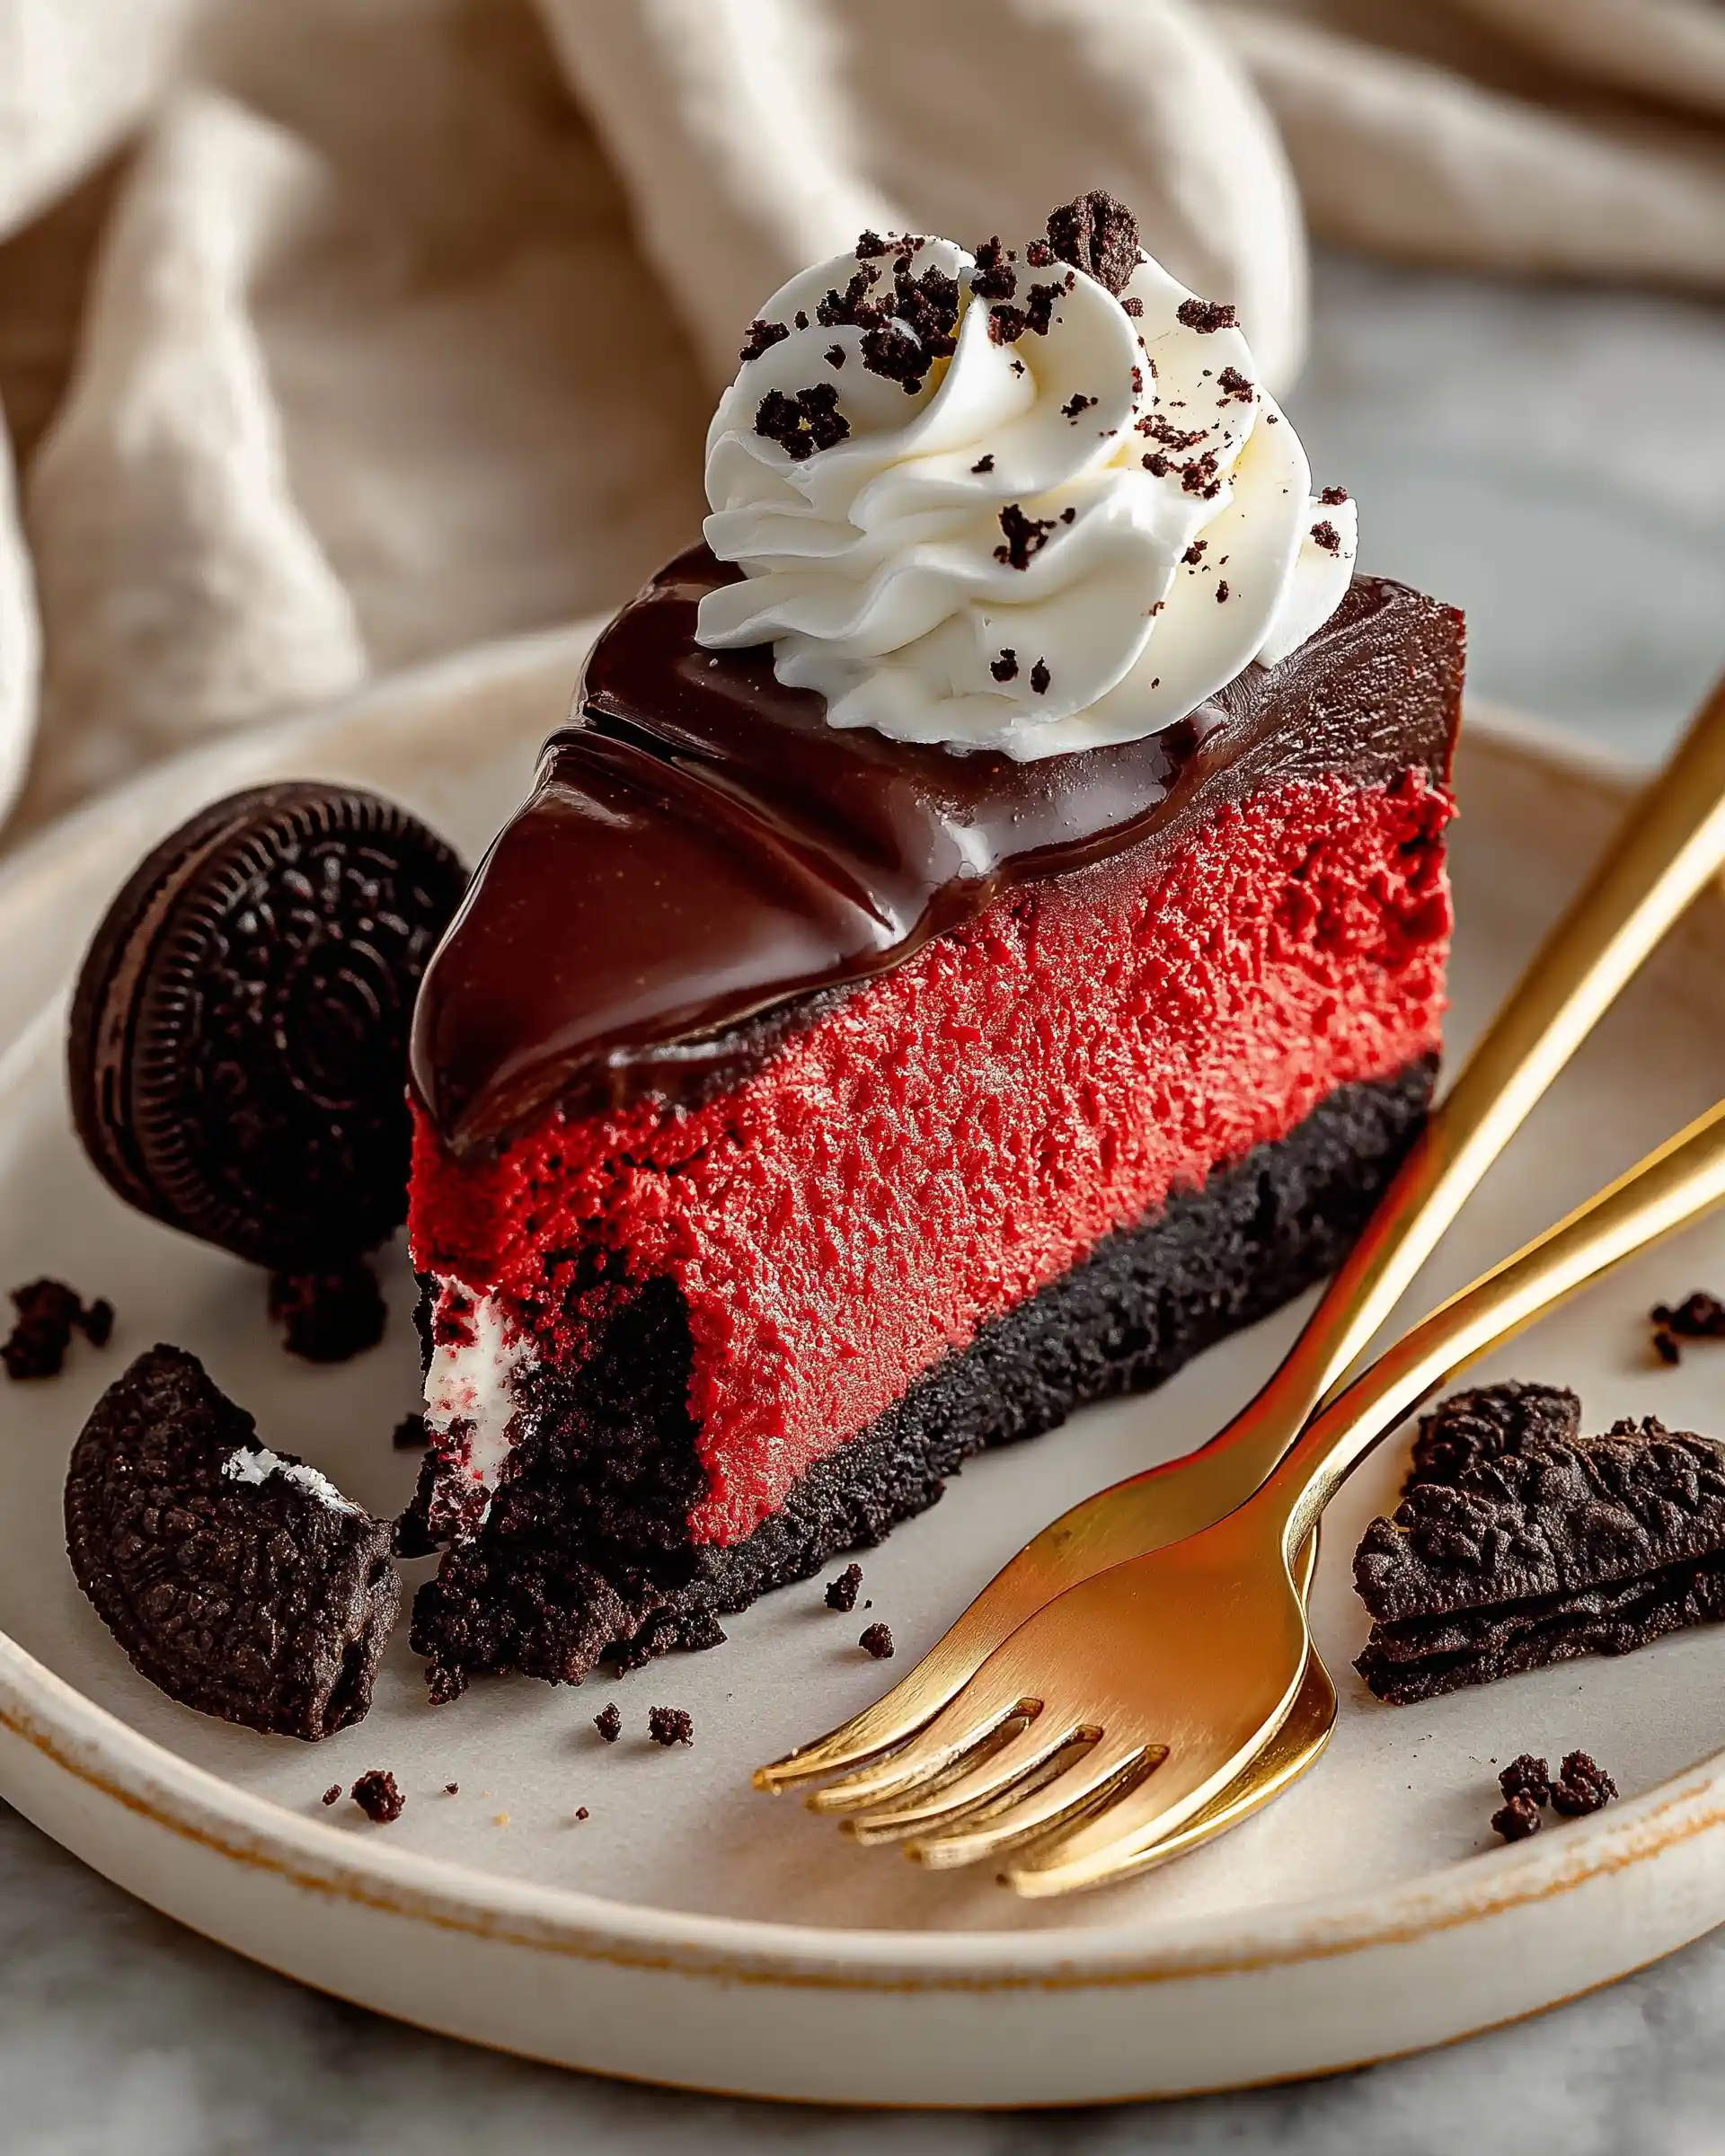
Once you master the classic pistachio cheesecake, consider experimenting with simple tweaks to add your own creative twist:
- Lemon Pistachio Cheesecake: Add zest from an entire lemon into the sugar before mixing. The citrus brightens the rich nutty flavor and adds an aromatic edge.
- Chocolate Swirl Pistachio Cheesecake: Gently swirl melted dark chocolate into the top layer of the filling before baking. This adds a rich cocoa contrast that pairs beautifully with pistachio.
- Pistachio Cheesecake Bars: Press the crust into a square pan, bake, then pour in the filling and slice into bars after chilling. Great for parties or grab-and-go desserts.
- Mini Pistachio Cheesecakes: Use a muffin tin with liners and bake individual portions. They’ll bake faster and chill quicker while offering perfect portions for guests.
Common Mistakes to Avoid
Even experienced bakers can slip up. Here are common pitfalls and how to avoid them:
- Using salted pistachio butter. This can throw off the flavor balance and make the cheesecake too salty.
- Skipping the water bath. It’s tempting to cut corners, but dry, cracked cheesecake is hard to fix after the fact.
- Overbaking. This leads to a rubbery texture. If the center jiggles slightly, it’s done—don’t wait for the whole thing to firm up in the oven.
- Serving too soon. Without the proper chill time, your cheesecake won’t set fully and could collapse when sliced.
Stay mindful of these details, and your pistachio cheesecake will turn out flawless every time.
Conclusion
This pistachio cheesecake recipe is more than just a dessert—it’s a rich, creamy celebration of flavor, texture, and technique. From its buttery cookie crust to its smooth pistachio filling, every layer is crafted to deliver balance and indulgence. With a little patience and attention to detail, you can master this elegant treat at home and impress your guests (or yourself) with a slice of something truly special.
By following the steps closely-blending until smooth, baking gently in a water bath, and chilling fully-you ensure that your cheesecake is both beautiful and delicious. Whether you’re a first-time cheesecake maker or an experienced home baker, this recipe offers the perfect opportunity to elevate your skills and your dessert table.
And remember, there’s always room for creativity. Add a citrus twist, a chocolate swirl, or serve it simply as is. However you present it, this pistachio cheesecake will always be the star of the show.