There’s something timeless and irresistible about a lemon cheesecake recipe that perfectly balances tangy citrus with smooth, rich cream cheese. Whether you’re preparing it for a summer gathering, holiday celebration, or just because your sweet tooth is calling, this classic dessert brings refreshing flavor in every bite. In this article, we’ll guide you step-by-step through making the perfect lemon cheesecake at home, using simple ingredients and tested techniques. You’ll learn how to build a buttery graham cracker crust, create a velvety lemon filling, and top it off with luxurious lemon curd and whipped cream. From the basics of water baths to room temperature tricks, we’ve got it all covered. Let’s get baking.
Contents
- 1 Preparing the Graham Cracker Crust
- 2 Lemon Cheesecake Recipe
- 3 Making the Creamy Lemon Cheesecake Filling
- 4 Mastering the Water Bath Technique
- 5 Adding the Lemon Curd and Decorative Toppings
- 6 Chilling, Slicing, and Storing Your Lemon Cheesecake
- 7 Fun Variations and Pro Tips for the Best Lemon Cheesecake Recipe
- 8 Conclusion: Bringing Your Lemon Cheesecake Recipe to Life
Preparing the Graham Cracker Crust
Why the Crust Matters in Cheesecake Recipes
The crust is more than a base – it’s the crunchy, sweet contrast to the creamy filling. For any lemon cheesecake recipe, a perfectly baked graham cracker crust adds texture and flavor that complements the zesty filling.
Ingredients and Measurements
To create the graham cracker crust, you’ll need:
- 1 and 3/4 cups (210g) graham cracker crumbs
- 5 tablespoons (71g) unsalted butter, melted
- 1/4 cup (50g) granulated sugar
These basic pantry staples come together quickly and make a reliable, delicious foundation.
How to Make the Perfect Graham Cracker Base
Start by crushing full graham crackers into fine crumbs using a food processor or blender. If you don’t have one, placing them in a zip-top bag and using a rolling pin works too. Mix the crumbs in a bowl with sugar, then stir in melted butter. The mixture will feel sandy and slightly damp.
Firmly press the crumb mixture into the bottom and slightly up the sides of a 9-inch springform pan. Use the bottom of a measuring cup to compress and smooth the crust evenly. This prevents crumbling and helps it hold together during baking.
Pre-baking Tips for a Crisp, Firm Texture
Place the crust in a preheated oven at 350°F (177°C) and bake for 10 minutes. This step is essential. Pre-baking locks in the crust’s structure, so it stays crisp even under the dense cheesecake layer. After baking, set it aside to cool slightly before pouring in the filling.
Why Room Temperature Matters Before Filling
Before moving on to the next step, ensure your crust is warm, not hot. Letting it rest for a few minutes allows the crust to firm up without affecting the cheesecake mixture when poured in. A warm crust also helps the filling spread more easily and bake evenly.
Print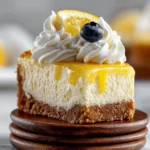
Lemon Cheesecake Recipe
- Total Time: 6 hours (including chill time)
- Yield: 12 servings
- Diet: Vegetarian
Description
This creamy lemon cheesecake recipe features a buttery graham cracker crust, a smooth citrus-infused filling, and a glossy lemon curd topping. It’s the ultimate tangy and sweet dessert for any occasion.
Ingredients
Graham Cracker Crust:
1 and 3/4 cups (210g) graham cracker crumbs
5 Tablespoons (71g) unsalted butter, melted
1/4 cup (50g) granulated sugar
Cheesecake Filling:
1 and 1/4 cups (250g) granulated sugar
1 Tablespoon packed lemon zest
32 ounces (904g) full-fat brick cream cheese, softened
1/2 cup (120ml) fresh lemon juice
1/3 cup (80g) sour cream or plain yogurt
1 teaspoon pure vanilla extract
3 large eggs, at room temperature
Topping:
3/4 cup lemon curd
Homemade whipped cream
Lemon slices and/or fresh berries
Instructions
1. Preheat oven to 350°F (177°C) and position the rack to the lower-middle level.
2. Crush graham crackers into fine crumbs and mix with sugar and melted butter. Press into a 9-inch springform pan and pre-bake for 10 minutes.
3. Cool crust slightly while preparing the filling.
4. Pulse sugar and lemon zest in a blender or food processor to make lemon sugar.
5. Beat cream cheese and lemon sugar until smooth. Add lemon juice, sour cream, vanilla, and mix. Add eggs one at a time, mixing gently.
6. Pour filling into crust. Smooth the top.
7. Wrap pan in foil and place in a water bath. Bake for 55–70 minutes until center is slightly wobbly.
8. Turn off oven, crack the door, and cool cheesecake in oven for 1 hour.
9. Remove from water bath and cool completely at room temperature.
10. Spread 3/4 cup lemon curd on top. Chill in the refrigerator for at least 4 hours or overnight.
11. Loosen edges with a knife, remove springform rim, and garnish with whipped cream and fruits.
12. Slice with a warm, clean knife between each cut for best presentation.
Notes
This cheesecake is best chilled overnight before serving.
Store leftovers in the fridge for up to 5 days.
To freeze, wrap tightly in plastic and foil without toppings, and store for up to 3 months.
Mini lemon cheesecakes can be made using muffin pans — reduce baking time accordingly.
Room temperature ingredients prevent lumps and ensure a smooth texture.
- Prep Time: 25 minutes
- Cook Time: 70 minutes
- Category: Dessert
- Method: Baking
- Cuisine: American
Making the Creamy Lemon Cheesecake Filling
Essential Ingredients for a Rich and Tangy Flavor
The filling is the soul of any lemon cheesecake recipe, and getting it just right means balancing tanginess with creamy texture. For this recipe, you’ll need:
- 1 and 1/4 cups (250g) granulated sugar
- 1 tablespoon packed lemon zest (about 1 lemon)
- 32 ounces (904g) full-fat brick cream cheese, softened
- 1/2 cup (120ml) fresh lemon juice (about 3–4 lemons)
- 1/3 cup (80g) sour cream or plain yogurt
- 1 teaspoon pure vanilla extract
- 3 large eggs, all at room temperature
Each ingredient has a role. The cream cheese provides the rich base, lemon juice and zest offer the zing, while eggs give the cheesecake its structure. Sour cream adds a silky finish, and vanilla gives depth to the flavor.
Infusing Lemon Flavor with Lemon Sugar
To take the citrus flavor to the next level, begin by blending the sugar and lemon zest. Add them to a food processor or blender and pulse 10–12 times until the zest is broken down and incorporated. This step extracts the oils from the zest, releasing more aroma and flavor directly into the sugar, creating a fragrant lemon sugar.
Mixing the Filling: Creamy, Not Airy
Use a stand mixer fitted with a paddle attachment or a handheld electric mixer to beat the cream cheese and lemon sugar together on medium-high speed. Beat for about 2 minutes until the mixture is smooth and lump-free.
Next, add the lemon juice, sour cream, and vanilla extract. Mix again on medium-high speed until fully combined. Finally, reduce the speed and add the eggs one at a time, beating just until each is incorporated. Avoid over-mixing. Over-beating introduces too much air, which can cause the cheesecake to puff up and then collapse or crack while cooling.
Achieving the Perfect Consistency
Once the batter is mixed, the result should be smooth, thick, and pourable. If you still see small lumps, gently run a spatula around the bowl to fold them in or lightly whisk by hand. This ensures an even texture in every bite.
Final Step: Pouring into the Crust
Pour the cheesecake batter onto the slightly cooled crust and smooth it out using a rubber spatula. It should fill the pan nearly to the top. Tap the pan gently on the counter to release any hidden air bubbles.
Mastering the Water Bath Technique
Why a Water Bath is Crucial for Cheesecake
A proper water bath ensures gentle, even baking for your lemon cheesecake. Without it, the edges can overbake while the center remains undercooked, leading to cracks or a rubbery texture. The steam from the water bath keeps the oven moist, helping the cheesecake cook evenly and retain its silky smoothness.
How to Set Up a Traditional Water Bath
First, wrap the outside of your springform pan with a large sheet of aluminum foil. This creates a protective barrier, keeping water from seeping into the pan. Then, place the foil-wrapped pan inside a large roasting pan.
Boil enough water to fill the roasting pan with at least 1 inch of hot water. Carefully pour the water into the roasting pan after placing it in the oven, or do this step on the counter if it’s easier for you to manage. Be careful not to splash water into the cheesecake batter.
This method creates a warm, steamy environment that gently bakes the cheesecake from all angles.
Alternative Steam Bath Method (No Foil Required)
If you’re worried about water leaking into your pan, you can use an alternative method. Simply place a separate roasting pan filled with boiling water on the bottom rack of the oven. Position your cheesecake on the middle rack above it. The steam will provide the same effect without having to wrap the pan in foil or place it directly in water.
This method works well and is especially helpful for bakers new to cheesecakes or without a large enough roasting pan.
Baking Time and What to Watch For
Bake your lemon cheesecake at 350°F (177°C) for 55 to 70 minutes. Start checking around the 55-minute mark. The outer edges should appear set, while the center should still jiggle slightly when the pan is gently shaken. That wobble means it’s just right.
If the top begins to brown too quickly, loosely tent it with a piece of aluminum foil halfway through baking. This prevents overbrowning without interrupting the baking process.
Cooling in the Oven to Avoid Cracks
Once baking is complete, turn off the oven and open the door slightly. Let the cheesecake rest in the oven, still in the water bath, for 1 hour. This gradual cooling helps prevent sudden temperature changes that can cause cracks on the surface.
After 1 hour, remove the cheesecake from the water bath and allow it to cool completely at room temperature before chilling in the fridge.
Adding the Lemon Curd and Decorative Toppings
Why Lemon Curd Elevates the Cheesecake
Topping your lemon cheesecake with lemon curd takes this dessert to the next level. It intensifies the citrus flavor while adding a glossy, elegant finish. The silky texture of the curd pairs beautifully with the dense cheesecake layer, creating a burst of flavor in every bite.
When and How to Add the Lemon Curd Layer
Before spreading lemon curd on top of the cheesecake, make sure the cheesecake has cooled completely to room temperature. Then, gently spread about ¾ cup of lemon curd over the surface using an offset spatula. Start at the center and move outward, leaving a small border near the edge to prevent overflow.
If you made your lemon curd while the cheesecake was baking, it should be chilled and thickened by the time you’re ready to use it. If not, store-bought lemon curd works fine as long as it’s of good quality and thick enough to sit on top without sliding off.
Tips for Smooth, Even Spreading
To get that smooth bakery-style finish, use an offset spatula and apply light pressure. You don’t need to press hard — let the curd glide across the surface. If it starts to stick, dip your spatula in warm water, then dry it before continuing.
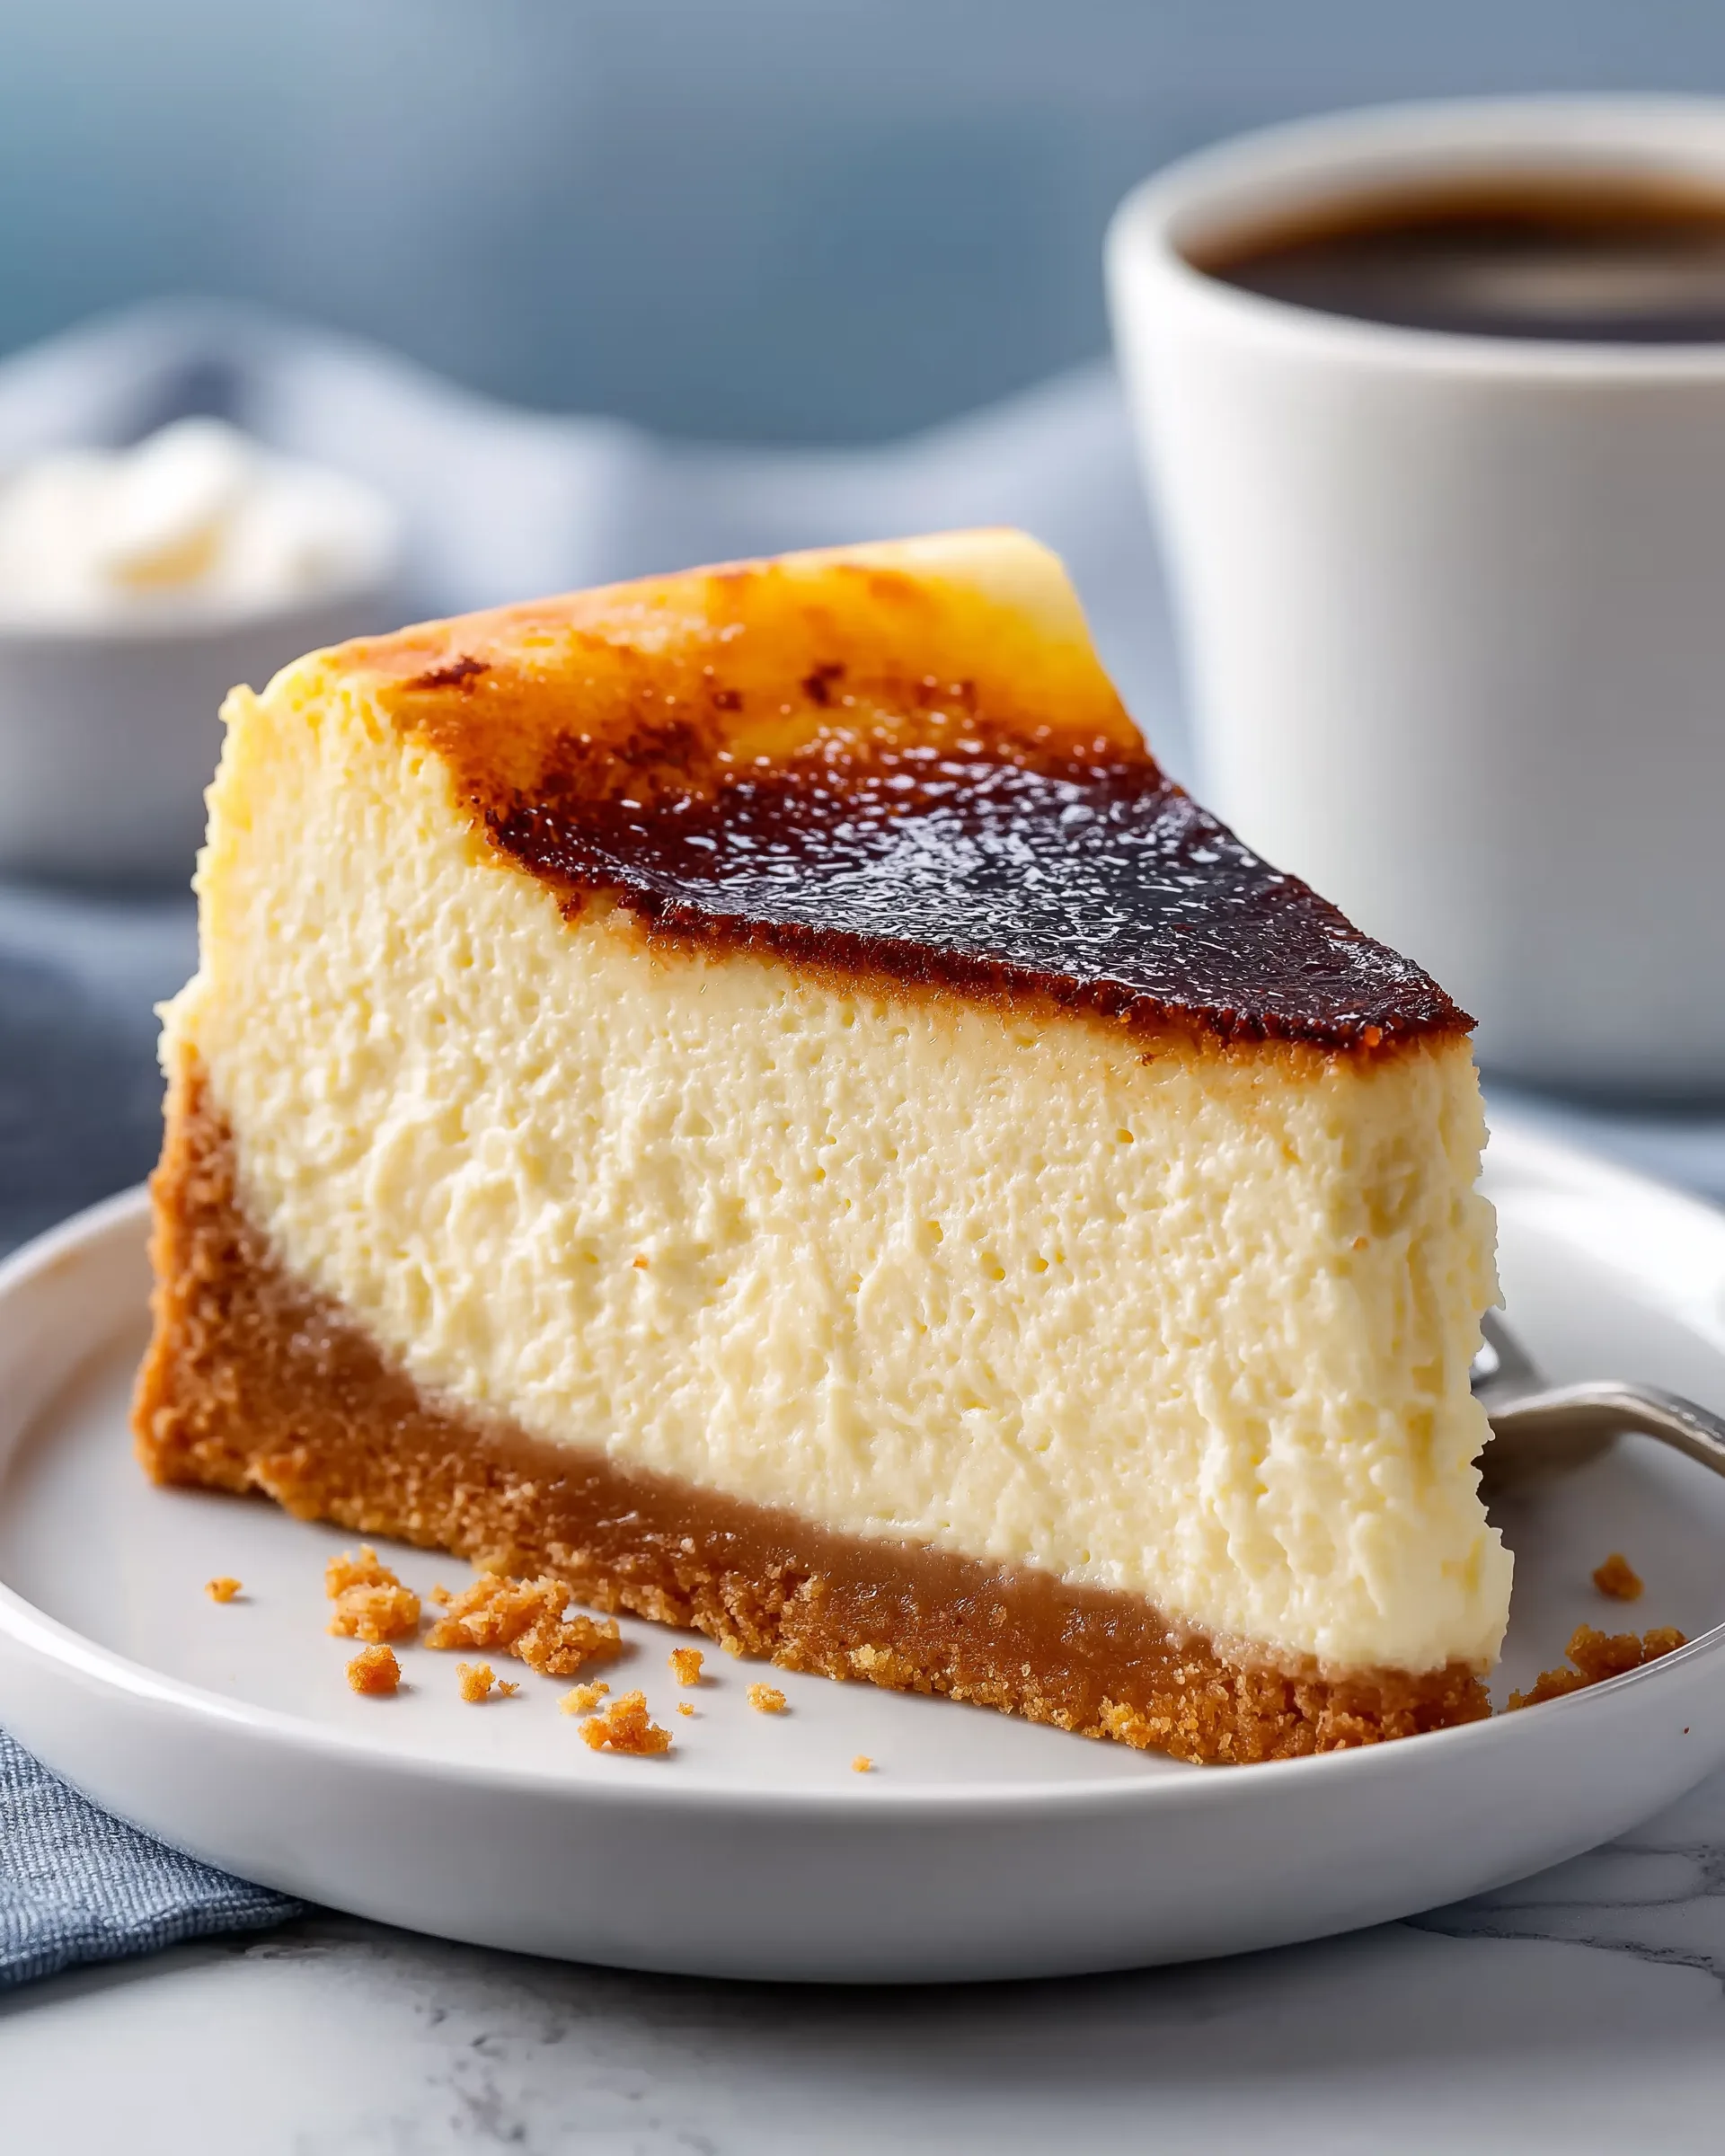
The curd should form a glossy, bright yellow layer. It not only adds flavor but also gives your cheesecake a visually stunning finish.
Garnishing with Whipped Cream and Fresh Fruits
After chilling the cheesecake, you can add garnishes to make it pop. Use homemade whipped cream, piped with a star tip for a decorative touch. Position swirls of cream around the edges or form a ring just inside the crust.
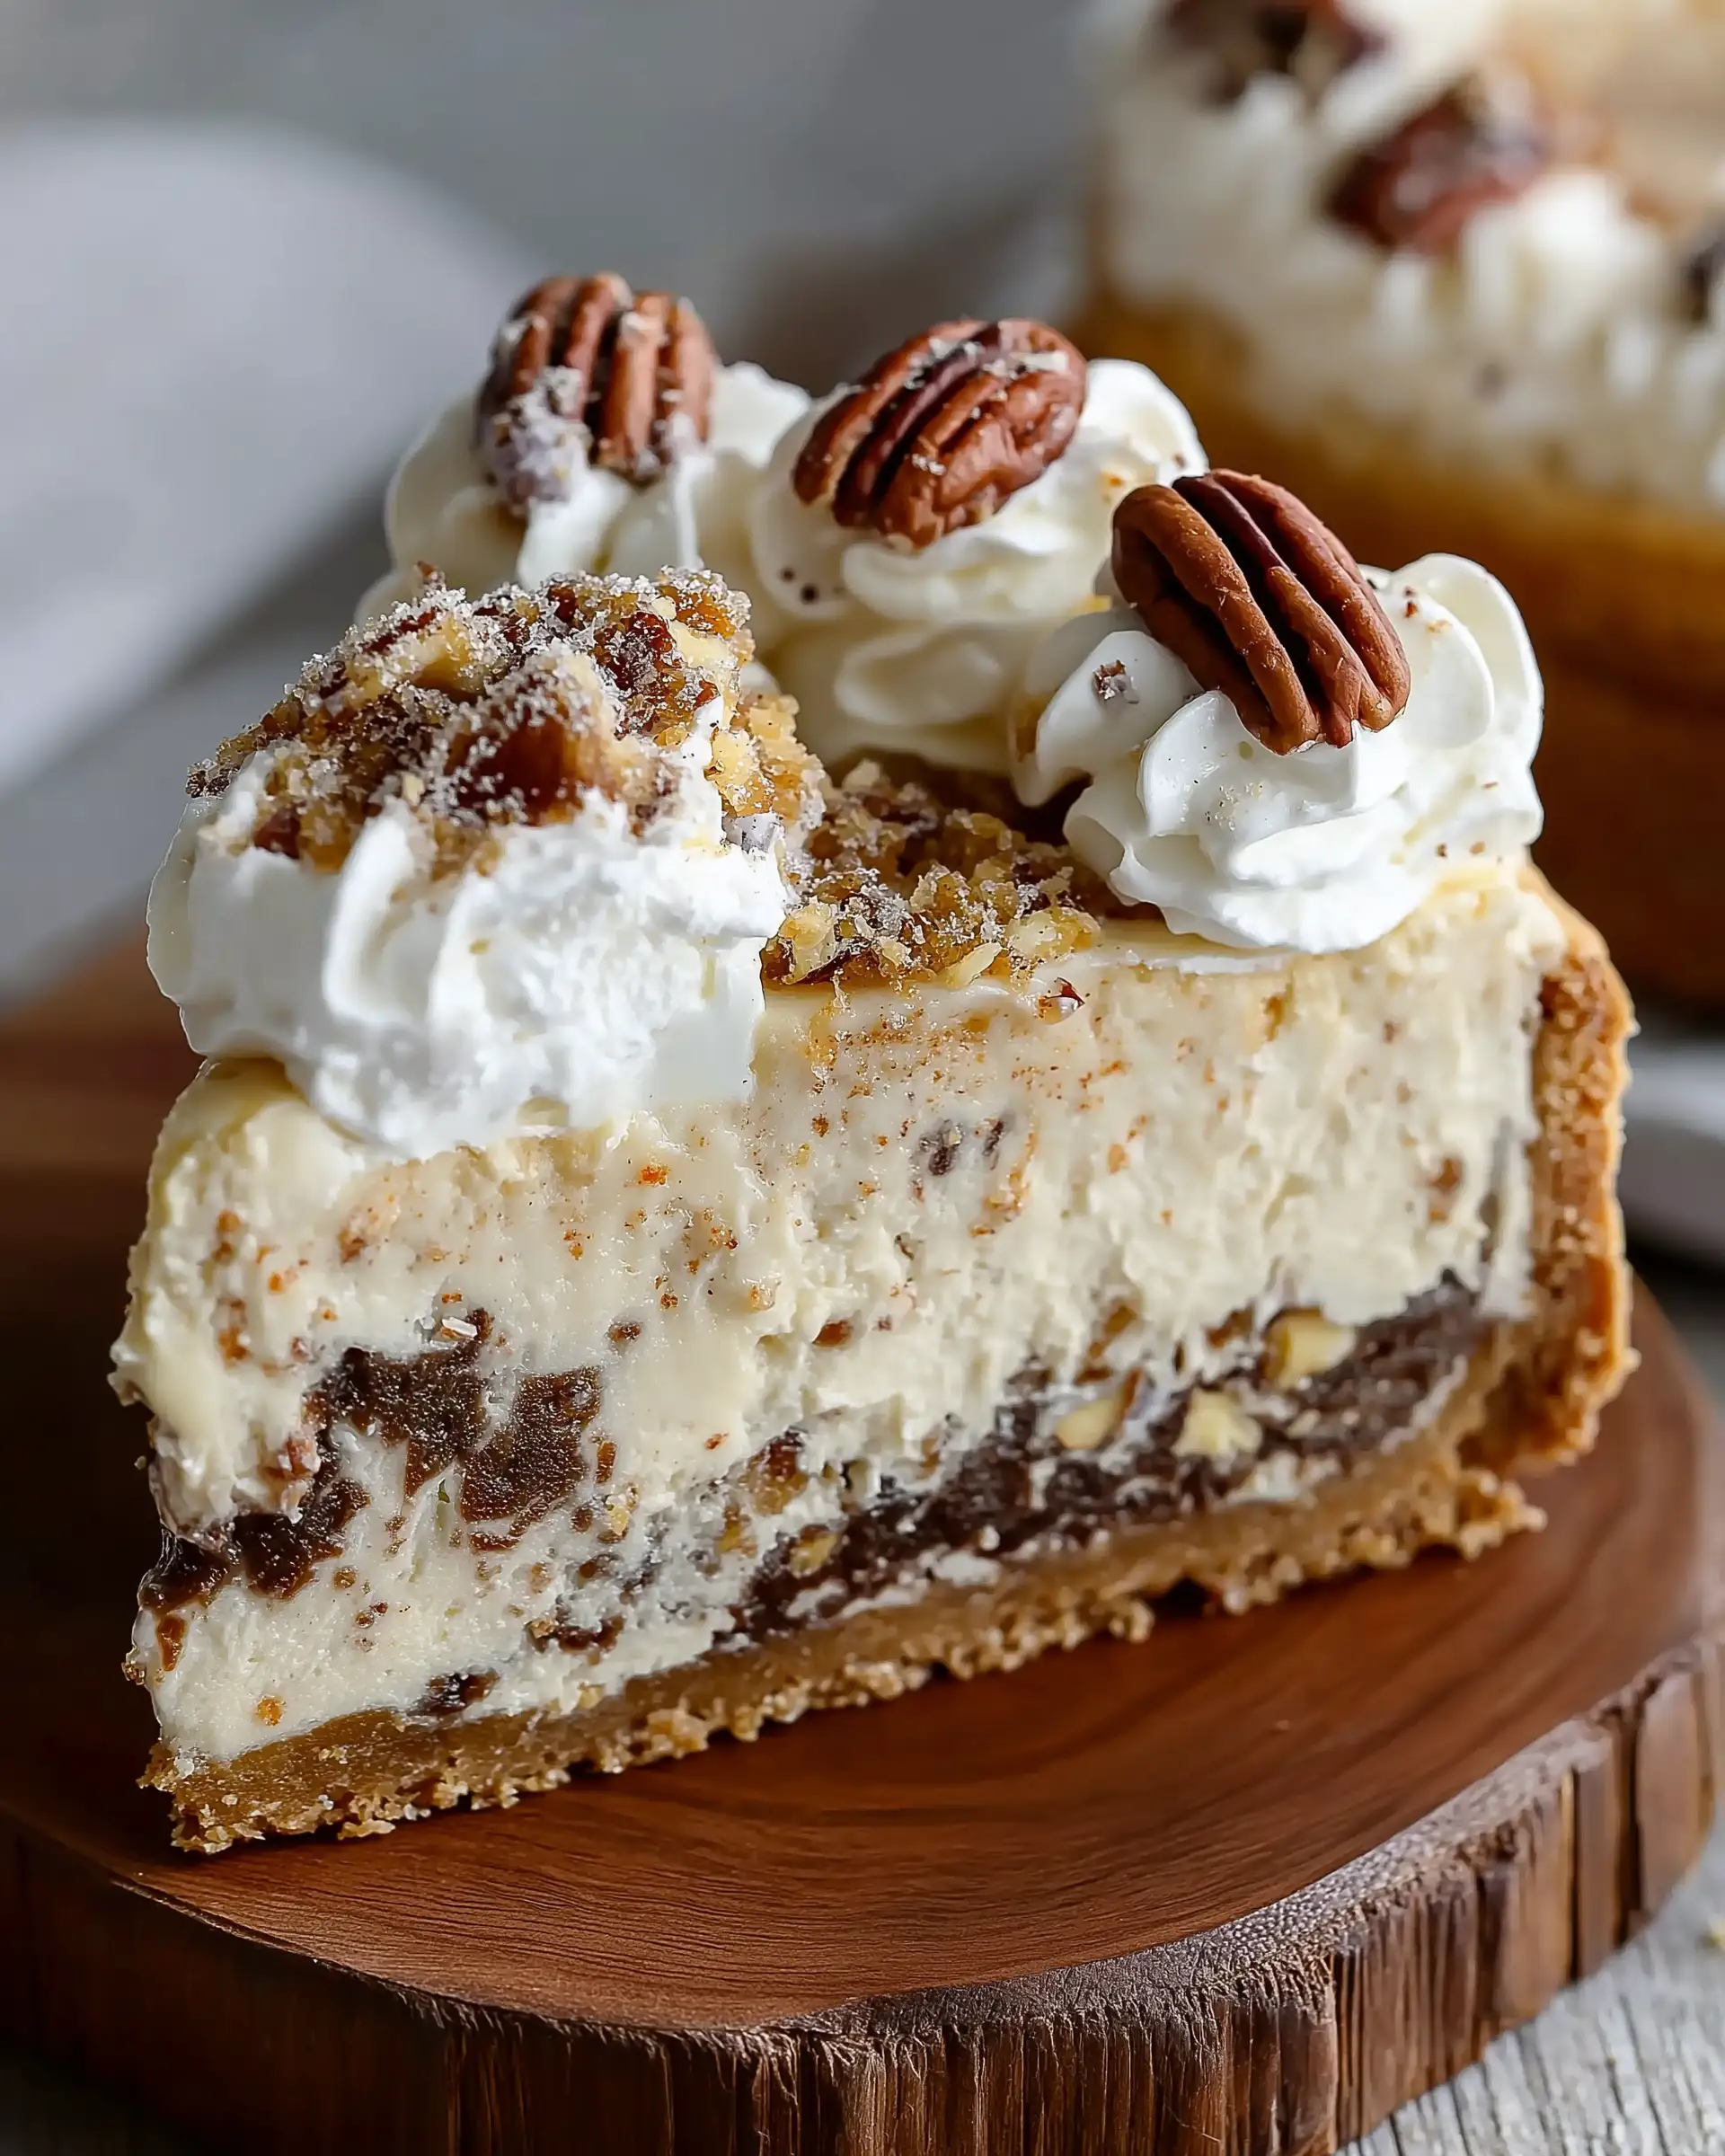
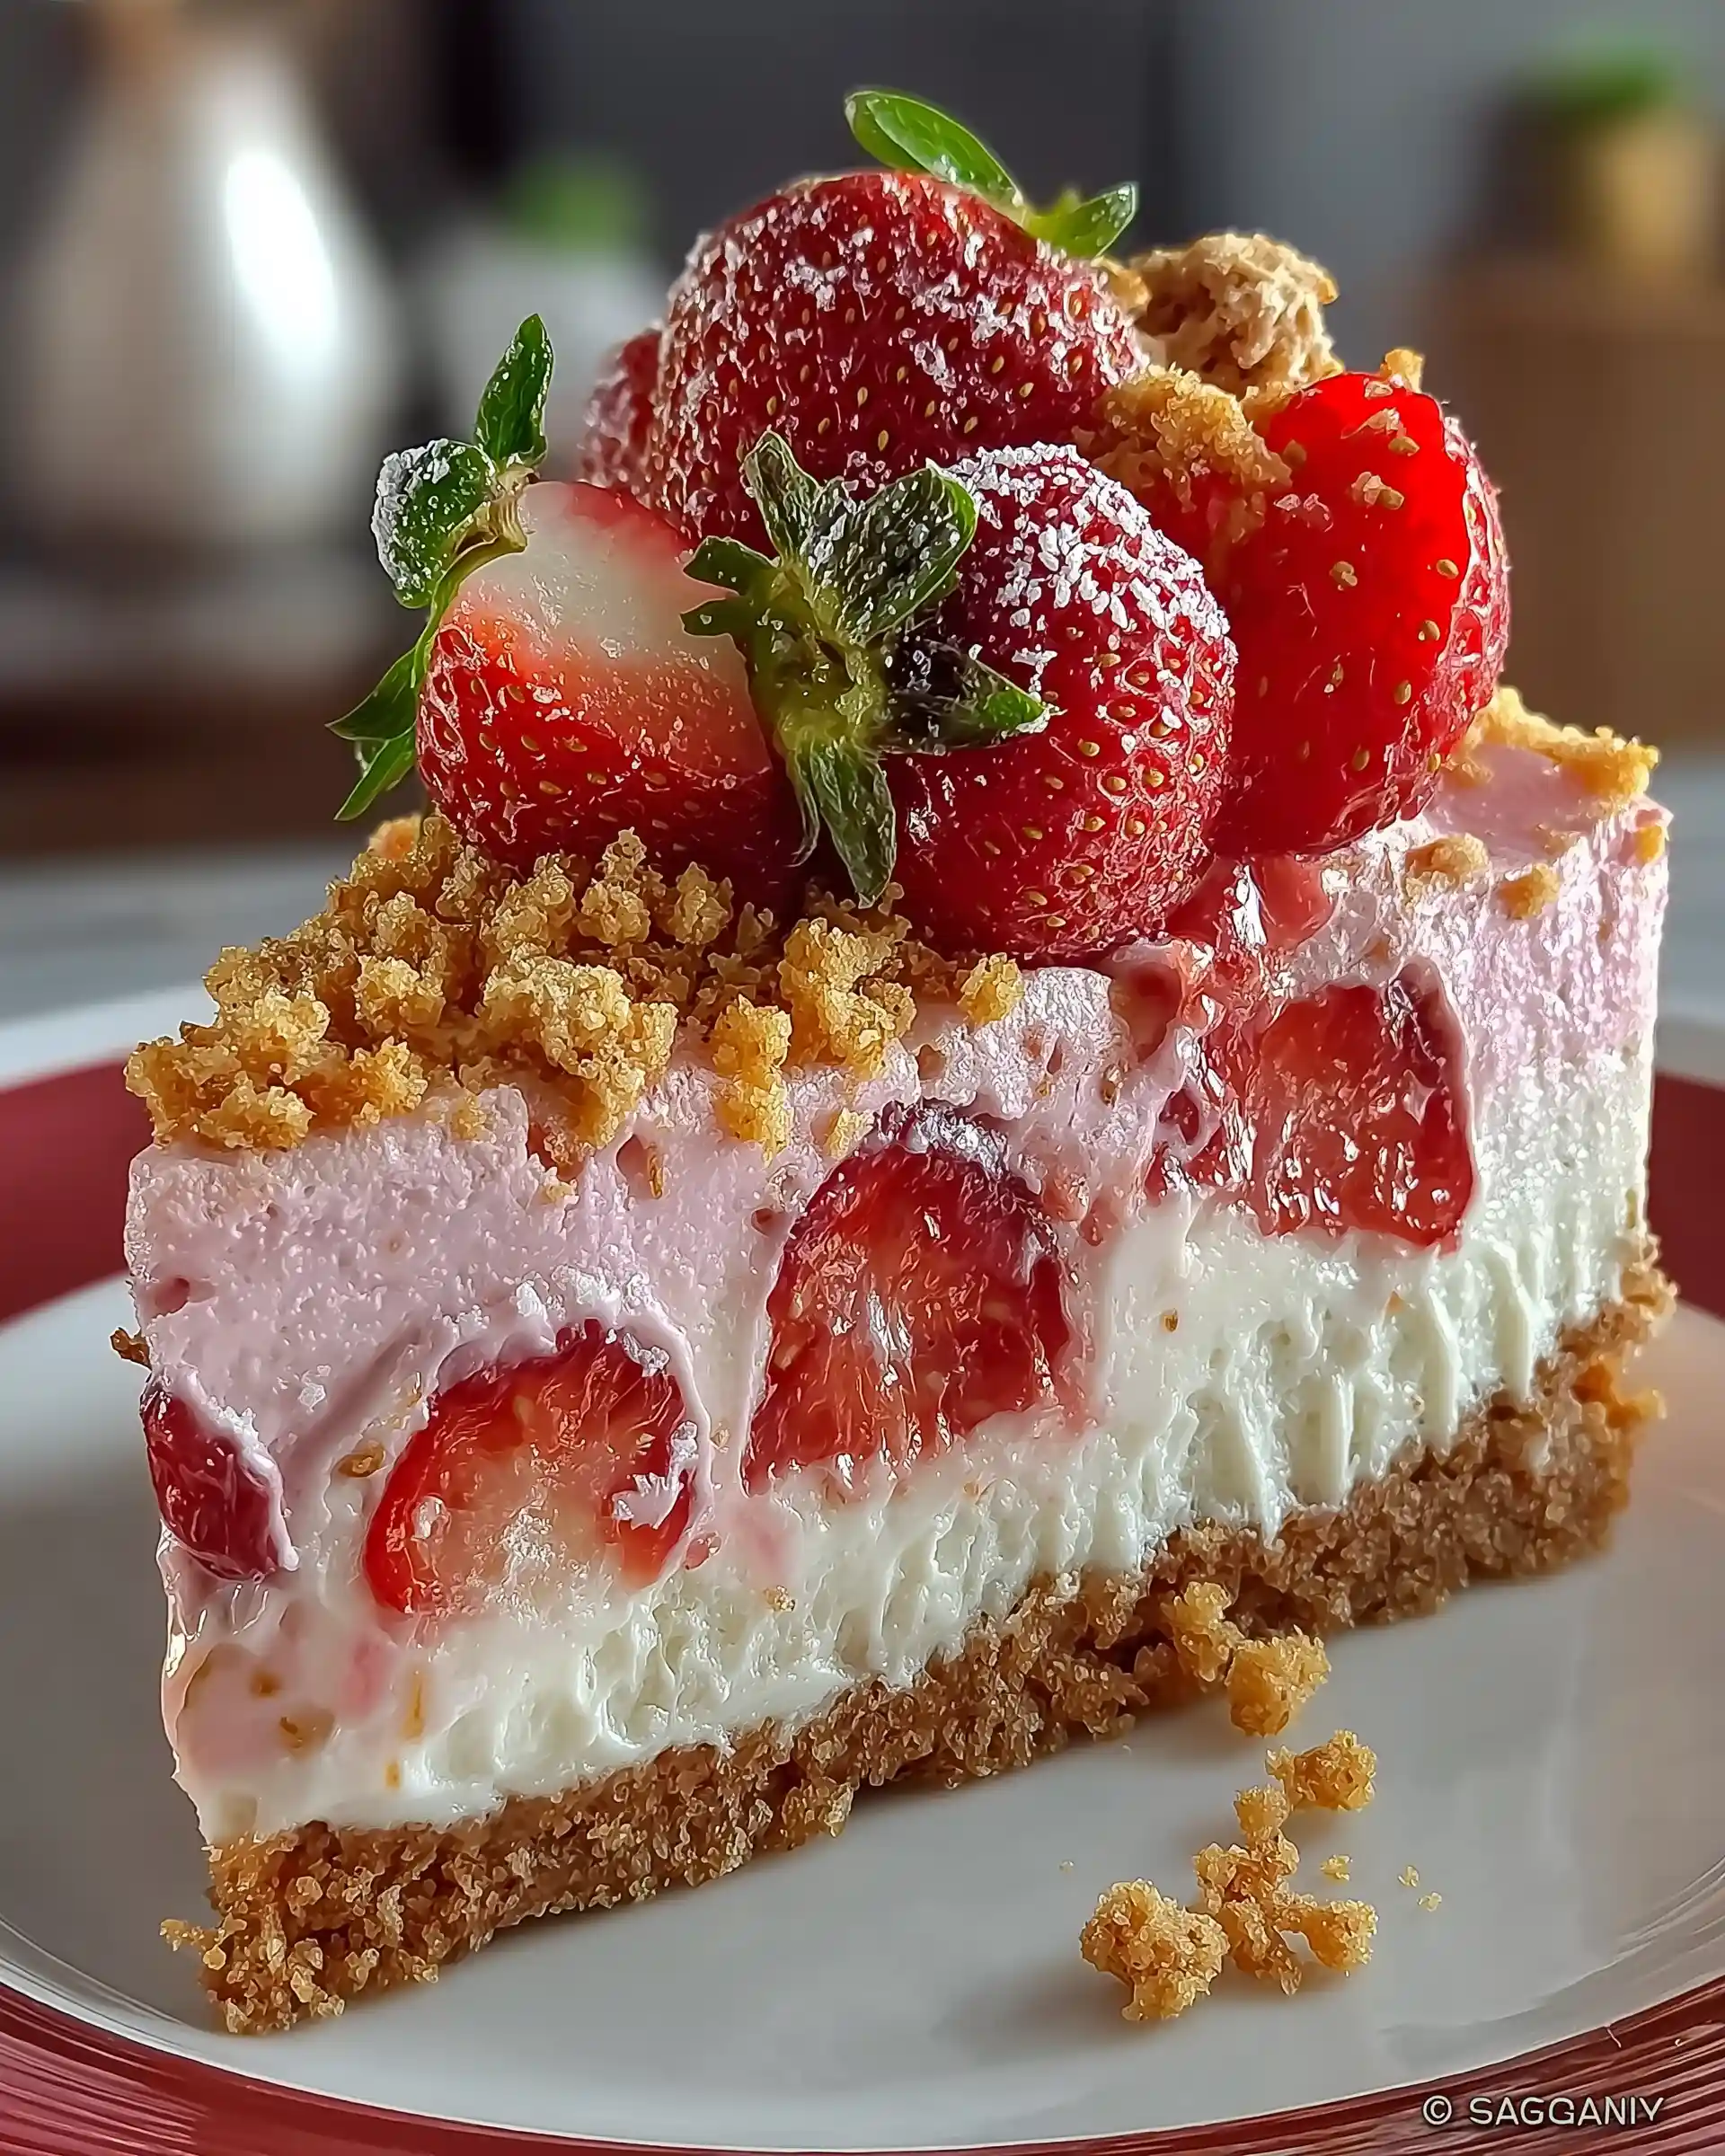
Then, decorate with lemon slices, fresh blueberries, raspberries, or even strawberries. These fruits add color, brightness, and a fresh bite that balances the richness of the cheesecake.
Make It Your Own with Presentation
You can personalize the look by arranging fruit in a circular pattern or clustering it on one side for a modern style. For a rustic finish, dust lightly with powdered sugar. A few mint leaves also add a beautiful green contrast.
Chilling, Slicing, and Storing Your Lemon Cheesecake
Why Proper Chilling Is Essential
Once you’ve added the lemon curd topping, your cheesecake still needs one critical step — chilling. Chilling the lemon cheesecake for at least 4 hours, preferably overnight, allows it to fully set. This not only enhances the flavor and texture but also gives the filling time to firm up, making slicing clean and simple.
Chilling also helps meld the lemon curd with the cheesecake beneath it, creating a seamless, velvety texture throughout the dessert.
How to Loosen and Remove the Cheesecake from the Pan
After chilling, use a clean, thin-bladed knife to gently loosen the cheesecake from the edge of the springform pan. Run the knife all the way around the sides, then carefully unlock and remove the springform rim. If you’re nervous about removing it, chill the cheesecake an additional hour — the firmer it is, the easier it is to handle.
For the best presentation, leave the cheesecake on the pan base or transfer it to a sturdy cake plate using two spatulas for support underneath.
Tips for Cutting Clean, Professional-Looking Slices
Use a sharp, non-serrated knife to slice the cheesecake. For the cleanest cuts, run the knife under hot water and wipe it dry before each slice. Repeat this step between cuts to prevent dragging crumbs or curd across the top.
If you’re serving guests or preparing for an event, consider cutting the entire cheesecake ahead of time and cleaning the edges with a damp paper towel for a polished look.
Storing Leftovers for Maximum Freshness
Leftover lemon cheesecake should be stored in the refrigerator, loosely covered with plastic wrap or aluminum foil. It stays fresh for up to 5 days and maintains its texture and flavor well.
If you plan to serve slices over a few days, keep garnishes like whipped cream or fresh fruit separate and add them just before serving. This keeps the cheesecake base from becoming soggy.
Can You Freeze This Lemon Cheesecake?
Yes — this cheesecake freezes beautifully. However, for best results, freeze it before adding the lemon curd. Let the cheesecake cool completely, then either:
- Wrap the cheesecake (with the springform base) in multiple layers of plastic wrap followed by aluminum foil
- Or remove it from the pan, slide it onto a parchment-covered cardboard base, and wrap as above
Freeze for up to 3 months. When ready to serve, thaw overnight in the fridge, then top with chilled lemon curd and your favorite garnishes.
Fun Variations and Pro Tips for the Best Lemon Cheesecake Recipe
Can You Make Mini Lemon Cheesecakes?
Absolutely. Mini lemon cheesecakes are a fun, bite-sized twist on the traditional recipe and perfect for parties or events. Using a standard muffin pan lined with cupcake wrappers, you can press a spoonful of graham cracker crust into each cup and bake for 5–6 minutes. Fill each with the lemon cheesecake batter and bake at 350°F (177°C) for about 18–20 minutes.
Once baked and cooled, add a dollop of lemon curd and a swirl of whipped cream. These mini treats are easy to serve, portion-controlled, and just as flavorful as the full-sized version.
Can You Use Other Citrus Fruits?
Yes, this lemon cheesecake recipe is incredibly versatile. You can easily substitute fresh lemon juice and zest with Meyer lemons, limes, or even oranges for a softer or sweeter flavor profile. Meyer lemons add a subtle floral note, while lime gives a sharper, tarter twist. For a bold flavor, try a mix of lemon and lime.
If switching to orange, reduce the sugar slightly, as oranges are sweeter than lemons. The creamy base pairs beautifully with all these citrus options, so feel free to experiment.
No Graham Crackers? No Problem
If you don’t have graham crackers, use digestive biscuits, vanilla wafers, or shortbread cookies as alternatives. For non-US readers, digestive biscuits are especially popular and work just as well.
Use about 200g of crushed cookies, 67g of granulated sugar, and 85g of melted butter. This forms a flavorful crust with a slightly different but equally satisfying texture. Pre-bake it for a couple of minutes longer — around 12–14 minutes — to get the perfect crunch.
Room Temperature Ingredients Are Non-Negotiable
Want your cheesecake to be ultra-smooth and free of lumps? Make sure all your ingredients — especially cream cheese, eggs, sour cream, and lemon juice — are at room temperature before you begin. Cold ingredients don’t blend well and can leave you with a grainy texture or uneven filling.
To warm up ingredients faster, set them out for 30 to 60 minutes before you start baking. If you’re short on time, place eggs in a bowl of warm water for 10 minutes and microwave cream cheese in short 10-second bursts until just soft.
Avoiding Cracks and Overbaking
A common mistake is overbaking the cheesecake or mixing the batter too long, which can introduce air bubbles and cause the top to crack. To avoid this:
- Mix until ingredients are just combined, especially after adding the eggs
- Use a water bath or the alternative steam bath method to create moist, even heat
- Let the cheesecake cool gradually in the oven after baking
These simple techniques go a long way in making sure your cheesecake looks as amazing as it tastes.
Final Thoughts Before You Bake
No matter how you tweak it, this lemon cheesecake recipe is a guaranteed showstopper. Whether you go classic with lemon curd or dress it up with fruits and whipped cream, you’ll end up with a dessert that feels fresh, indulgent, and crowd-pleasing.
Conclusion: Bringing Your Lemon Cheesecake Recipe to Life
A lemon cheesecake recipe like this combines the perfect trio of creamy, zesty, and sweet in a dessert that never fails to impress. From building a buttery graham cracker crust to crafting a velvety lemon-infused filling, every step matters — and when done right, the result is nothing short of spectacular.
The secret to success lies in the details. Using room temperature ingredients ensures a smooth batter. A water bath keeps your cheesecake from cracking and helps it bake evenly. Topping with lemon curd not only boosts flavor but creates a visually stunning finish. And giving the cheesecake time to chill and set properly enhances every slice.
Whether you stick with the classic version or try fun variations with limes, oranges, or mini sizes, this recipe offers flexibility and flavor that suits any occasion. With the tips shared in this guide, your cheesecake will have that rich, creamy center and just the right balance of tangy citrus — making it a go-to dessert for years to come.
Now that you’ve mastered the process, gather your ingredients, roll up your sleeves, and enjoy creating a lemon cheesecake that looks bakery-quality but feels homemade in the best way.