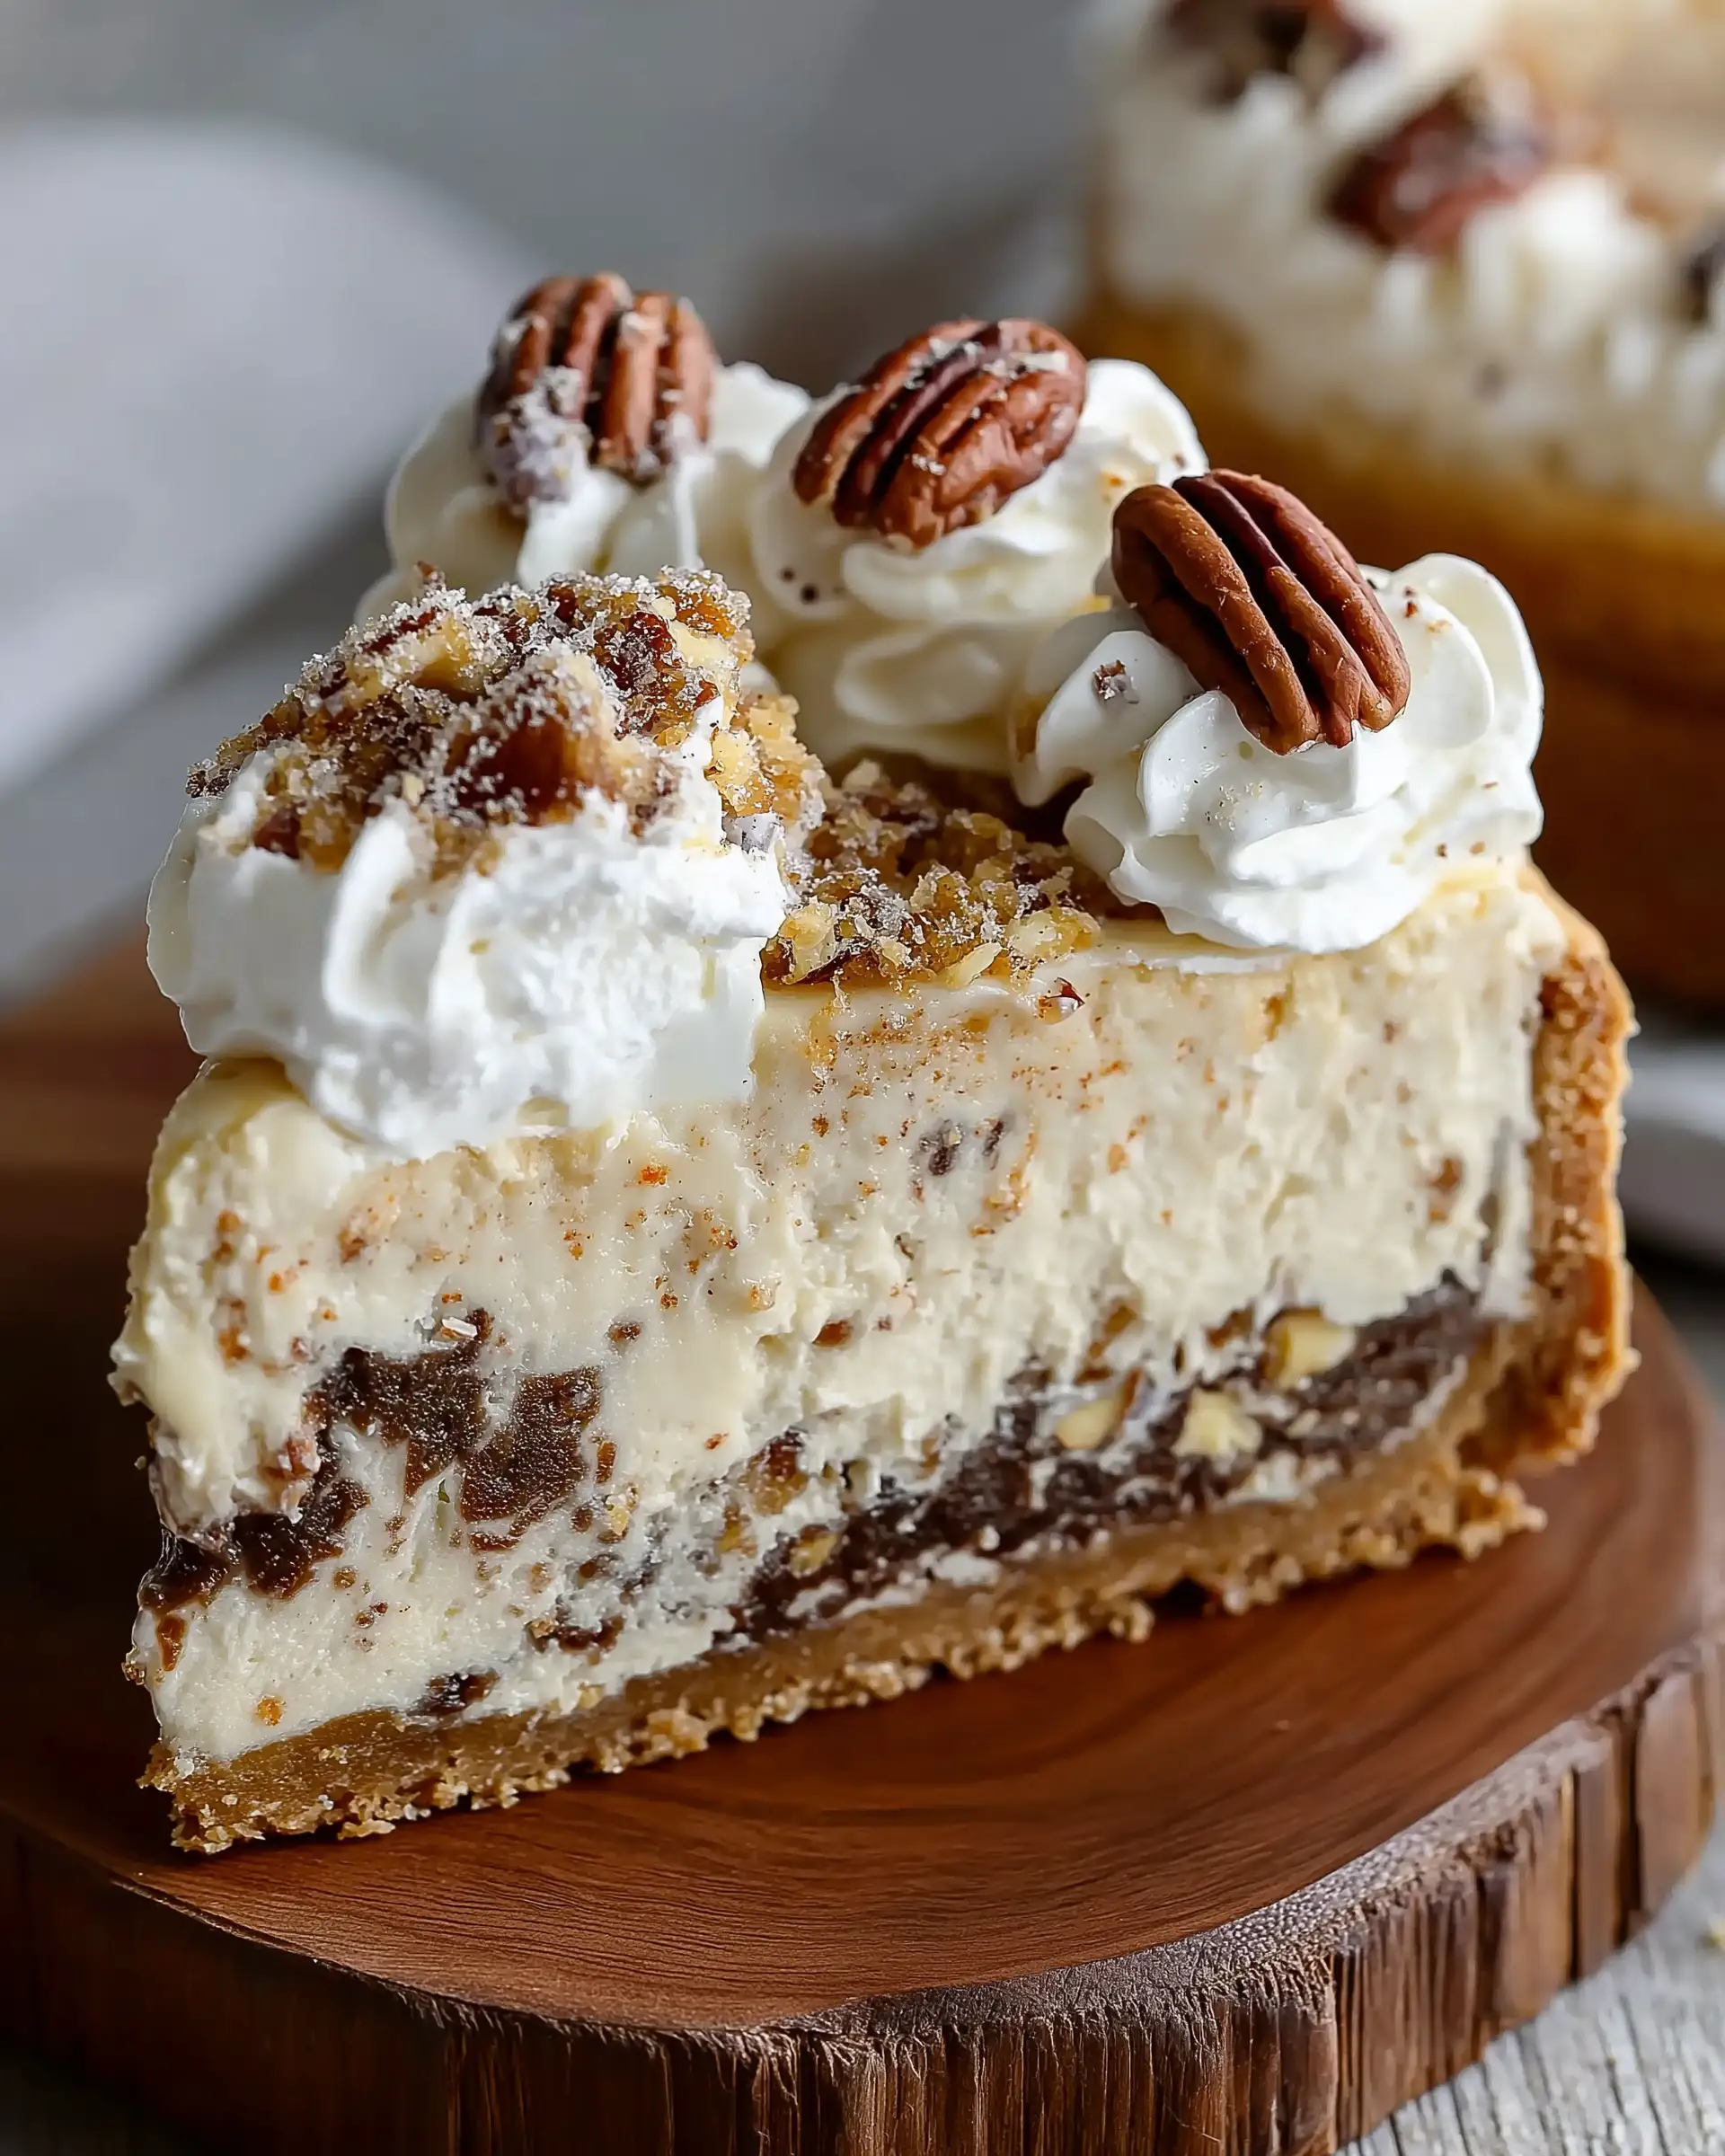
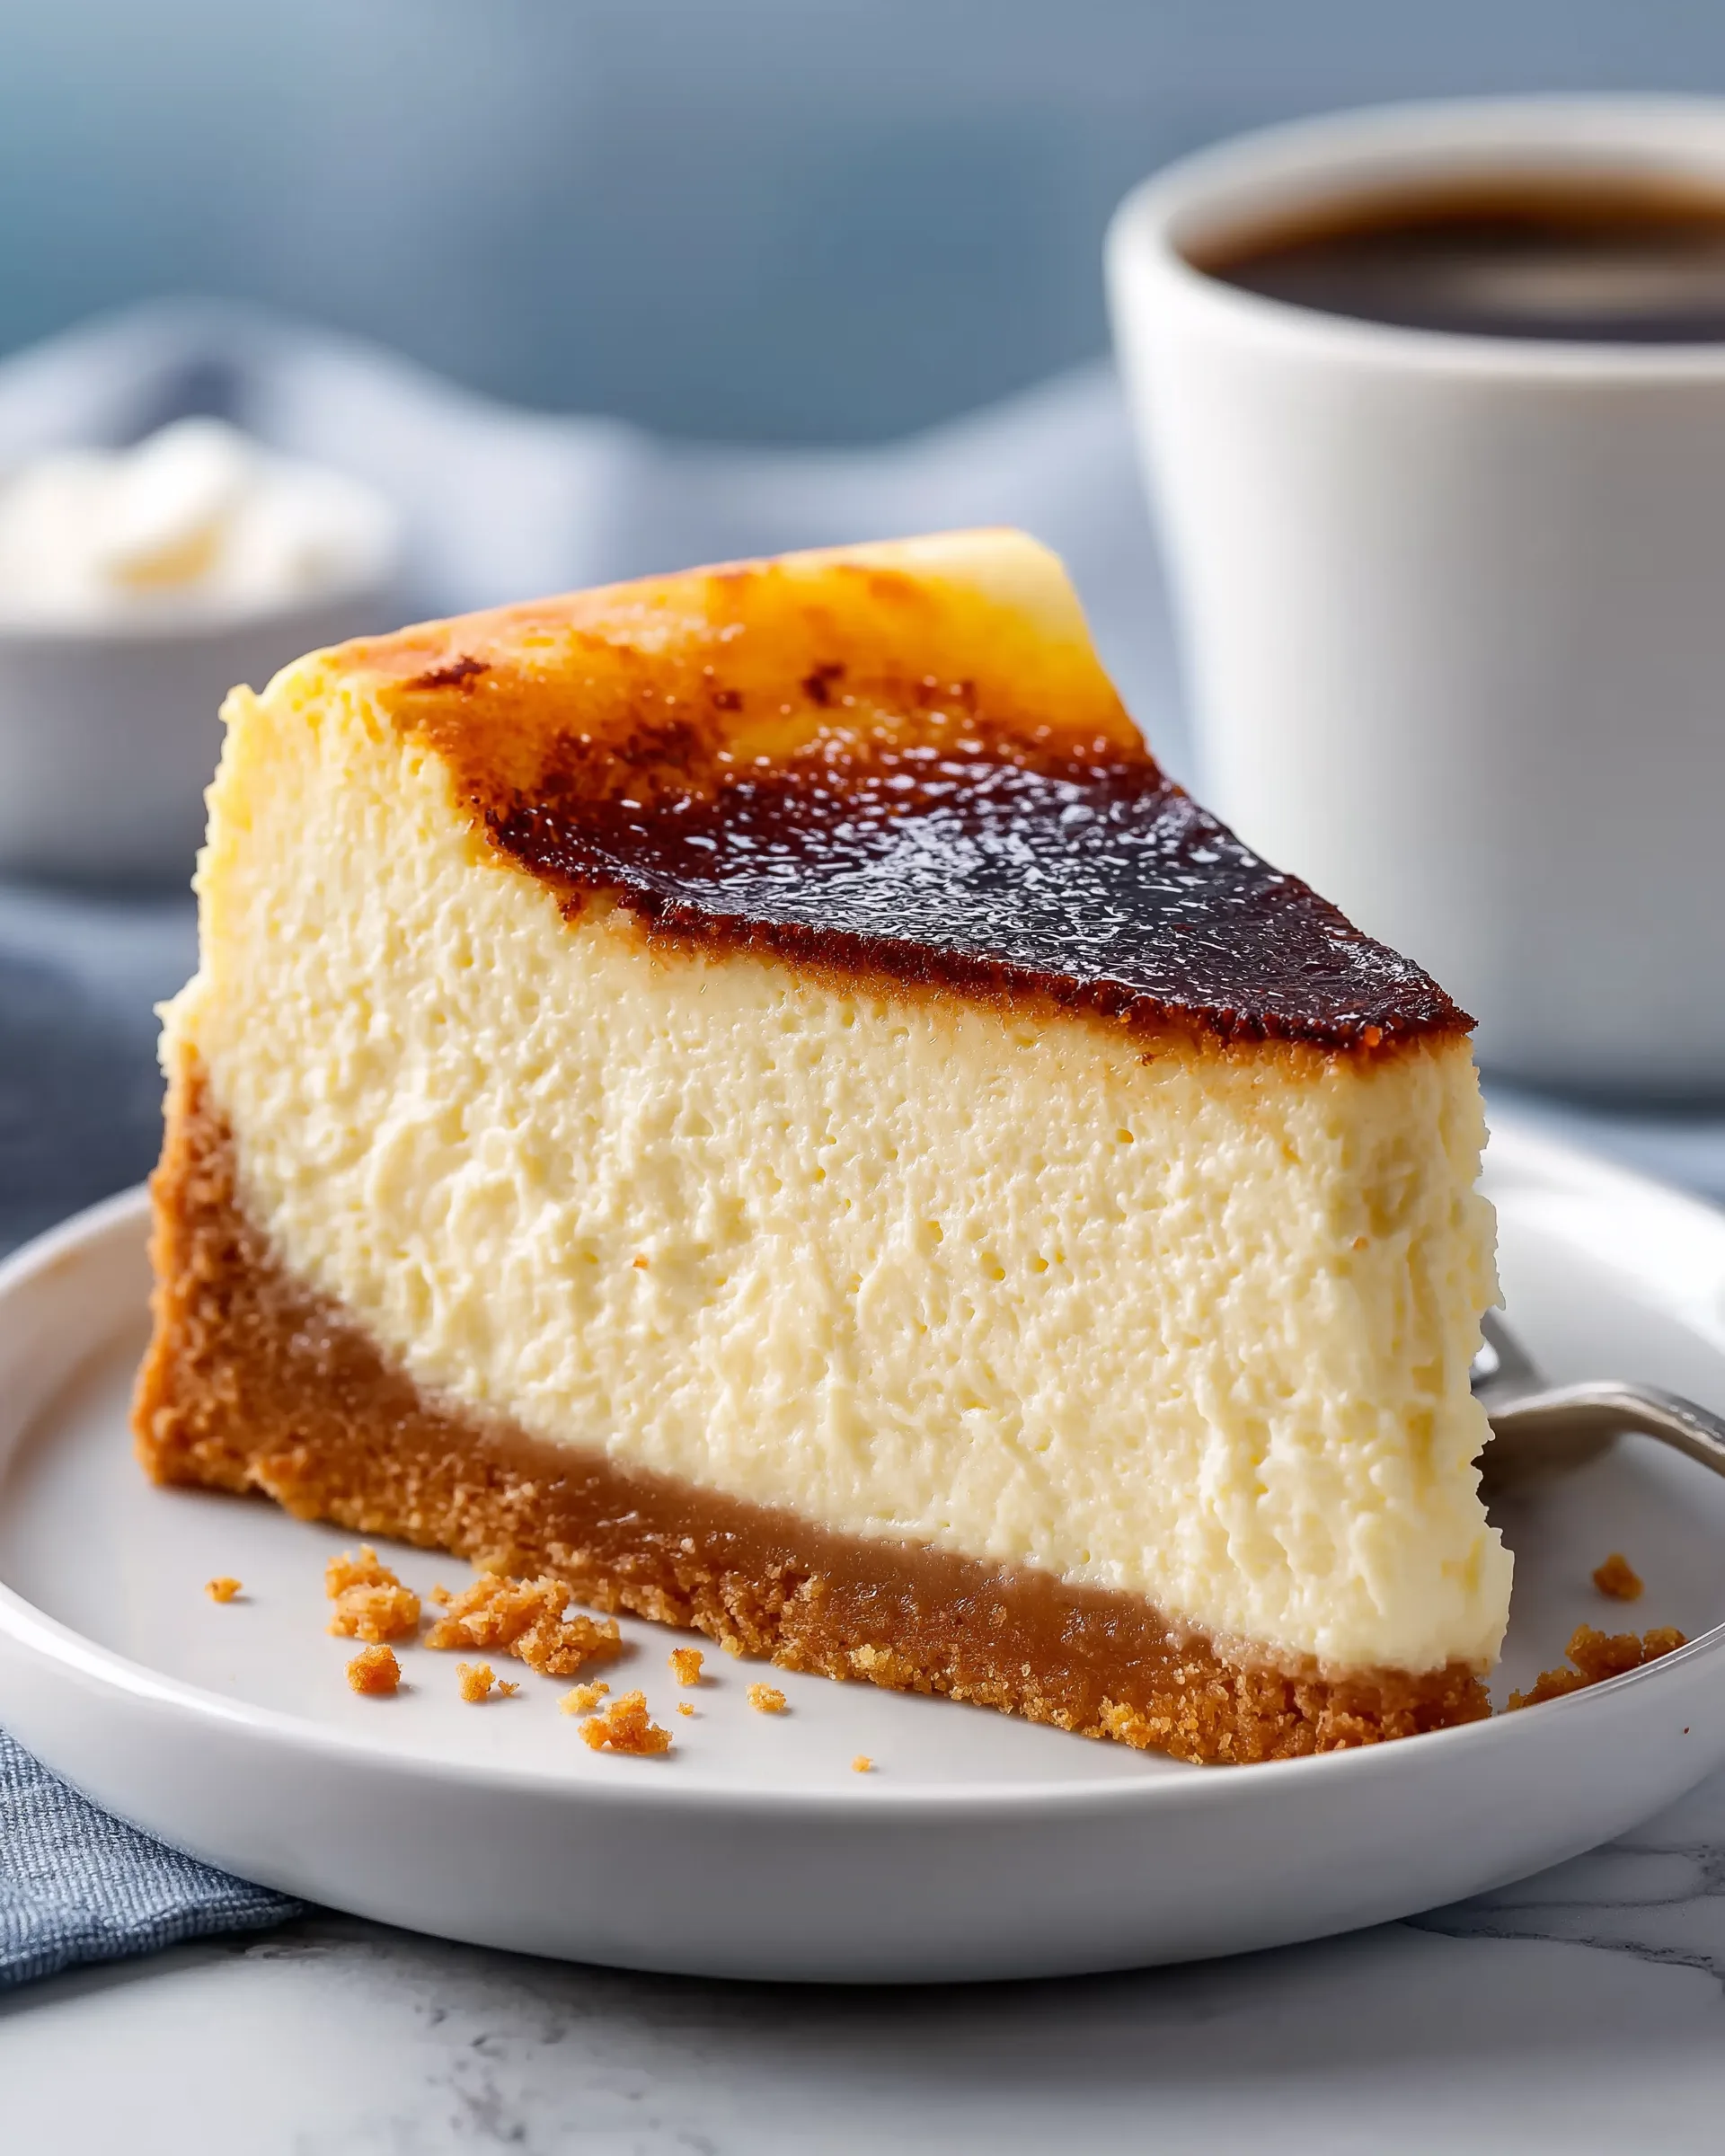
Crème brûlée cheesecake is the ultimate hybrid dessert, marrying the silky smoothness of New York-style cheesecake with the crisp, caramelized topping of traditional crème brûlée. This indulgent treat is perfect for special occasions, holidays, or any moment when you want to impress guests with something elegant yet deeply satisfying. In this guide, we’ll walk through everything you need to know about creating this showstopping dessert, from crafting the perfect graham cracker crust to mastering the torching of the sugar topping.
Whether you’re a seasoned home baker or tackling your first cheesecake, this step-by-step recipe provides the tools, tips, and techniques to ensure success. You’ll also find insights into ingredient choices, texture optimization, and how to prevent common cheesecake mistakes. With careful preparation and a little patience, you’ll have a dessert that looks as stunning as it tastes.
Contents
- 1 Crafting the Perfect Graham Cracker Crust for Cheesecake
- 2 Crème Brûlée Cheesecake Recipe
- 3 Preparing the Creamy Vanilla Cheesecake Filling
- 4 Mastering the Water Bath Method for a Crack-Free Cheesecake
- 5 Creating the Signature Crème Brûlée Topping
- 6 Serving and Presenting Your Crème Brûlée Cheesecake
- 7 Conclusion
Crafting the Perfect Graham Cracker Crust for Cheesecake
Why the Crust Matters
The crust of a cheesecake may seem simple, but it sets the stage for the creamy layers to come. A good crust adds texture, flavor, and contrast to the soft filling. In this crème brûlée cheesecake recipe, the graham cracker base is buttery, slightly sweet, and holds together beautifully without overwhelming the main event.
Ingredients Breakdown and Why They Work
- Graham cracker crumbs (1 1/4 cups): These form the base and add a toasty, lightly sweet flavor. Crushing the crackers finely helps them bind better.
- Sugar (1/3 cup): Adds sweetness and helps the crust caramelize slightly in the oven.
- Kosher salt (pinch): Balances the sweetness and enhances flavor depth.
- Nutmeg (optional): Offers a warm, aromatic touch that subtly complements the vanilla in the filling.
- Melted unsalted butter (4 tablespoons): Acts as the binder and adds rich flavor.
Making the Crust Step-by-Step
- Prepare the crumbs: In a food processor with the s-blade, pulse the graham crackers until the texture resembles fine sand. You can also crush them by hand with a rolling pin in a sealed bag if needed.
- Combine dry ingredients: Add the sugar, salt, and nutmeg to the crushed crumbs and pulse a few more times until everything is well distributed.
- Incorporate the butter: Drizzle the melted butter evenly around the food processor bowl. Pulse until the mixture looks like wet sand. It should clump slightly when pressed.
- Shape and bake: Pour the mixture into the bottom of a springform pan. Press down firmly with your fingers or the flat base of a glass until it’s even and compact. Bake at 350°F for 10 minutes, then remove and let it cool.
Tips for Success
- Don’t over-process the crumbs — you want a bit of texture left.
- Use room-temperature butter for easier mixing if you’re doing this by hand.
- Make sure the crust is tightly packed to prevent crumbling during slicing.
- Let it cool fully before adding the filling to avoid melting or separation.
Crème Brûlée Cheesecake Recipe
- Total Time: 9 hrs 45 mins
- Yield: 1 cheesecake (12 servings)
Description
A luscious Crème Brûlée Cheesecake that blends creamy vanilla cheesecake with a crisp caramelized sugar topping — the perfect showstopper dessert.
Ingredients
For the crust:
8 graham cracker sheets (1 1/4 cups of crumbs)
1/3 cup sugar
Pinch kosher salt
Pinch freshly grated nutmeg (optional)
4 tablespoons unsalted butter, melted
For the filling:
4 large eggs, room temperature
1 teaspoon vanilla extract
1/4 teaspoon kosher salt
4 (8-ounce) packages cream cheese, room temperature
1 vanilla bean, split open and seeds scraped
1/2 cup sour cream
1 1/4 cups sugar
For the crème brûlée topping:
3 tablespoons sugar
Instructions
1. Preheat oven to 350°F.
2. Prepare the crust by pulsing graham crackers in a food processor. Add sugar, salt, and nutmeg, and pulse. Add melted butter and pulse until combined.
3. Press mixture into springform pan and bake for 10 minutes. Cool.
4. Lower oven to 300°F.
5. In a bowl, beat eggs, vanilla, and salt. Set aside.
6. In a mixer, beat cream cheese until smooth. Add vanilla bean seeds and beat again.
7. Add sour cream, then sugar, mixing between additions. Add egg mixture in two parts, mixing gently.
8. Wrap the springform pan in foil. Pour in the filling.
9. Place springform in a roasting pan and add hot water halfway up.
10. Bake for 55-65 minutes until center jiggles slightly.
11. Cool in the water bath for 1 hour, then on the counter for another hour.
12. Refrigerate overnight in the pan.
13. Remove cheesecake from the pan and transfer to serving platter.
14. Sprinkle 1.5 tbsp sugar on top. Torch evenly.
15. Repeat with remaining 1.5 tbsp sugar.
16. Serve within 20 minutes for best texture.
Notes
Make sure all ingredients are at room temperature for the smoothest filling.
Always use a proper water bath to prevent cracks.
Torch the topping just before serving for the perfect crunch.
- Prep Time: 45 mins
- Cook Time: 60 mins
- Category: Cheesecake
- Method: Baking
- Cuisine: American
Preparing the Creamy Vanilla Cheesecake Filling
The Role of Each Ingredient in the Filling
A great cheesecake filling should be rich, smooth, and gently tangy. In this crème brûlée cheesecake recipe, the combination of cream cheese, sour cream, eggs, sugar, and vanilla delivers that ideal balance of density and silkiness. Here’s why each component matters:
- Cream cheese (4 packages, 8 oz each): The star ingredient. Make sure it’s at room temperature to prevent lumps and ensure even blending.
- Sour cream (1/2 cup): Adds tang and a slight looseness to the batter, which makes the final texture extra creamy.
- Sugar (1 1/4 cups): Sweetens the filling and contributes to the creamy consistency when blended thoroughly.
- Eggs (4 large): Help to bind everything together and create that custardy structure.
- Vanilla extract (1 teaspoon): Boosts the flavor of the cream cheese.
- Vanilla bean (seeds from 1 bean): Adds depth and a touch of luxury with visible flecks throughout the cheesecake.
- Kosher salt (1/4 teaspoon): Balances the richness and sweetness.
Mixing the Filling: Step-by-Step Instructions
- Beat the eggs separately: In a small bowl, lightly beat the eggs with vanilla extract and salt. Set aside. This helps ensure even incorporation later.
- Cream the cheese: Use a stand mixer with a paddle attachment or a hand mixer on low speed. Beat the cream cheese until completely smooth, about 2 minutes. Scrape the sides and bottom of the bowl to remove any lumps.
- Add vanilla bean: Scrape the seeds from the vanilla bean pod and add them to the cream cheese. Beat again for 1 minute, then scrape the bowl.
- Incorporate sour cream and sugar: With the mixer still on low, add the sour cream. Mix until fully blended. Slowly pour in the sugar while mixing, continuing until the mixture is light and fluffy. Scrape down the bowl as needed.
- Add eggs in batches: Pour in half the egg mixture and blend gently until combined. Repeat with the remaining egg mix, then beat on low just until fully smooth. Avoid over-mixing to prevent air bubbles that can crack the cheesecake.
Tips to Avoid Common Filling Mistakes
- Room temperature ingredients are key: Cold cream cheese can create a lumpy batter.
- Mix on low speed: This prevents too much air from entering the batter, which can cause cracks or bubbling.
- Scrape often: Use a spatula to scrape the bottom and sides of the bowl between each mixing stage for a smooth, lump-free batter.
Mastering the Water Bath Method for a Crack-Free Cheesecake
Why Use a Water Bath?
A water bath, or bain-marie, creates a humid environment inside the oven. This gentle heat distribution helps the cheesecake bake evenly, preventing the outer edges from setting faster than the center. It also helps avoid one of the most common issues with cheesecakes — surface cracks. The steam keeps the top smooth and soft, giving your crème brûlée cheesecake a flawless finish.
How to Prepare Your Cheesecake for a Water Bath
- Wrap the pan: Place your springform pan on a large sheet of heavy-duty aluminum foil. Wrap it tightly, using at least 3 layers, bringing the foil up the sides. This prevents water from seeping into the pan during baking.
- Set up the roasting pan: Place the foil-wrapped springform pan into a deep roasting pan or Dutch oven. This setup will hold the water that surrounds the cheesecake as it bakes.
- Pour in the filling: Slowly pour your prepared cheesecake batter into the crust, now cooled in the springform pan. Gently smooth the top with a spatula if needed.
- Add hot water: Carefully pour hot water into the roasting pan, filling it until the water reaches about halfway up the sides of the springform pan. Avoid splashing water into the cheesecake.
Baking the Cheesecake
- Temperature: Bake at 300°F, as lower heat encourages a more custard-like texture without overbaking.
- Bake time: 55 to 65 minutes. The center should jiggle slightly, like gelatin, but not look liquidy.
- Check for doneness: Gently tap the side of the pan — if the center moves slightly but the edges are set, it’s done.
After-Baking Cooling Process
- Cool in the water bath: Turn off the oven and open the door slightly. Let the cheesecake sit in the warm water for about an hour. This gradual cooling helps prevent sinking or cracking.
- Transfer to a wire rack: Carefully lift the cheesecake out of the water bath and remove the foil. Place it on a cooling rack and let it rest for another hour.
- Chill overnight: Leave the cheesecake in its pan, uncovered, and refrigerate it for at least 8 hours. This allows the texture to fully develop, making it rich, dense, and sliceable.
Pro Tips for Water Bath Success
- Use boiling water to ensure steam is produced early in the bake.
- Don’t rush the cooling process. Quick temperature changes can cause cracks or rubbery texture.
- If your pan tends to leak, consider using a silicone wrap around the springform for added protection.
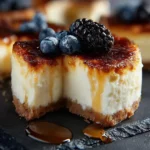
Creating the Signature Crème Brûlée Topping
What Makes the Topping Special?
The hallmark of a true crème brûlée is that thin, golden caramel shell on top. When paired with cheesecake, it adds a stunning visual and textural contrast — crisp and crackly on the outside, soft and creamy underneath. It’s the ultimate dessert upgrade, and surprisingly easy to achieve with just two elements: sugar and fire.
Choosing the Right Sugar
For the brûlée layer, plain granulated sugar works best. It caramelizes evenly and produces a clean, glass-like finish when torched. In this recipe, you’ll use a total of 3 tablespoons, applied in two stages.
Step-by-Step Instructions for Torching
- Remove from springform: Once fully chilled (at least overnight), carefully release the cheesecake from the springform pan. Gently run a thin knife along the inside edge before unlatching the ring to avoid tearing the crust.
- Place the cake on a serving platter: Slide a knife between the crust and the base of the pan, then lift the cheesecake and move it to your serving dish.
- Sprinkle the first layer of sugar (1 1/2 tablespoons): Spread it evenly over the top of the cheesecake. Use your hands or a fine-mesh sieve for a uniform layer.
- Torch the sugar: Hold a culinary torch about 4 inches above the cake. Move it in small, slow circles, keeping the flame constantly moving to avoid burning one spot. The sugar should melt, bubble, and turn golden brown.
- Cool briefly: Let the first layer harden for about 1 minute.
- Repeat with the second layer: Sprinkle the remaining 1 1/2 tablespoons of sugar on top and torch again using the same motion.
Tips for a Flawless Finish
- Always brûlée just before serving. The crispy top is best fresh and can soften over time in the fridge.
- Avoid stacking on too much sugar. Thin layers caramelize more evenly and don’t pool or burn.
- If you don’t have a torch, a broiler may work in a pinch, but the finish will be less even and risk overbaking the cake.
Optional Enhancements
- For added texture, try using raw or turbinado sugar on the second layer for a slight crunch.
- A dash of cinnamon or cardamom mixed into the sugar can add a subtle spice twist.
Serving and Presenting Your Crème Brûlée Cheesecake
The Best Time to Serve
Crème brûlée cheesecake reaches peak flavor and texture when it’s served shortly after torching — ideally within 20 minutes. This keeps the top crisp while the interior remains cool and creamy. Letting it sit too long will cause the caramelized sugar to soften and lose its signature snap.
Slicing Without Cracks or Crumbs
Cutting cheesecake cleanly can be tricky, especially with a crisp brûlée top. Follow these tips for picture-perfect slices:
- Use a sharp, thin knife: A long slicing knife works best. Avoid serrated blades that may shatter the sugar layer unevenly.
- Warm the knife: Dip it in hot water, then wipe dry. Repeat between each cut to keep slices clean.
- Press gently: Slice slowly through the brûlée layer to avoid cracking it too aggressively, then glide through the creamy filling and crust.
Perfect Plating Ideas
- Keep it simple: The brûlée topping is the star. Serve slices on a clean white plate to highlight the golden sugar shell.
- Add a garnish: A single raspberry or mint leaf can enhance the visual appeal without overwhelming the flavor.
- No sauces needed: Unlike traditional cheesecakes, crème brûlée cheesecake doesn’t benefit from syrups or compotes — the topping provides enough sweetness and drama.
Storing Leftovers
While best served fresh, leftovers can be stored for up to 3 days in the refrigerator. Here’s how to keep it tasting its best:
- Refrigerate in a sealed container: This prevents odors from seeping into the cheesecake.
- Avoid re-brûléeing: Once the sugar is torched, it won’t crisp up again properly.
- Don’t freeze: Freezing affects both the custard texture and sugar topping, making the dessert soggy once thawed.
If you want to prep the cheesecake in advance, make the base and filling a day ahead, then brûlée just before serving.
Conclusion
Crème brûlée cheesecake is a dream dessert that blends the elegance of French pâtisserie with the rich, creamy comfort of American cheesecake. It’s a bit of a project — yes — but the end result is more than worth it. Every bite brings that satisfying crunch of caramelized sugar followed by a soft, tangy, vanilla-kissed interior.
Whether you’re celebrating a special occasion or just love taking dessert to the next level, this recipe promises to impress. And with the techniques covered — from mastering the water bath to achieving the perfect brûlée — you’ll be ready to serve up bakery-quality cheesecake straight from your kitchen.